You can modify a webcam to serve as both a camera and lens with the basic microscope kit. The steps (as demonstrated above) are as follows.
To assemble your microscope stage, see this activity.
Different versions
These are the instructions for the basic Intro Community Microscope Kit, but below in the comments, you can read how to build the Plus and Super versions, as well as how to do this with the Raspberry Pi camera ( #pi-camera).
If you have the higher-resolution webcam board, see these instructions.
Step by step
Carefully unscrew the case. If you are using a webcam different that the one above (currently included with some versions of our microscope kit), be aware that you may need to examine the case to determine the best way to access the inside. If your camera's case is snapped together you may need to pry (or even snap) some connections.
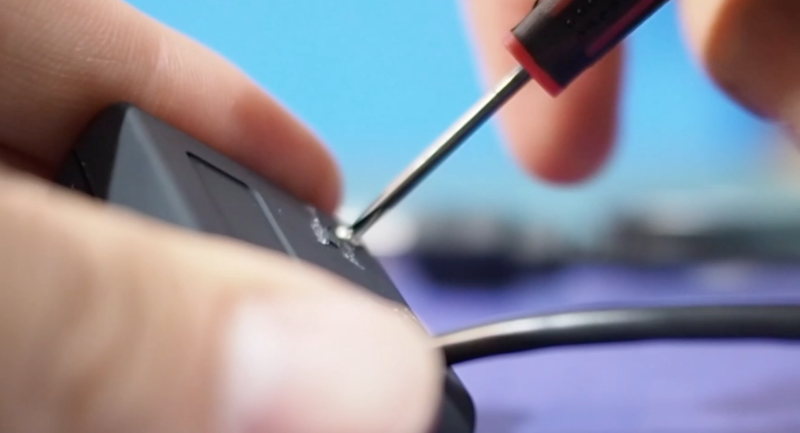
Lift off the top of the case and unscrew the lens.

More recently, we've been shipping cameras that are a bit better mounted, and on these you have to remove a couple more screws. Remove the outer screws on the back of the circuit board (marked with Os), NOT the inner ones that hold the lens on (marked with Xs):
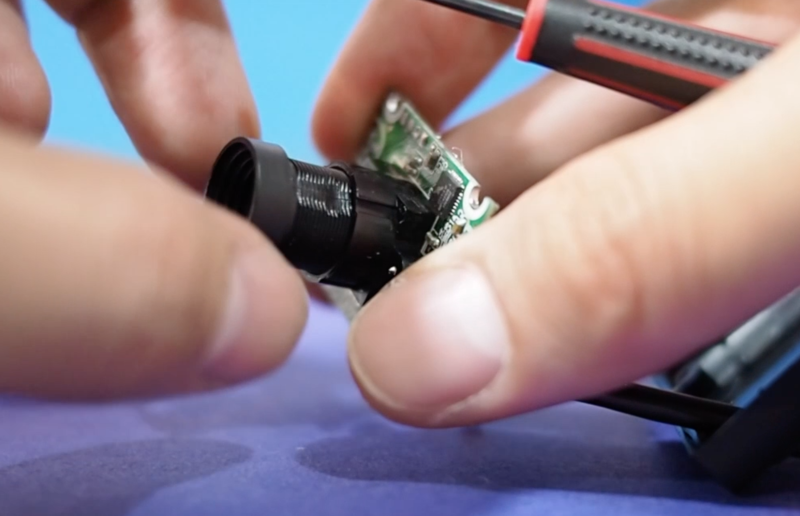
Apply double stick foam tape to the underside of the board and place back into the bottom half of the case. Be advised that the soldering where the wires attach to the board is very delicate, and be careful not to pull or twist the cord too much as you are handling it.
Note: for the newer cameras, you can skip this step, since you'll be able to easily screw the circuit board back onto the camera case with the second set of screws.
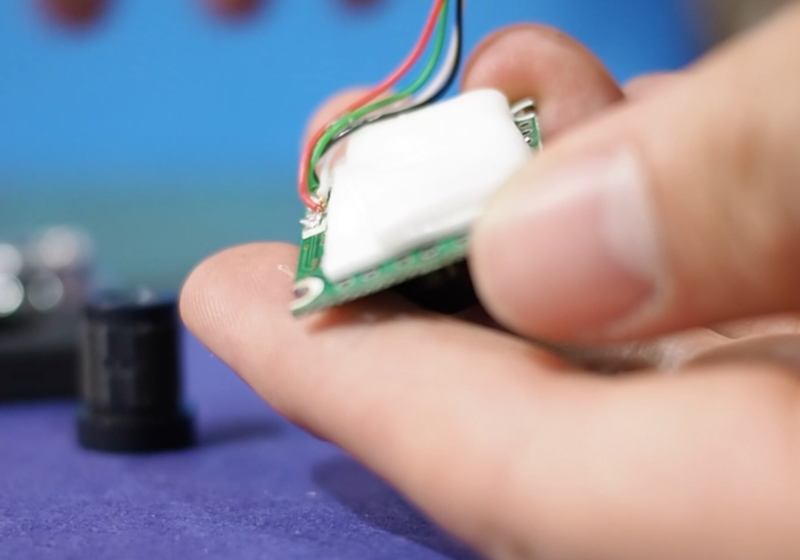

Replace the top half of the case and screw the two halves back together.
Attach foam tape to the bottom of the case (don't peel the paper off the back until you are ready to place it on the microscope stage.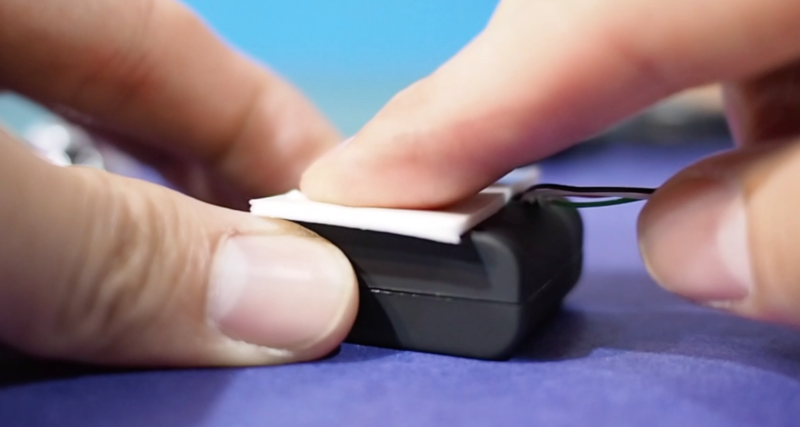
Attach another layer of foam tape to the opening on the top, with a hole cut or punched so the camera's sensor is not blocked.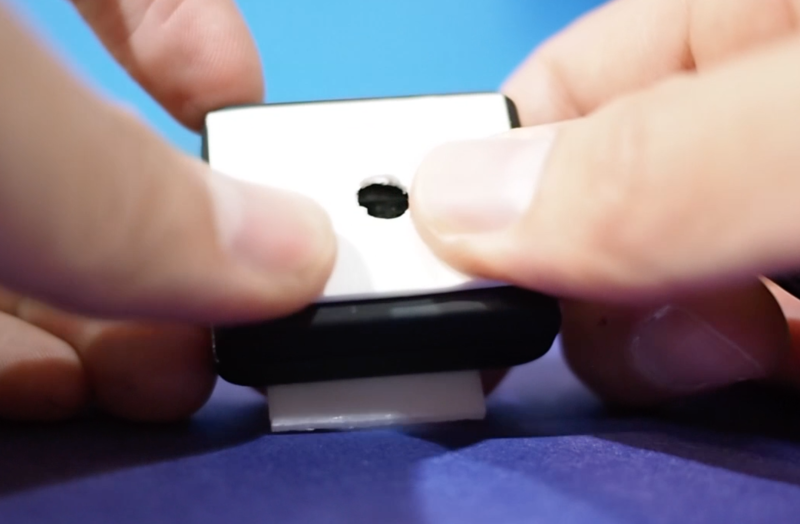
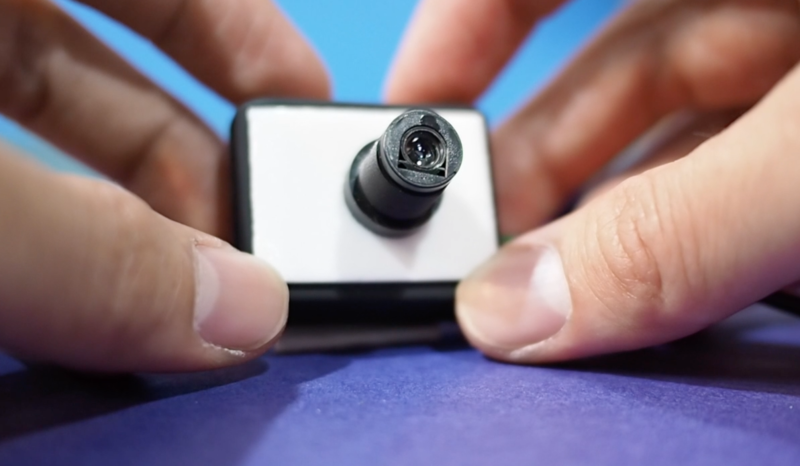
Center your lens (wide side down) over the hole and press down. If your camera is plugged in to your computer you should just see light: if your screen shows dark spaces you may have an issue with your tape or lens being off-center.
Now you're ready to center your camera and lens on your platform! Read on here: https://publiclab.org/n/16310
Connect your camera
On a laptop, use Photo Booth for Macs, or you can go to http://infrgram.org/sandbox/ in most browsers to access your webcam.
If you are using the objective lenses (instead of the webcam lens) assemble as per the images below.
Note: We recommend saving the webcam's lens so that you can use both options as you explore different ways to use your microscope.
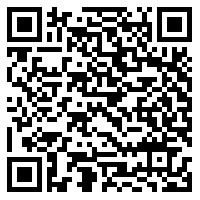
If you have an Android phone, you can use this app to connect to a webcam directly if you have an OTG USB adaptor; scan this QR code to get the app:

12 Comments
@maggPi @partsandcrafts @wmacfarl @kgradow1 @dusjagr @gaudi @maxliboiron @j-bower @amirberagain
Reply to this comment...
Log in to comment
@warren has marked warren as a co-author.
Reply to this comment...
Log in to comment
For folks starting to connect microscope objective lenses to their microscopes as part of the Community Microscope Kit, we'll post some photos soon but there is an adapter made of acrylic which can be taped or glued down, and this allows the lens to be screwed in gently onto the top of the webcam.
Reply to this comment...
Log in to comment
Here is the adapter! We're making some on a lasercutter and some on a 3d printer, but it's a /very/ simple part -- the tough part for us is getting the size of the hole just right -- not too loose or too tight. Note that this:
The 3d model for this is here: https://github.com/publiclab/community-microscope/blob/master/lens-adapter.stl
And the hole is /just/ slightly bigger than 3/4 inches.
Reply to this comment...
Log in to comment
I updated this with a new photo of the improved webcams, which means you can skip the inner foam tape step since the circuit board can unscrew and rescrew back in without trouble 👍
Reply to this comment...
Log in to comment
Final note as we prepare a new activity for Raspberry Pi kits: you need to remove the lens from the Pi camera, which is a bit tough. We've loosened them for you and in some cases removed it. You'll need to take it the rest of the way off, and then you can assemble the rest of your Pi in the case with the camera-hole cover. More pictures coming soon!
Reply to this comment...
Log in to comment
Hi Jeff, do you have the specifications of the webcam? I found several cameras looked like this on Taobao, with variety prices. not sure which to buy~~
Is this a question? Click here to post it to the Questions page.
Reply to this comment...
Log in to comment
Hi! It's this one or one very like it!
Awesome!
Is this a question? Click here to post it to the Questions page.
Reply to this comment...
Log in to comment
Thanks @warren, finally I bought at taobao with the price of 1.7USD each. I think you have a pretty good price for US!
Is this a question? Click here to post it to the Questions page.
Reply to this comment...
Log in to comment
:-) good to know!!! We're looking for slightly better webcams now too.
We found this one is pretty nice, and we are getting them for about $30, although maybe there are bulk prices that are better: https://www.amazon.com/gp/product/B01DRJXAWA/ref=oh_aui_detailpage_o01_s00?ie=UTF8&psc=1
Is this a question? Click here to post it to the Questions page.
What is the viewing angle of the camera lens?
Is this a question? Click here to post it to the Questions page.
Reply to this comment...
Log in to comment
I did this!
Reply to this comment...
Log in to comment
Login to comment.