(or to another microscope, of course!)
We're seeing some amazing results from the Raspberry Pi cameras, and doing some really interesting work on making them easier to use (See #pi-camera and #pi-builder). But there are a couple steps we just aren't 100% sure everyone wants to do -- like removing the tiny tiny lens, and getting the camera WiFi working. So we're offering a great quality USB webcam (one we've been using ourselves) that's just easy plug-and-play, at much higher quality than the basic kit. I hope this makes sense!
To order a kit with a nicer webcam, click here.
Here are some photos of how this webcam board -- available for around $45 on Amazon -- can be mounted using some Legos and a 3d printed adapter (https://github.com/publiclab/community-microscope) to work with the modular Community Microscope system (or another microscope!)
There are definitely trade-offs, and the Raspberry Pi camera is better resolution -- but this is very easy to mount and start taking photos.
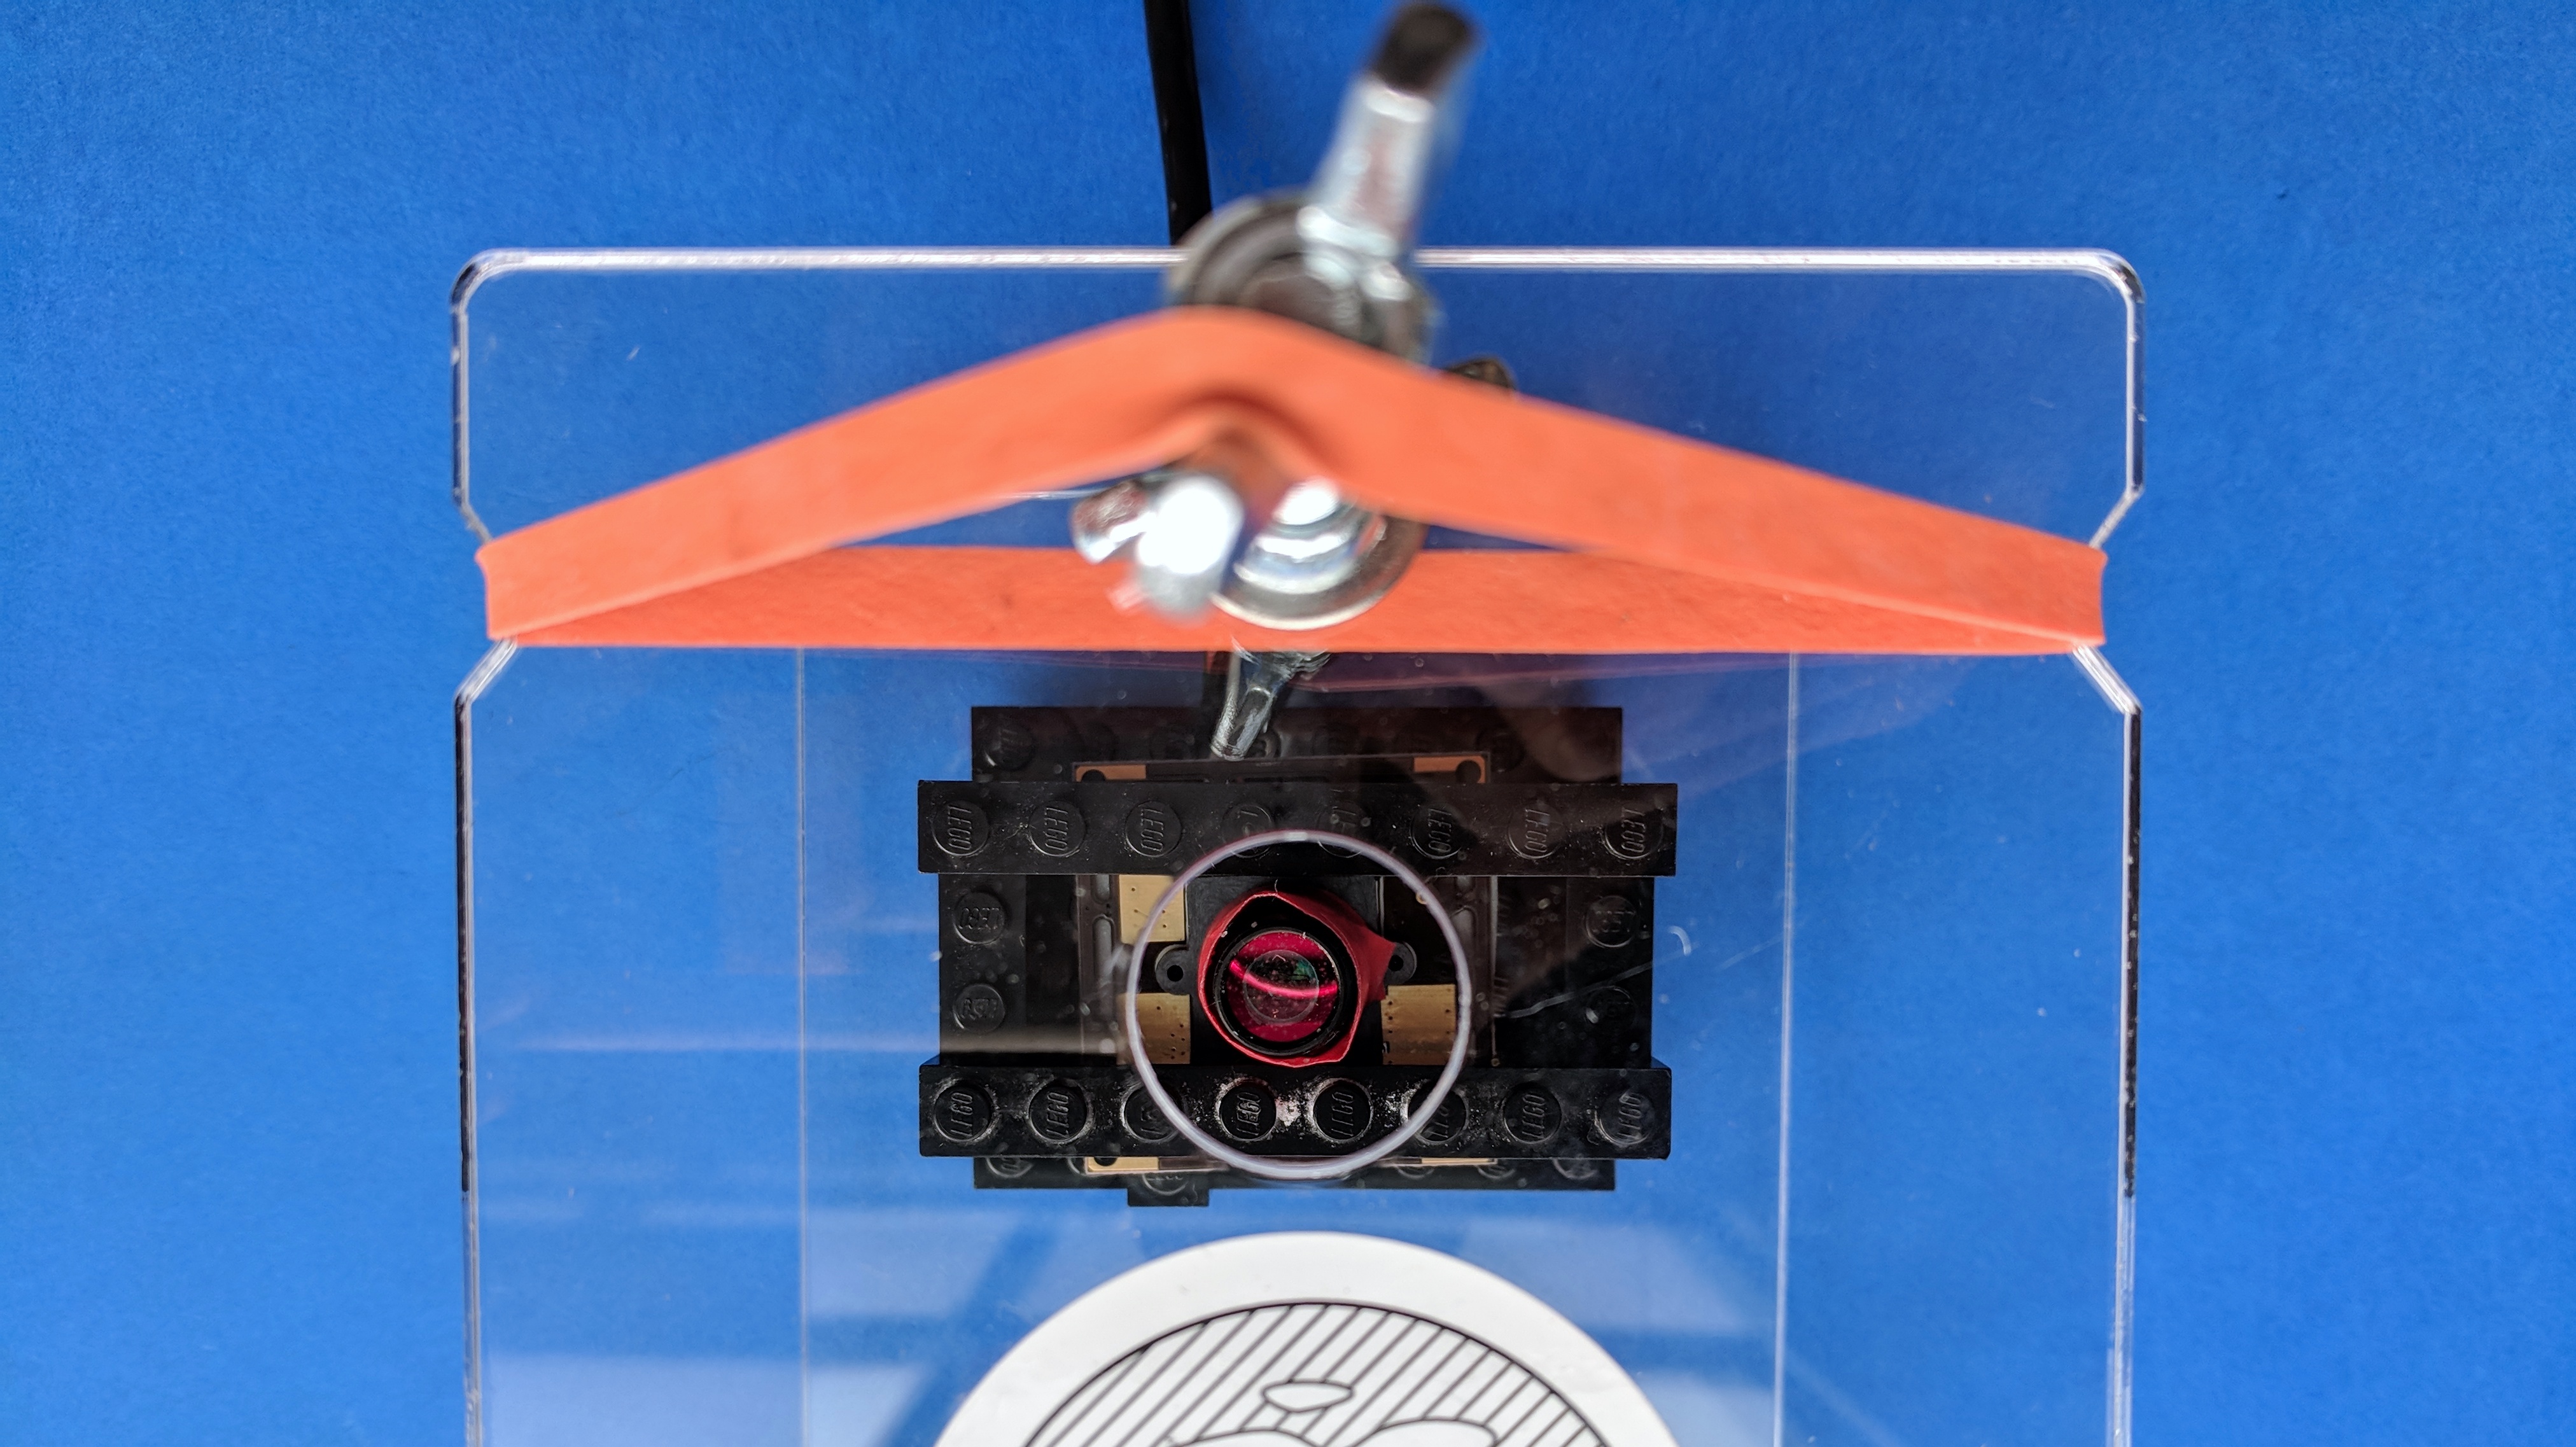
First, you can flip the lens like with the basic kit webcam and the results are really very good:

This image is terribly lit, but shows the res
Alternative build for some webcams
Some folks got webcams with a wider flange on the lens, so it wasn't nearly as easy to tape upside down. If you're building with the microscope lens, no worries. But if you want to do the flipped-lens version, we've included a little adapter to make your life easier. You'll be able to unscrew the lens like this, and insert it into the adapter upside down:

Then you'll use double-sided tape to attach the adapter to the board. You can also use hot glue -- just be sure it's centered above the sensor!

Lego frame
Here is the Lego frame build process! See how we've staggered the supports under the webcam board to ensure the cable fits. And note that if you're using a microscope lens instead of the flipped lens, you'll just have the bare sensor with no lens, though these photos show the taped-upside-down lens:

Microscope lens adapter
Here it is with the adapter to the microscope lens, which you can use double-sided tape to affix to the top of the Lego frame:

And with a 40x lens, again with terrible lighting and focus (i'm just trying to show magnification here, i'm sure you can easily do better!):
And here's another photo of how the base is built. We'll post more build photos soon as we continue to test this out, and I'm also sure it'd be improved by some black paper or aluminum foil being wrapped around to reduce stray light:

Finally, for comparison, here's the photo of the adaptor mounted directly to the Raspberry Pi, which works great, but there are a few extra steps to remove the Pi lens, which is extremely small:

Light blocking
We've included a few pieces of Lego as well as some black paper to help you shield your sensor from ambient light. There should be enough legos to cover all sides with Lego -- or you can make a "house" from the black paper:


11 Comments
Here's the 3d model for the adapter for the alternative "wider flange" webcams -- @Bronwen :
https://github.com/publiclab/community-microscope/blob/master/LTAZ6_fisheye-adapter_v2.gcode
@bronwen @warren is there any chance these files exist as STL? Thanks!
Is this a question? Click here to post it to the Questions page.
Oh gosh, well it's not super nice, and i think we may literally just have crudely stretched them to make gcode, but, the original is here: https://github.com/publiclab/community-microscope
It's this one! https://github.com/publiclab/community-microscope/blob/master/lens-adapter.stl
thank u @warren! Going to try it out, unfortunately are makerbot doesnt take gcode which is a lil surprising but I guess cause its a newer model
Hey @warren the .stl file doesn't look like the 3D printed adapter in ur picture (screenshot below), it looks like it might be the adapter for the microscope lens, I don't see a .stl file for the fisheye lens in the github...
Is this a question? Click here to post it to the Questions page.
Oh sorry! I misunderstood! Here, i've added that too now, but note that I believe I just found a standard m12 on thingiverse and resized it. So the scale may not be perfect... https://github.com/publiclab/community-microscope/blob/master/m12_lens_housing_v2.stl
There was a bit of trial and error on that one!
Hey no problem! I actually made one myself which works pretty well - no tape needed, here's the file: Webcam_lens_adapter_v2.stl
Is this a question? Click here to post it to the Questions page.
Oh awesome!
Sadie, just curious, how does your adhere to the board?
I love the little grippy bits that hold the lens itself!
Is this a question? Click here to post it to the Questions page.
Reply to this comment...
Log in to comment
Obviously we love to see any improved 3d printed parts and would love to add to the design. Just so people know, we try to print these to be solid, but also:
Thanks all!
Reply to this comment...
Log in to comment
Login to comment.