What we did:
Will adapted the stage he built last week at the Fab Lab to work with a 40mm objective and the Raspberry Pi Zero.
This is more proof of concept than replication, but it totally worked!
What we did:
This version uses the Raspberry Pi Zero which is wifi enabled. That's lucky, because we came to the Barnraising with a bunch of Raspberry Pi cameras and no periperhals (mice, keyboards, monitors) to set them up! Will spent the morning mirroring the Raspberry Pi to his computer so we could use it to see the output from the camera.


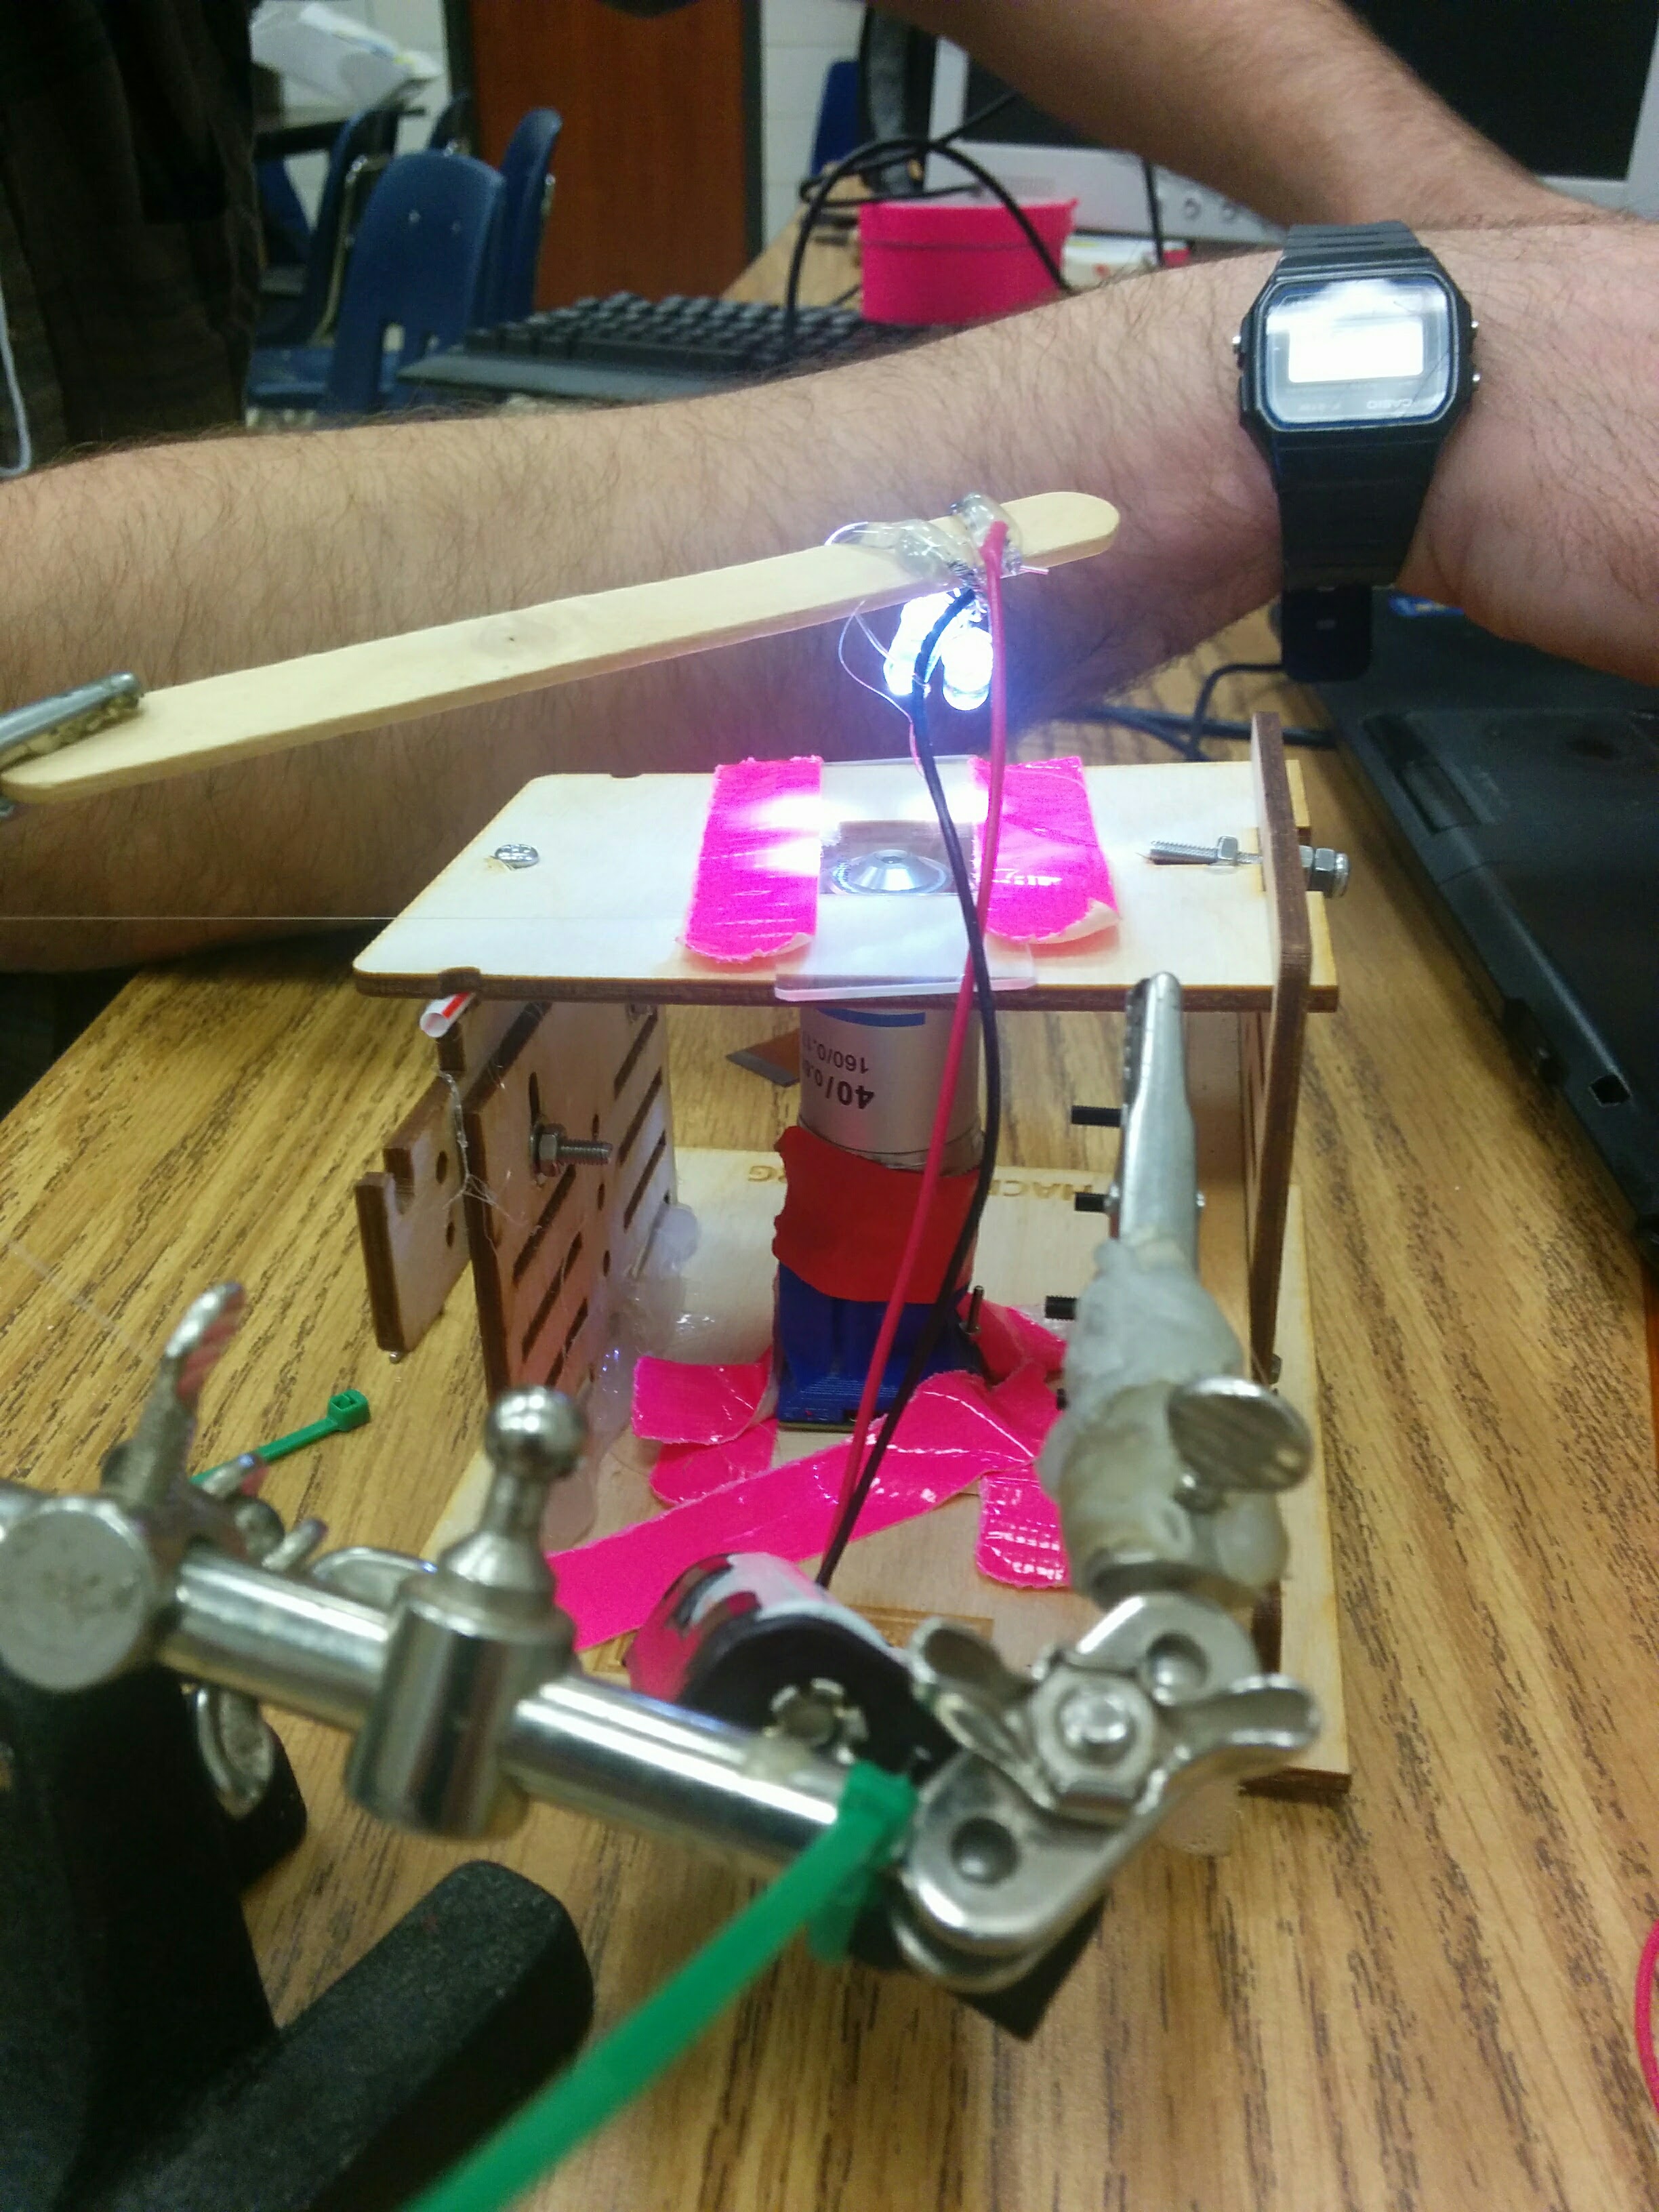
Setup and Materials**Light source: **3 mm white LEDS connected in parallel and glued to a popsicle stick.

Optics assembly: 40 mm microscope objective connected to a Raspberry Pi camera (lens removed). For this version, we're using a Rasperry Pi zero, which is smaller, more portable, and wifi enabled. The objective is connected to the camera using a 3D printed Open Flexure adapter, available here (here is an example, printed for a 60 mm tube)

**Attaching the slide: **We took our slide and positioned it over the lens and just taped it down to the board. This is obviously not a great solution, but when you're operating at high magnification, even very small movements will shake your sample and make it hard to focus. I mostly included this picture so you can see what the inverted scope looks like from the top.

What you can see:
We used a .01 mm calibration ruler. Each tick is 10 microns, or one hundredth of a millimeter.


0 Comments
Login to comment.