Goals
We want to determine whether the Hackteria scope can be used as a cheap, affordable alternative to lab equipment. Specifically, we want to know whether it is capable of imaging >5um particles for passive particulate monitoring. The original version uses a webcam. For this activity, we want to see if we can modify this assembly to work with the Raspberry Pi camera with the optics tube from the Open Flexure microscope.
Why the Hackteria microscope?
The Hackteria microscope is part of the initiative to create Generic Lab Equipment that is affordable, open source, and easily build from recycled or available materials. It's not really one microscope project, but a variety of remixes and linked projects based on a simple design that can be lasercut or assembled with screws, cardboard, and rubber bands.
What is Hackteria?
Hackteria is a network of people practicing DIY (do-it-yourself) and DIWO (do-it-with-others) biology with an interest in art, design and interdisciplinary cooperation... Hackteria is not based in a physical space, and its goal is to allow artists, scientists and hackers to collaborate and test various biohacking and bioart techniques outside the official laboratories and art institutions, basically anywhere in the world.
For details, visit https://www.hackteria.org/.
For an overview of DIY microscopy, visit https://hackteria.org/wiki/index.php/DIY_microscopy
For a review of https://hackteria.org/wiki/images/2/24/MicroscopyStage_Laser.pdf
Materials
We used this pdf for lasercut files, available at www.hackteria.org.

This file includes a few extra pieces that are not used in this build.
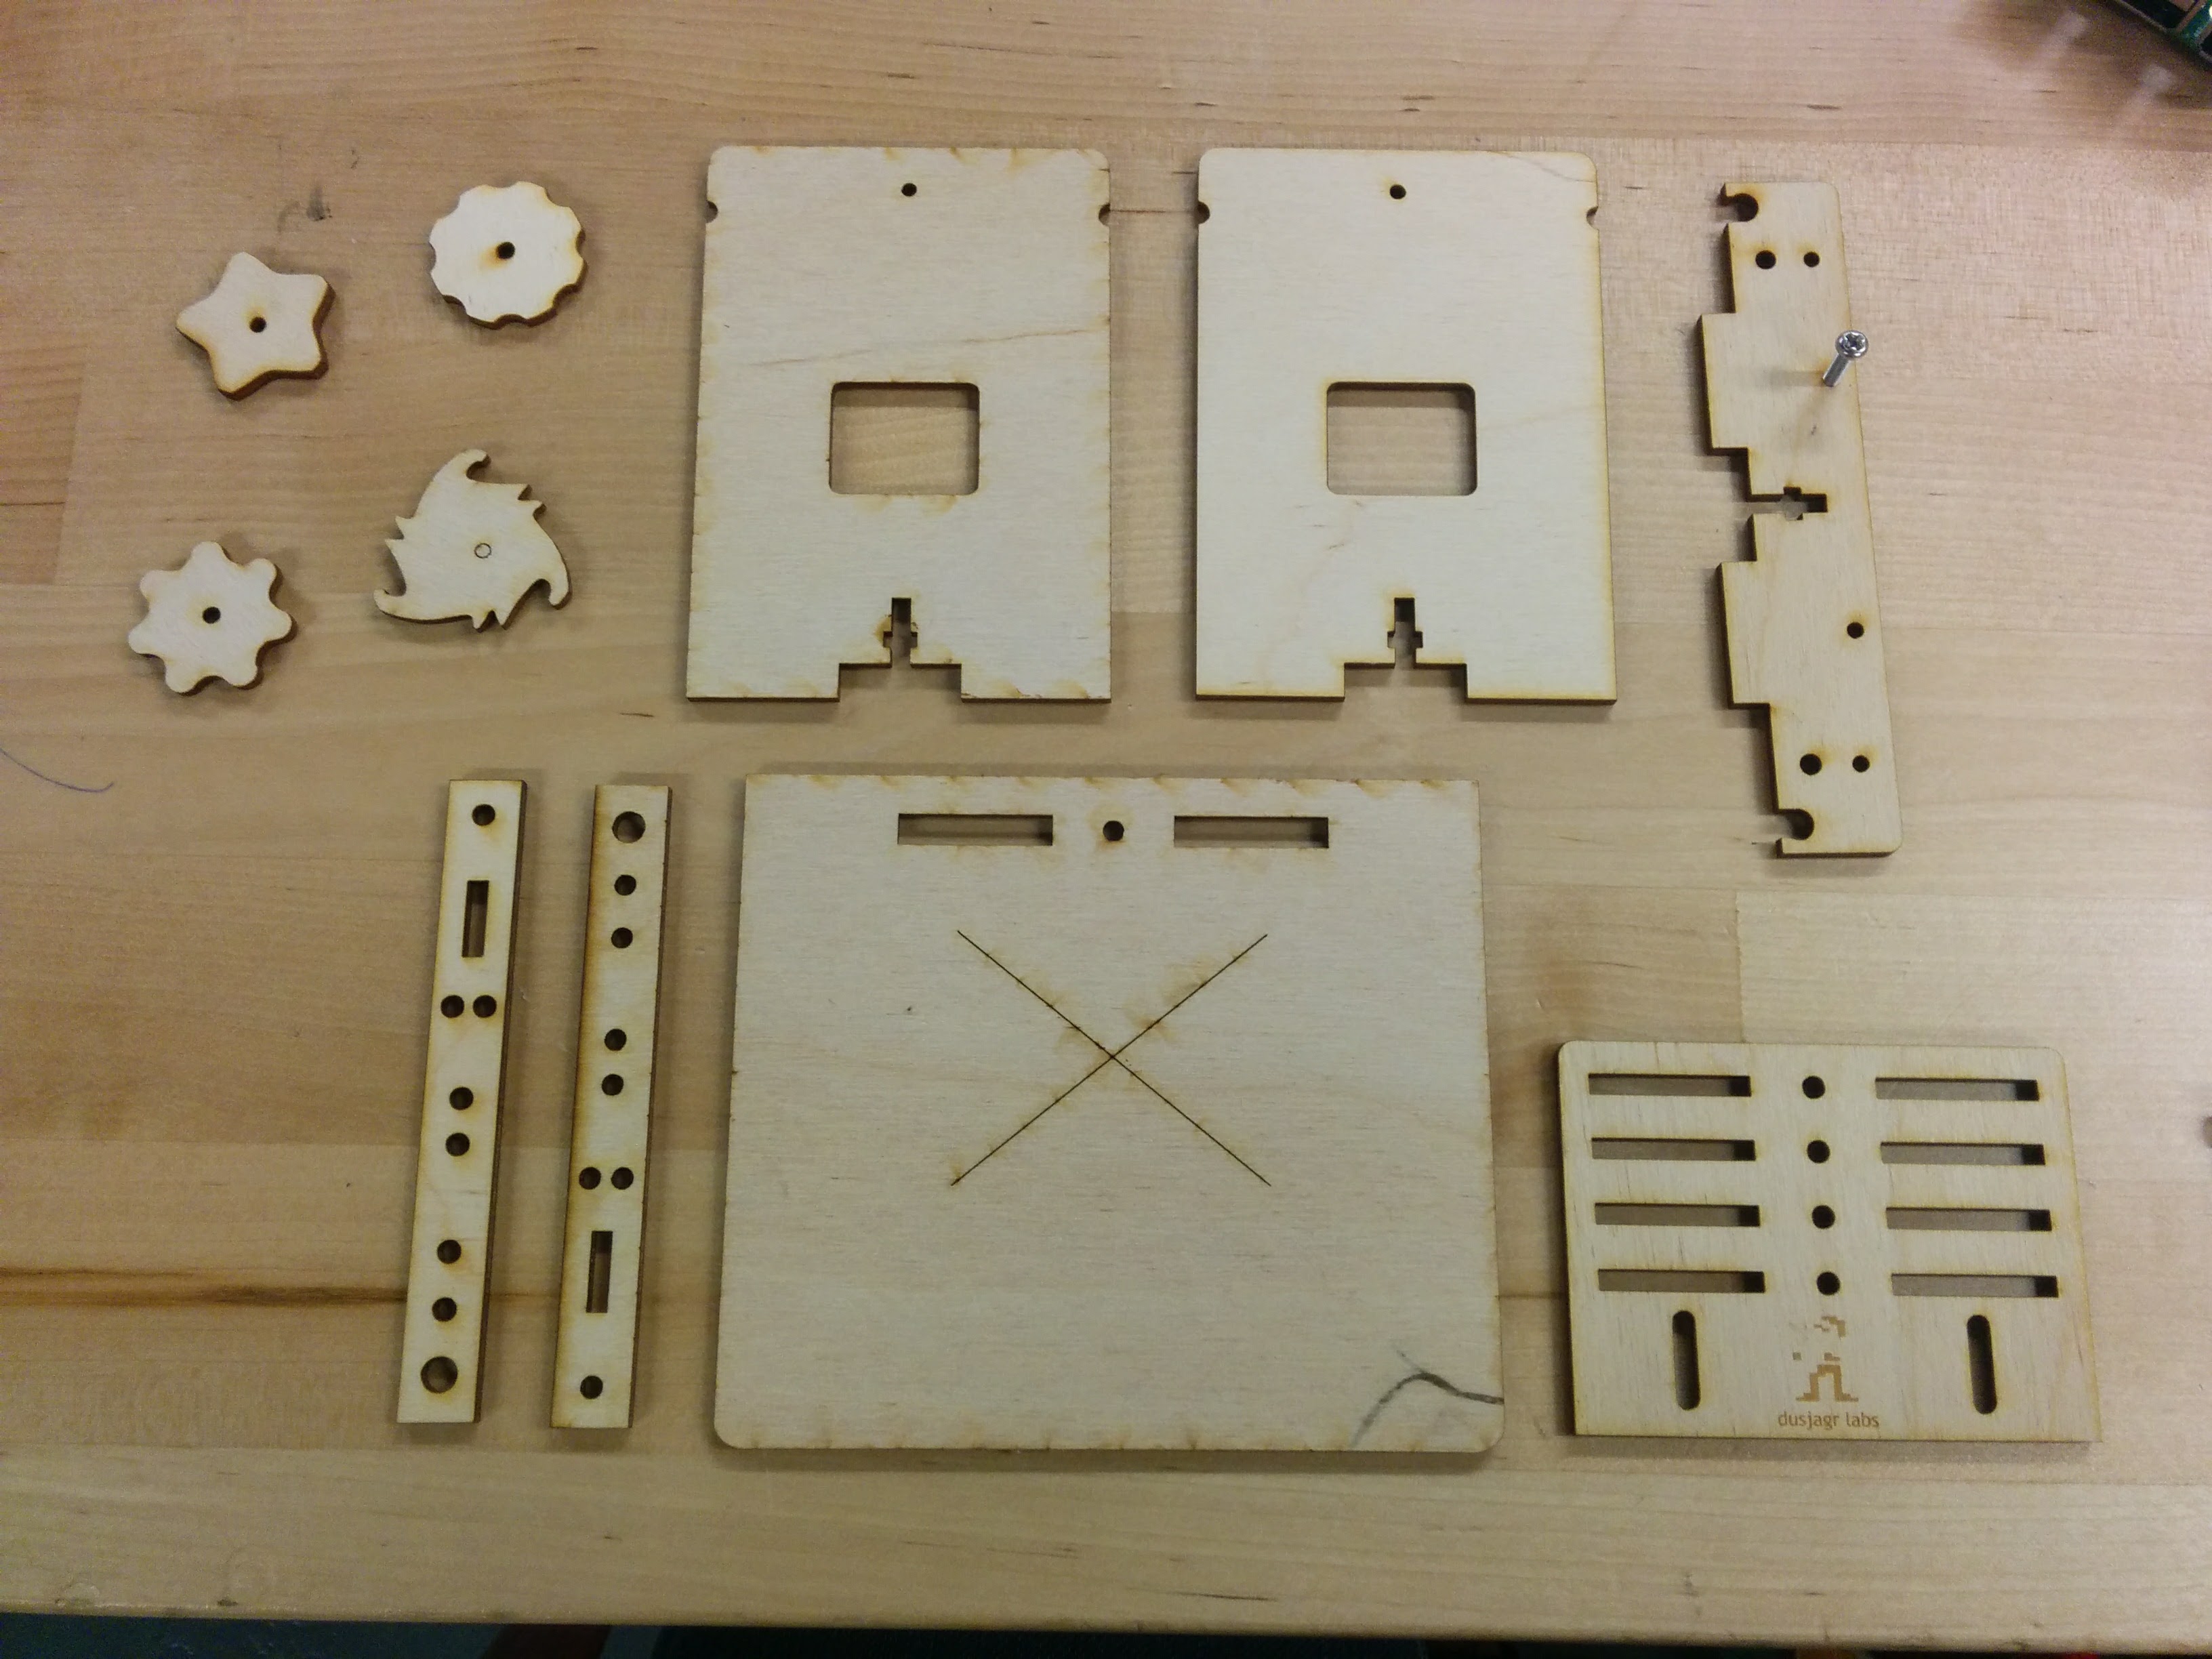
What You'll Need
- 1x rear wall (lasercut 1/4" plywood)
- 1x rear wall base (lasercut 1/4" plywood)
- 1x base plate (lasercut 1/4" plywood)
- 1x camera plate (lasercut 1/8" plywood)
- 1x support (lasercut 1/8" plywood)
- 1x focus wheel (lasercut 1/8" plywood)
- Focus screw (we used an M3 screw and an adapted Lego tower)
- 4x M3 screws and nuts
Instructions
We used this guide, posted by Simon Moser, which you can reference for diagrams and assembly instructions. The Hackteria website includes a variety of ideas and remixes and you can modify the basic build instructions for optimized height and stability. In this version, we'll be adapting the basic design for use with the optics module of the Open Flexure microscope, which has a well-suited extension tube for higher-resolution photos.
Step 1: Insert an M3 screw into the two interior holes on the rear wall base


Step 2: Attach the rear wall


Step 3: Slide the camera plate into the slotted rear wall.
Set the height based on your camera. Lock it in place with an M3 screw and nut.

Step 4: Attach the base plate. Slide the whole assembly into the base plate.
Lock it in place with an M3 screw and nut.

How to attach the screws. There is a T-shaped hole to fit the nut and hold it in place. As you tighten the screw, it will pull the pieces together in a tight fit.

Next steps
The first part of this documentation covers the stage only. We still have some steps to complete!
- Attaching the lead screw
- Adding a rubber band to minimize wobble
- Adding the Open Flexure optics module
- Setting up your Raspberry pi
That's a lot of steps! We're hoping to get this up in short order and will update this activity accordingly.
Help us with the documentation by sharing your ideas and feedback!
7 Comments
Hi @bmela, @kgradow1 and @wmacfarl - I made a worksheet so folks who build this can photo-document and share their questions and ideas!
Reply to this comment...
Log in to comment
@dusjagr check it out!
Reply to this comment...
Log in to comment
@warren awards a barnstar to partsandcrafts for their awesome contribution!
Reply to this comment...
Log in to comment
Nice to see this!
we made a openScad file later, to be able to parametrize the size, metric or other screws and materials thickness: https://www.thingiverse.com/thing:1057872
looking forward to see some suggestion and improvements. the whole "laser" design was also develoiped in collabroative prototypeing sessions over years, mostly with cardboard and local materials from chopsticks to scrapmetal.
i added some slides after slide 30: https://www.slideshare.net/dusjagr/dusjagr-diy-microscopycameroonbiohackingmay2017#30
greetings from indo! marcjono
Reply to this comment...
Log in to comment
@partsandcrafts has marked @kgradow1 as a co-author.
Reply to this comment...
Log in to comment
@partsandcrafts has marked @wmacfarl as a co-author.
Reply to this comment...
Log in to comment
@partsandcrafts has marked @bmela as a co-author.
Reply to this comment...
Log in to comment
Login to comment.