Coquí: A Simple Water Conductivity Sensor
This is a beginner's guide to assembling the Coquí
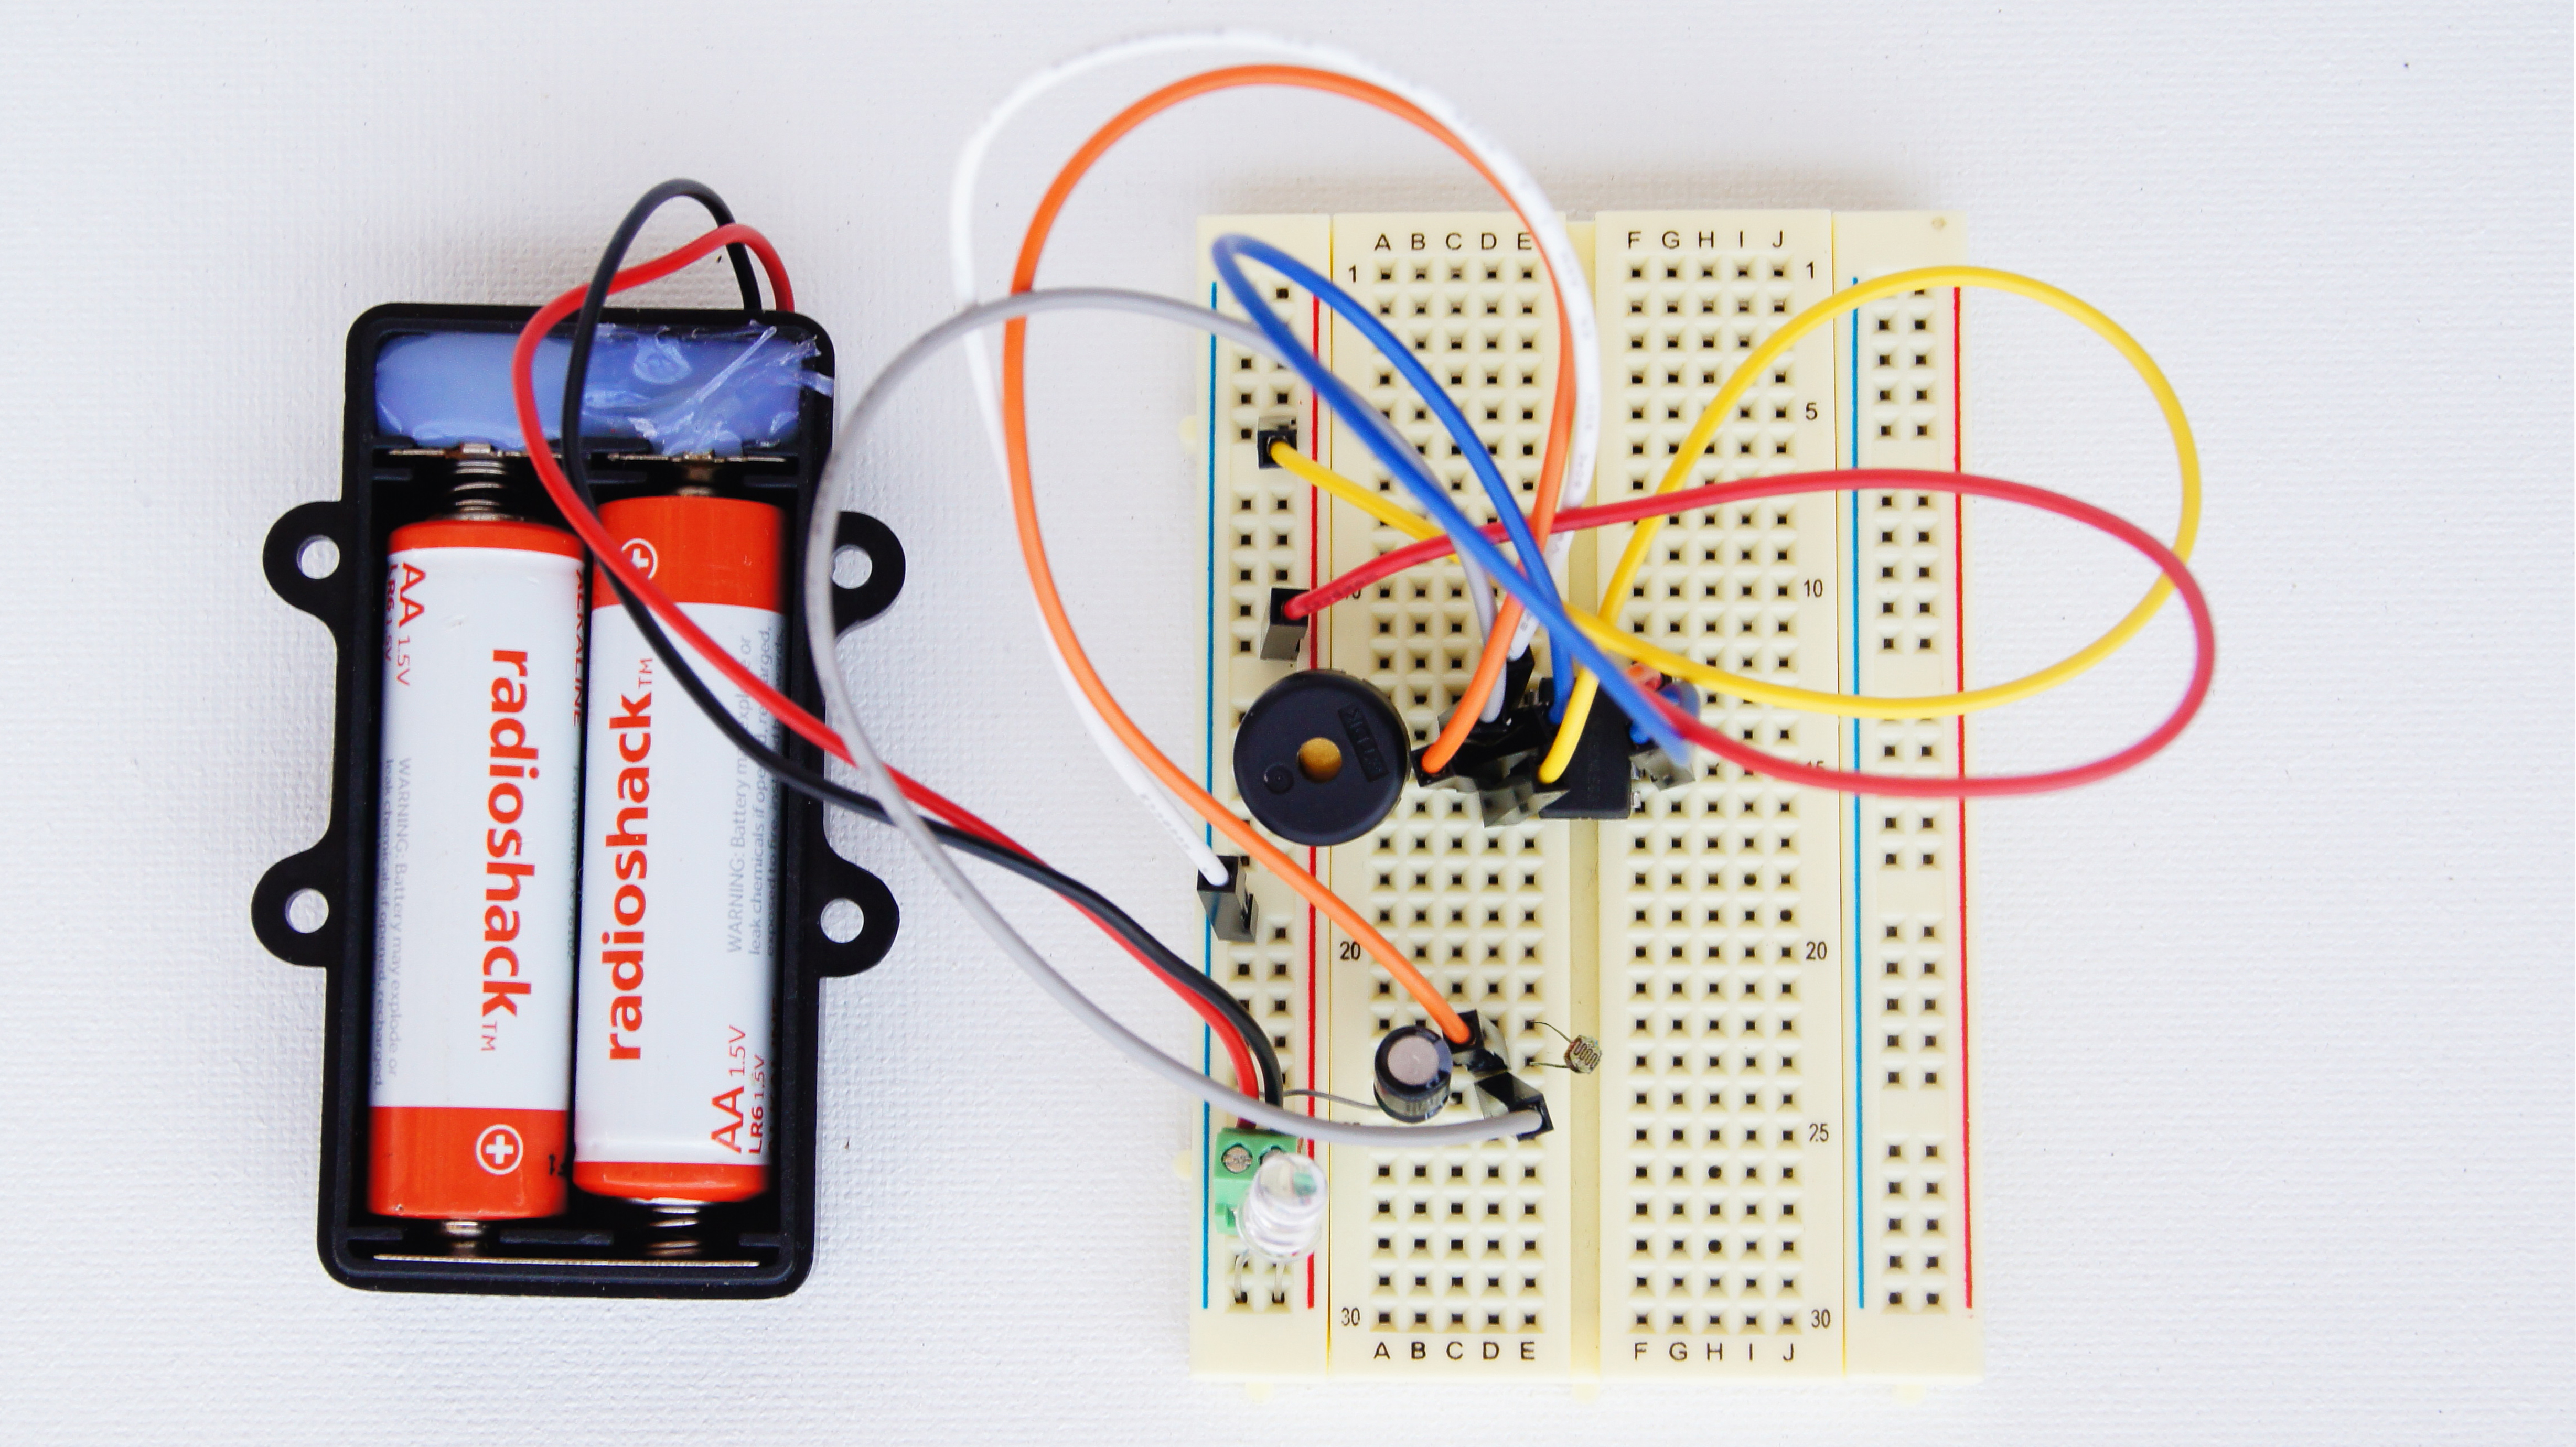
The Coquí is a simple water conductivity sensor designed by @donblair that is designed for use in an educational context. The coquí is a simple circuit assembled on a breadboard that has a speaker that outputs high frequency sound when the water conductivity is higher and lower frequency sounds when the conductivity is lower.
Want to measure something other than water conductivity? With simple modifications a Coquí can measure temperature, ambient light and LED light. Check out Don's original post to learn how.
Who is this for?
Buillding a coquí is a great way to introduce principles of water monitoring, DIY hardware, and sensors to new audiences. @kanarinka and John Keefe use coquís to teach workshops in sensor journalism. The coquí is featured in the Educator's Guide to Sensor Journalism pamphlet by @kanarinka (forthcoming from Public Lab Press in Fall 2016).
Duration
Assembly will take around 30-45 minutes for a novice, including troubleshooting and debugging.
Ingredients

Step-by-step guide to assembling the Coquí
1. Attach the 555 chip on the breadboard.

2. Connect pin #4 to VCC.

3. Connect pin #8 to VCC.

4. Connect pin #2 to pin #6.

5. Connect the speaker to pin #3 and GND.

6. Connect pin #3 to some row.

7. Connect pin #2 to a row right below previous.

8. Add a capacitor from previous pin to GND.

9. Connect pin #1 to GND.

10. Using a photocell as a sensor: add the photocell between the previous two wires.

11. Connect the battery (positive / red to VCC, negative / black to GND).

12. Place an LED between VCC and GND to make sure there's power, when debugging (Optional).

13. Wave your hand above the photocell - you should hear the coquí make a sound. As the light level changes, the resistance changes and the sound changes.
14. Now, replace the photocell with your water probe (see below for instructions to make one if you do not have one) and dip its two screws into a cup of water.
DONE! Start testing water samples!
Step by Step Instructions for Making the Coqui's Probe
The probe is the part of the coquí that you dip in water to measure its conductivity. The coquí actually passes a low-voltage electric current through the water and the two screws in the water bottle cap measure the resistance of that current. You can fashion a simple DIY probe using the following materials:
- Plastic water bottle with plastic cap
- Scissors or Xacto knife
- 2 screws of the same size
Cut the top part off the water bottle using the scissors or knife

Screw the two screws into the top of the water bottle.

Attach the alligator clips leading from the coquí to the bottom of the two screws

Now you have your probe!
Learn more about the Coquí in context
- Don Blair's original post, including more technical information and modifications
- A round-up of John Keefe's use of the Coquí in West Virginia with Journalism students
- Photos of building the Coquí with @liz in Hong Kong
- Journalism student @mattmullen reflects on the potentials and pitfalls of sensor journalism
Are you more advanced? Check out this circuit diagram
