This is an update to the main project Horticultural Spectrometer Upgrade - Planning
and a continuation of Horticultural Spectrometer - Assembly
Recent progress has included:
- Establishing video stream from Pi to computer
- Assembling the spectrometer except for diffraction grating and razor blade slit
This post covers the slit manufacture, and a brief test with the holographic film diffraction grating.
Upcoming steps include a practical comparison between the holographic film and the DVDR grating.
The reason for choosing a razor blade slit primarily stems from previous work by dhaffnersr Microscopic Comparison of Slits and Laser scans using a razor blade slit. These showed that razor blades have a cleaner slit edge than acetate film, and also that a very narrow slit can be achieved.
Materials:
- Disposable Gillette shaving razor
- Extra key chain card given by shops for collecting points
- Utility knife
- Black sharpie
- Gorilla superglue
- extra lego
- thin piece of film (gauge for slit width)
Steps:

1. Disassemble the Shaving Razor
This razor was chosen so that I would have as little cutting/snapping of blades to deal with, as shaving razor blades are already quite small. Another reason is that it is inexpensive and readily available.
I carefully, *Carefully* disassembled the blade using a utility knife to slice off the plastic sandwiching the blades. Note DO NOT do this without adult supervision (if not an adult). I've previously sliced a hefty part of my thumb off by reaching into a basket containing an unprotected shaving razor.
2. Snap razors to size
In order to fit inside the spectrometer, the razor blades had to be shortened. Using the extra legos from the spectrometer build (for the cuvette holder), I sandwiched the blade between two 4x1 legos and snapped it off using a metal tool.

After snapping, you should be left with two short razor blades.
3. Prepare hard pieces of plastic for slit stabilizers
In order to hold the razor slit in place, you need something sturdy for the ends. For this I sliced off the ends of a CVS extracare card (a card from any shop that uses points cards will do) and colored the faces and sides black with a sharpie. Then cut them each in half to make 4 small pieces.
4. Create a stage for assembling the slit
Again using the extra cuvette holder legos, I made a simple holder to hold the blades in place while I glued the plastic pieces on top.

I inserted the blades into the holder. Note that the two legos the blades are resting on are upside down, so they are flat. Two more pieces are on top of the razor blades to keep them from buckling when I apply pressure to the side.
Between the blades is a piece of Rosco Blue film that came with the Pi NoIR camera. I could not verify its thickness, but it looked like it had a very consistent thickness.
Using a tweezer, I nudged the blades towards the back lego wall to sandwich them together. While holding one end down, I removed the lego on the other side and glued the razors in place by placing a piece of the hard plastic on top.

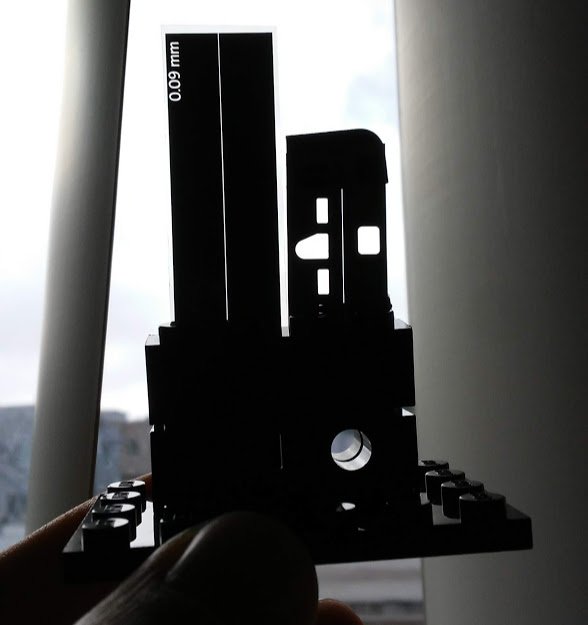
This is what it looks like. I was not able to measure the slit width, but when put side by side with the acetate 0.09 mm slit, it does look comparable.


The finished slit has the rest of the plastic pieces glued on top to cover the holes.
When put in place inside the spectrometer, I was able to get some rough spectra of CFL and sunlight:
The spectra are crops of the pi Camera output (I only cropped vertically so they all remained aligned).
The reference spectrum is from a Popular Mechanics article by John Herrman, that I chose to compare because it looks a lot like my spectrum. According to that spectrum, the wavelength scale was estimated at the bottom.
Note that the resolution is very poor (each spectrum jpeg was 512 x 288 pixels) as I haven't fully figured out how to optimize the pi camera settings yet.
Takeaways:
From the spectra, one main takeaway was that there appears to be sensitivity well into the 700s (Near Infrared) and a faint UV line is seen at around 360 nm at the longest exposure time used, showing that with this setup (Pi NoIR, open air slit, holographic diffraction grating), there is at least a minimal amount of sensitivity in UVA.
I am aware that the hardware allows a longer exposure time than what I tested, so it should be able to get a brighter peak in the UV if desired. I used the maximum shutter speed on the IP Camera html, which was "330000" and seemed to refresh at least once a second. I've read on other places that the Pi NoIR V2 can have an exposure time of up to 10 seconds.
Another important note is that the useable spectrum spans just over half of the camera sensor output. If I switch to a DVD grating, it is expected that the spectrum will have a greater dispersion angle (pointed out by stoft. Thanks!). So future tests will have to optimize the camera settings and see how the DVD compares to the holographic film.
0 Comments
Login to comment.