Near-Infrared Camera
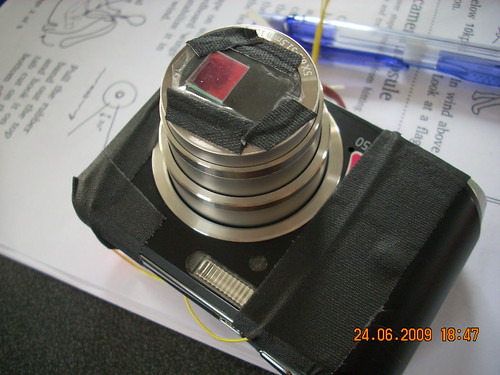
Early prototypes for making an infrared camera:
(note: this video was made when people were still putting the film negative on the outside of the camera lens. To put the film negative directly inside the camera, once you have the infrared filter removed, put your cut film negative where the filter was, replace the rubber gasket and continue with the steps in the video for reassembling.)
NDVI example:
NRG example:
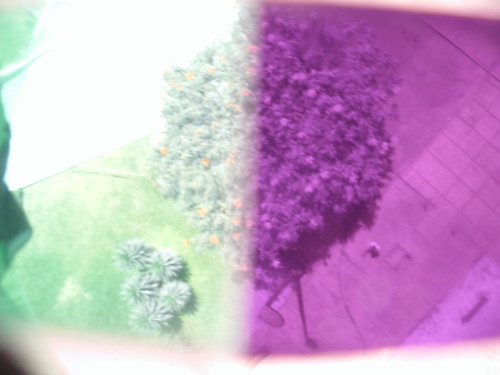
How to take infrared and visible photographs
By putting both an infrared-pass filter and an infrared-block filter on the same camera, you can get both infrared and visible light with one photograph... though the areas don't overlap. This means you can get such imagery from the air using balloon mapping, while only risking one camera. Another alternative is to use a stereo camera system like the one being developed by the New York City chapter.
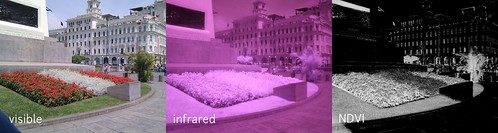
Using Photoshop to do vegetation analysis with your pictures
You can use Adobe Photoshop (or GIMP, for an open-source, free alternative) to composite an infrared and visible image to do vegetation/photosynthesis analysis. The example photos were taken from an airplane window by Stewart Long. For a more comprehensive description of this process, and alternative means to do this analysis, see the infrared vegetation analysis activity.
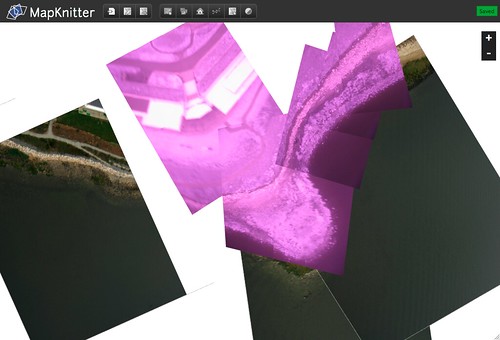
Using MapKnitter to make infrared/visible composites
If you captured infrared and visible pictures from a balloon or kite, you can stitch them into a map using mapknitter.org. Mapknitter supports compsiting. It looks something like this, so far: