Air Quality Class 2
This is the new (beta) Inline Rich Wikis system. Use the "pencil" buttons after different paragraphs to edit inline, and report problems here
Class Home
Getting Started
Prior to class: Facilitator reviews blog posts before class, and identifies 5 - 10 great research site proposals.
In class activity A: Sensor location review
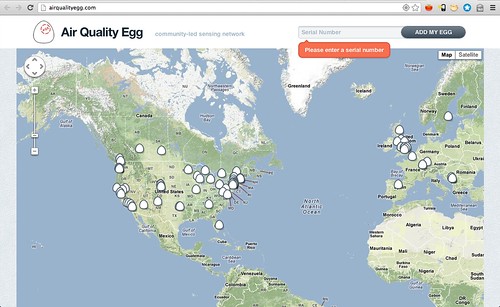
- Review the student postings on publiclaboratory.org,
- Recap what makes the sites suitable or not,
- Discuss viability of sites in terms of physical access & power.
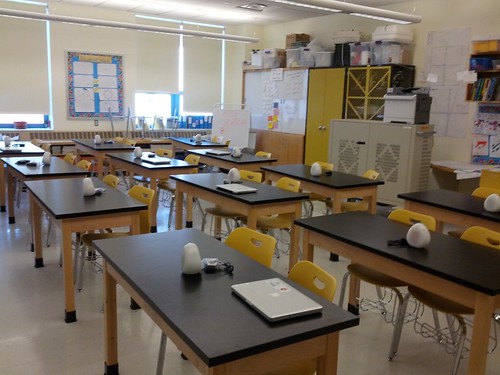
In class activity B: Close look at the sensor units
- Point out what each component is measuring
- Explain how each component works
- Explain how data is being recorded, and the clock.
In class activity C: Assemble one unit
- Plug in the power jack,
- Insert the SD card,
- Screw the board into the housing.
- Review what is needed to install a sensor unit properly.
In class activity D: Class installs and connects multiple (2 - 5) units in the classroom or just outside of the classroom, for practice and experience.
Week 2 Assignment:
Take home sensor units
- 6 students in each class (12 total) are chosen to take home sensor units in the first round
- In class, specify on airqualityegg.com where the sensors will be installed
- Students bring sensors home and install them in their homes
- These 12 students make posts on the blog detailing where they installed their sensor
- Other students make blog posts recapping what they learned in class
Post includes:
- 1 image of their sensor unit plugged in and turned on
- At least 2 images of what is around the sensor
- Writing about what challenges they encountered
- Writing other observations
Sensors will remained installed for 2 weeks in this location.