In a perfect world, our Raspberry Pi Zero W would hook up to the camera, connect to the wifi, and the seamlessly know to send streaming image data to http://raspberrypi.local. It'd be almost as easy as plugging in a webcam (something we're aiming for here)!
Update: You can now download ready-to-use camera software on our Pi Builder page
This activity covers the background steps (as documented by @partsandcrafts) that lead to having a ready-made SD card image, as mentioned in this activity. If you use the prepared image in that activity, you can skip all the steps in this activity -- they're already done! This just shows how we did it.
If you just plug in your Pi and go to that website, nothing will happen. Before we get started, though, we'll need to do the following things:
- Install the operating system on the Raspberry Pi
- Give the Raspberry Pi access to the network
- Enable the camera on the Raspberry Pi
- Install RPICam Interface, which sends streaming image data to http://raspberrypi.local (which we will access to view the pictures)
Look at this diagram to see how it'll work:

In a workshop or classroom setting, microscope users can be given a pre-flashed SD card with the appropriate software installed and will only need to edit a single configuration file to provide their wifi credentials.
This is admittedly a somewhat daunting task for many casual computer-users, but it can be explained in a step-by-step manner pretty easily (and could possibly be made easier by having a piece of software prompt the user for their credentials and generate the file automatically).
For now, you'll need to edit the file directly to give the Pi access to your wifi network.
Once the wifi credentials are set up and the Raspberry Pi is booted, users can open up a web browser on any computer on the same network, visit http://raspberrypi.local and see something like this:

If you are doing this from scratch, you will need to install an operating system on your Pi, set up wifi/networking, enable the camera, and install RPi Cam Web Interface -- https://elinux.org/RPi-Cam-Web-Interface -- the software we use for streaming images.
Note: the Public Lab Kits Initiative plans to offer pre-flashed SD cards soon.
Steps
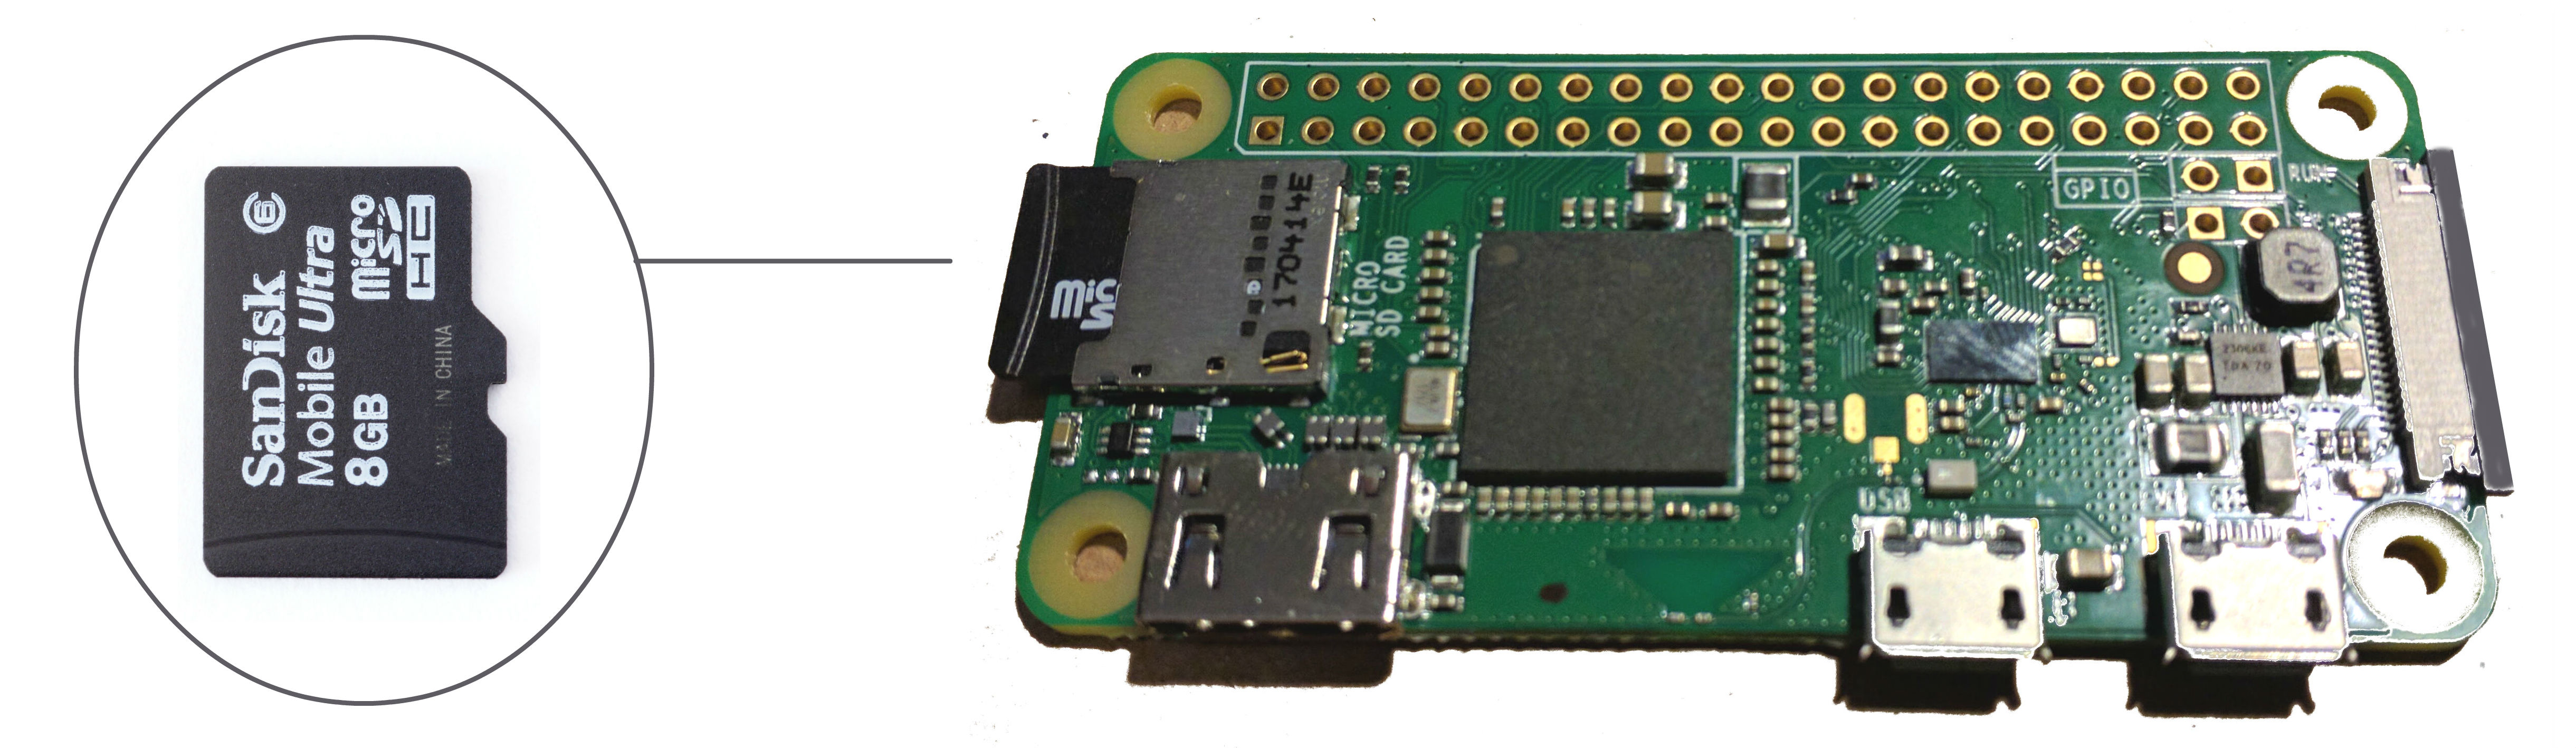
1. Installing an Operating System.
First you want to download a copy of the Raspberry PI operating system -- Raspbian. You can get that from the Raspberry Pi website -- https://www.raspberrypi.org/downloads/raspbian/
For this setup we can use Raspbian Stretch Lite (which is smaller and has no desktop software and saves more room on the SD card for pictures and videos.
Download the .iso file, write it to a microSD card using a tool like etcher -- https://etcher.io/
2. Set up Networking
After the image is burned to the SD card we will need to make two changes to it before putting it in the Raspberry Pi and booting it up. We need to set up our wifi credentials so that the Pi can connect to your local network, and we need to enable SSH -- a tool that will allows us to log in to the Pi remotely from another computer so we can finish the set up.
To do both of these things I followed this tutorial -- https://core-electronics.com.au/tutorials/raspberry-pi-zerow-headless-wifi-setup.html -- but found that the wpa_supplicant.conf file they provided did not work for me.
The file I have been using looks like this, but the process is otherwise the same:
ctrl_interface=DIR=/var/run/wpa_supplicant GROUP=netdev

update_config=1

network={

ssid=“SSID_NAME”

psk=“PASSWORD”

}
3. Enable Camera
To enable the camera and set up the software you will need to connect to your Raspberry Pi over ssh. As described in the tutorial linked to above. Once logged in you will type the command:
sudo raspi-config
The option for enabling the camera is in the "interfacing options." You want to select it and enable the camera, then reboot.
4. Install Streaming Software
The software we use to stream images from the camera is called RPi Web Cam Interface. It can be found here -- https://elinux.org/RPi-Cam-Web-Interface -- along with instructions for how to install it. I used all default options in my install process.
Once it's set up you should be able to go to http://raspberrypi.local/html/ and see what your camera sees.
7 Comments
I have problem with this. I cannot get my raspberry pi to connect to my wifi router. I have tried different thing in wpa_supplicant file that I found in different tutorials. https://www.youtube.com/watch?v=LlCr09B2HZI There it says to add these lines only: network={
ssid=“name”
psk=“password”
key_mgmt=WPA2-AES
} Why there is no first line in that video that you can see in what this page says to put in there? Why there is no key_mgmt line in what this page says to put in there? There seems to be many different things you can put in there but nothing works for me.
I changed key_mgmt line to WPA2-AES because that is encryption what my router uses. I did check it from settings page of my router when it is connected to my laptop by Ethernet cable. From that page I did check if my raspberry is connected to router and it is not.
In this tutorial there is lot more lines in wpa_supplicant file. https://www.youtube.com/watch?v=lJdLpJoov1g
Is this a question? Click here to post it to the Questions page.
Reply to this comment...
Log in to comment
I managed to connect with usb. Now I will try to get camera to work and calibrate my spectrometer. I followed this: https://learn.adafruit.com/turning-your-raspberry-pi-zero-into-a-usb-gadget/ethernet-gadget#if-you-are-using-windows-as-the-host-machine
Thanks for the link! I also wasn't able to use the wifi method of connecting so I also connected over usb. I had to follow the whole tutorial from your link (2 pages) to get the pi to have internet access over the "ethernet" connection. That was the hardest part. After that the rest of the tutorial here (downloading the camera control program) was easy to follow and now I can see my camera feed in the browser!!
Reply to this comment...
Log in to comment
Glad to hear it. I've noted that not all WiFi networks work, and sometimes trying on a different one (like the one I broadcast from my phone) works to get past configuration issues.
Reply to this comment...
Log in to comment
I did this!
Hardware: Raspberry Pi Zero W Software: Raspbian Stretch Lite, Windows 10 (on PC) Connection: USB configured as ethernet device; SSH into the device using PuTTY
A major challenge for me was not realizing I didn't have Bonjour installed, DESPITE having iTunes installed! So the SSH into the pi was not working at all and out of desperation I installed Bonjour separately and that's what made it work. So just because you have iTunes doesn't mean you certainly have Bonjour.
Other than that, exactly following this tutorial, but replacing WIFI preconfiguration with the https://learn.adafruit.com/turning-your-raspberry-pi-zero-into-a-usb-gadget/ethernet-gadget#if-you-are-using-windows-as-the-host-machine tutorial posted by Aleksi12358 in this comments section.
This is great! Indeed, this is a good approach, although I found that not all computers could use an internet gadget either without drivers, it's so frustrating! In any case, would you be interested in writing an install script for this based on the tutorial you've cited? We could build it in automatically so that the Pi works over USB /and/ WiFi in our default image?
You can read more about our pre-made image workflow at https://publiclab.org/pi-builder, and if you're interested in contributing, we'd love your help!
Is this a question? Click here to post it to the Questions page.
Hi Warren, Sure I'd be happy to try to add that in, it's only 2 files that need to be updated after all. However before that, there are a few things that I have to double check with you. When I set up my pi as a ethernet gadget, it was no longer able to access the wifi network. Apparently, after being configured as an ethernet gadget, I was only able to get the pi to access internet through my laptop over the usb "ethernet" cable. So I don't think the Wifi and USB setup are mutually compatible. I think it's possible to have 2 pi-builder versions (one for wifi, one for USB) but do you think that's making things too complex? Or maybe I missed something and it really is possible to have both Wifi and ethernet simultaneously?
Another thing is that when I connected with USB, I had to first SSH into the pi, and then there were a few extra steps to connect to the internet network through my laptop - I'm not sure if this can be done automatically. With that said, if the IP camera program is already pre-installed, I'm pretty sure you don't need internet for it to work. It was only necessary to install the IP camera program.
I definitely like the way I've got mine set up though (with USB-connection, internet access through my computer, and SSH capability) but I think only the USB and SSH access part can be automated (at least from my understanding). Also - is enabling the SSH something that pi-builder includes or is it discouraged for being a security risk? Again I guess SSH is not strictly necessary to be able to access the camera.
As a side note, I do assume the USB method is faster than Wifi - I don't notice much of a lag from the camera to my computer.
Is this a question? Click here to post it to the Questions page.
Reply to this comment...
Log in to comment
Login to comment.