
Why Is Light Important?
Lighting is conceptually relatively straightforward but extremely important for microscopy. We see by observing light reflected off of objects. Because the sample we are trying to look at under our microscope is very small it reflects a very small amount of light. This means that we need to light the sample very well with a very bright light so that we get enough light through our magnification optics to provide us with a visible image.
**
There are two basic ways that people illuminate samples to examine under microscopes -- transmitted light microscopy and reflected light microscopy. With transmitted light microscopy, a thin and translucent sample is placed between a bright light and the microscope lens so that the light passes through the sample. With reflected light microscopy, a very bright light is set up on the same side of the sample as the lens and the light bounces off the sample rather than passing through it.
Reflected light microscopy can be used to examine objects that are not thin and translucent, but is more difficult and complex to set up. We are limiting our investigation to transmitted light microscopy for now.
How It Works
The important thing about the illumination is that it be a small, very bright point light source. We want all of our light to be going into a very narrow aperture at the top of the microscope objective lens. Almost any light source will do, as long as it is bright enough and we can easily point it into the lens. You can either use one you have lying around, buy one, or make one.
Buy a Light
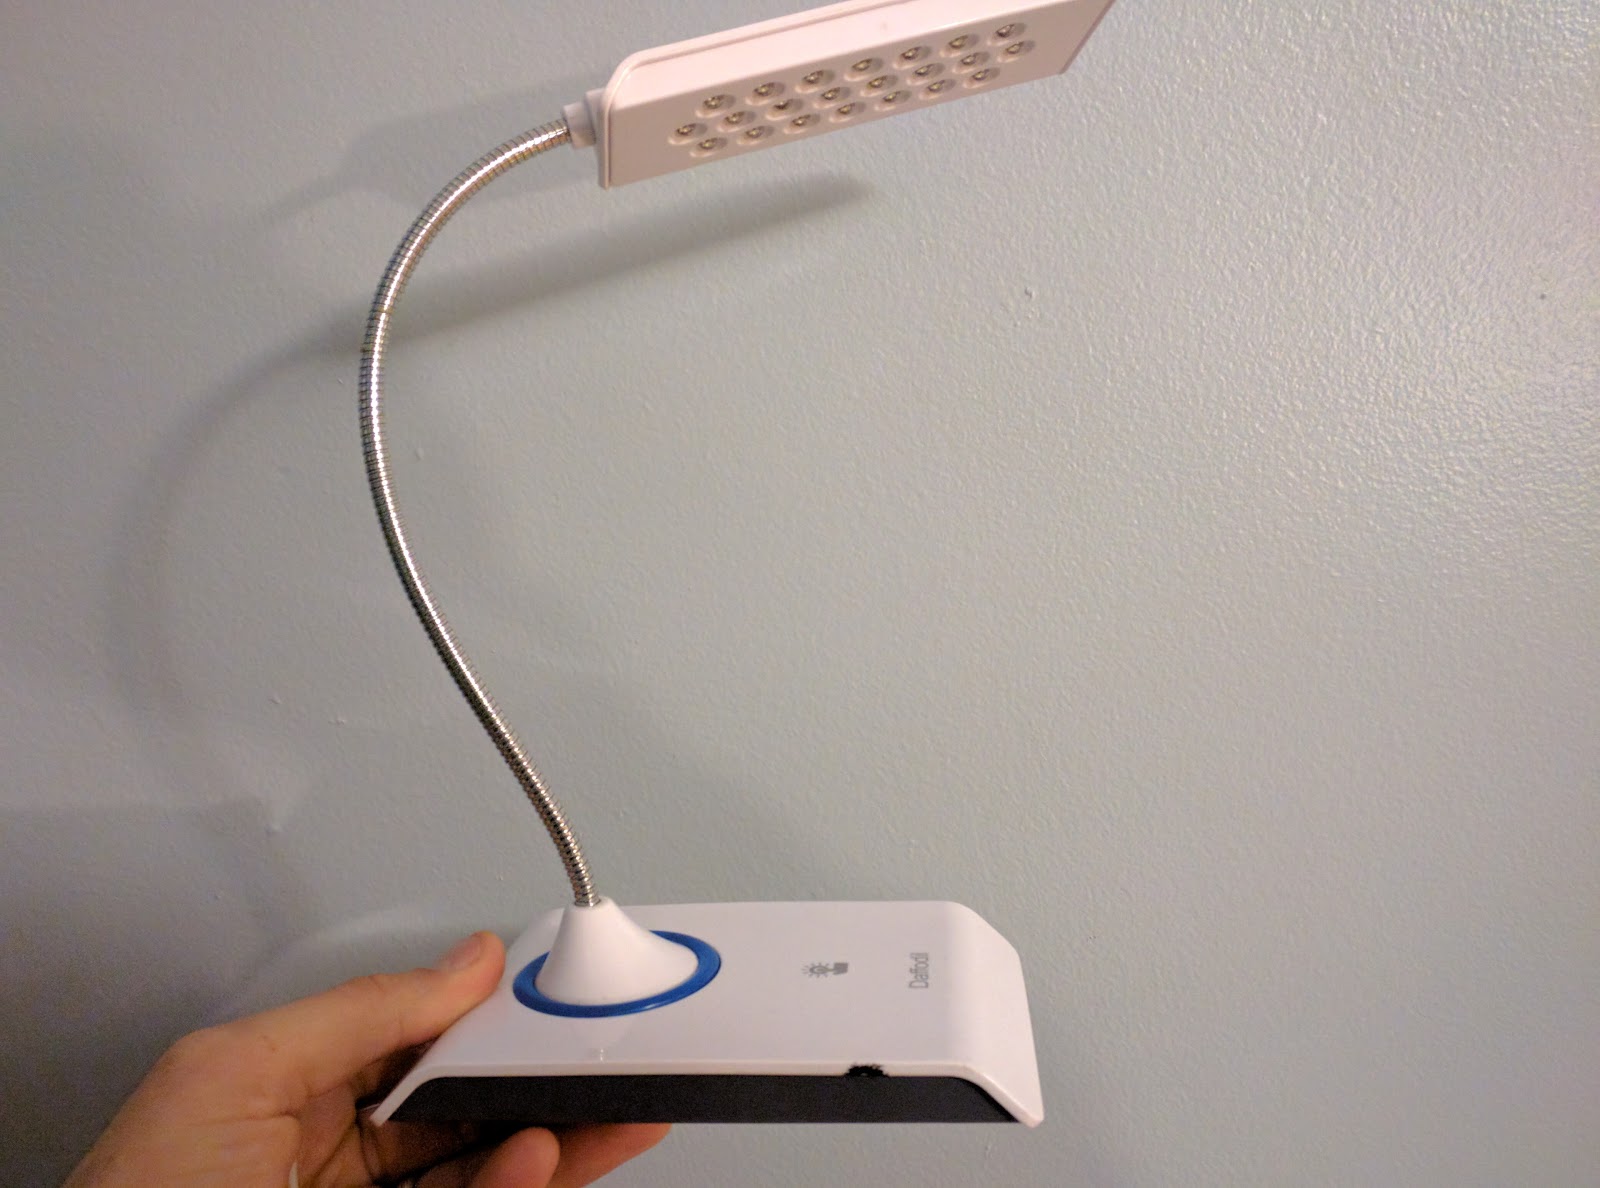
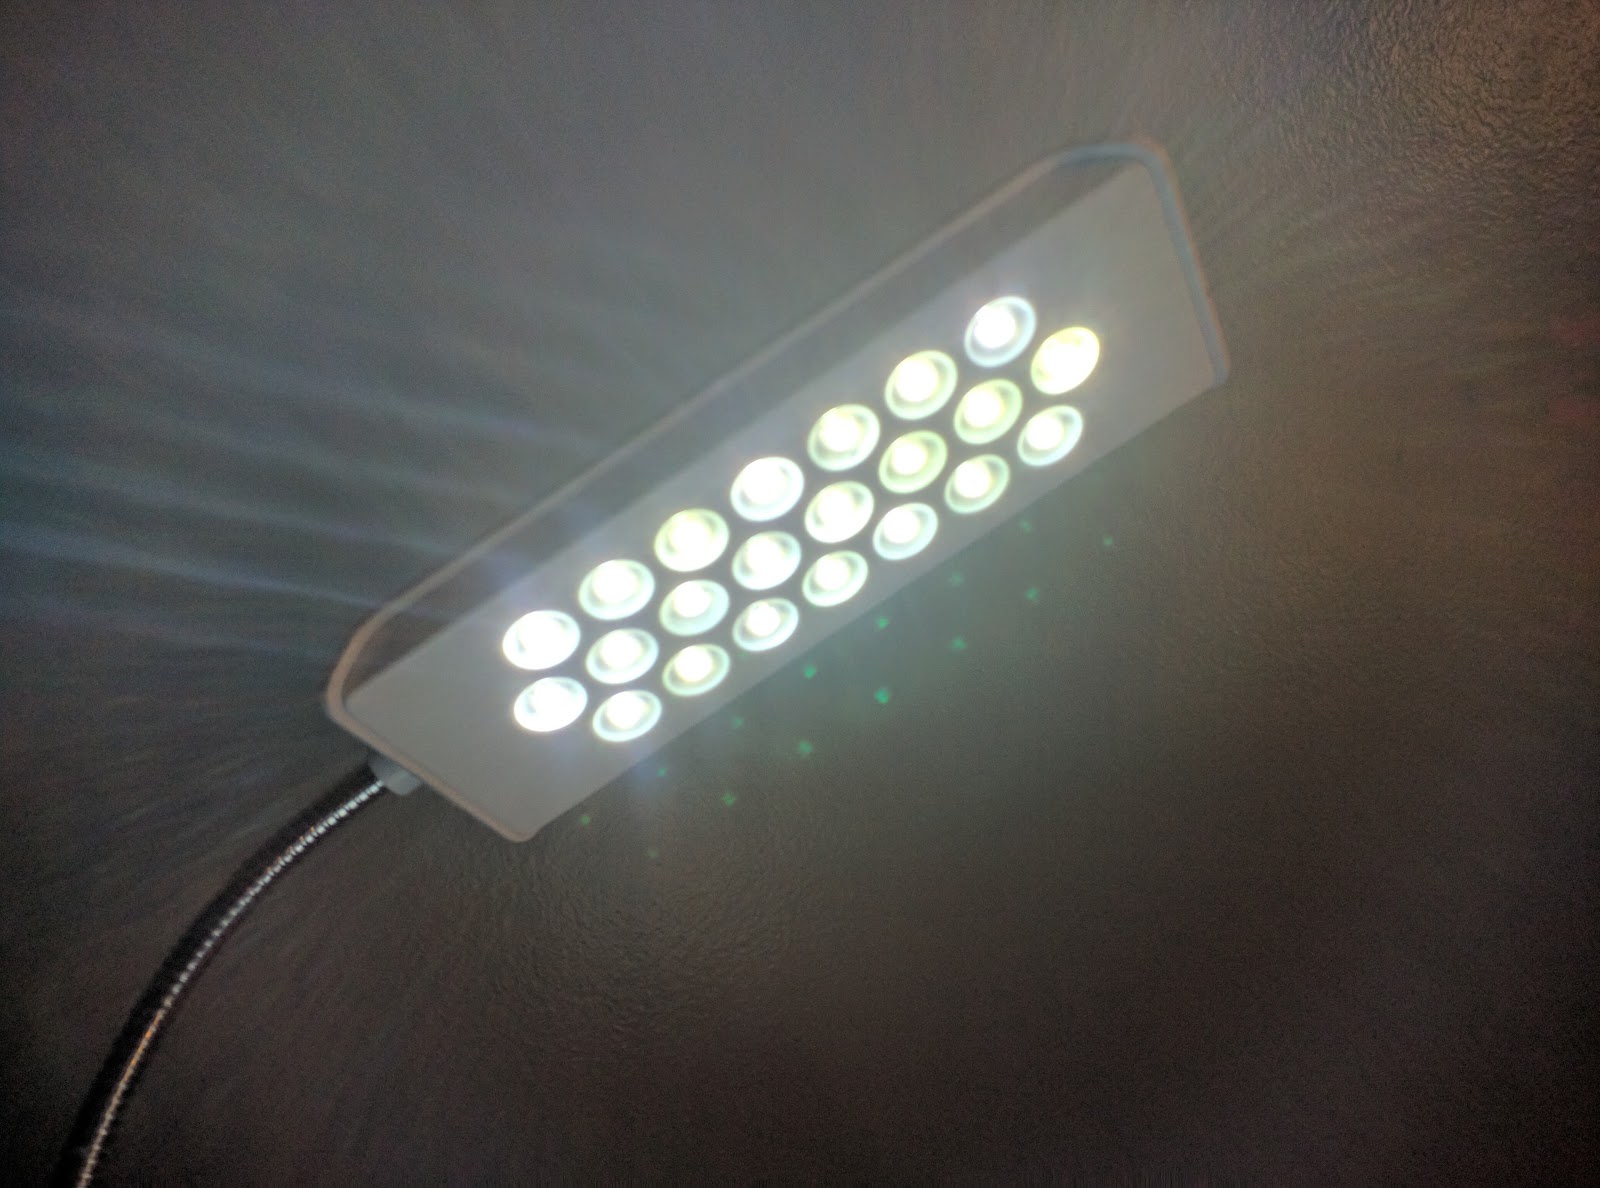
The easiest thing to use is some kind of bright goose-neck task-light with a single bright LED. but most of the ones I've seen have an array of many dimmer LEDs instead. I experimented with a desk-lamp I had lying around, but found that the array of many LEDs made it very difficult to line up a single LED to shine directly on the sample.
**
**
Cell phone flashlights work very well, since they are usually a single very bright LED, and a gooseneck cell-phone holder like this -- https://smile.amazon.com/Aduro-Solid-Grip-Adjustable-Universal-Smartphone/dp/B01HDZJ1ZE/ref=sr_1_3?s=wireless&ie=UTF8&qid=1511647101&sr=1-3 -- would probably work well as an illumination stand.
This is also a good light-source -- https://www.amazon.com/I-MU-Flexible-Gooseneck-Brightness-Gray-White/dp/B071Y3P8ZC/ It's USB powered and so can either be powered from the Raspberry Pi if you use a micro-USB to USB adapter like this -- https://www.amazon.com/Micro-USB-OTG-Adapter-Cable/dp/B00D8YZ2SA, or you can power it from a separate USB port/power adapter.
We decided that the cheapest thing to do would be just to wire up a single bright LED to a power source and glue it to a piece of flexible wire. You could save yourself this step by finding an already existing suitable light source.
Our build for this involves 2 AA batteries, a battery holder with a built-in switch, some extra wires, a length of coat-hanger wire and some hot glue. This is very far from the optimal way to build this, but it works. Coat-hanger wire is actually a bit more rigid than we need and should be replaced with a more flexible wire that could more easily be wrapped around things to be held in place. This would make the light easier to use and would probably also eliminate the need for the hot-glue.
Make Your Own
This is a very simple circuit to build. We simply attach a bright white LED to a pair of AA batteries in a battery holder. LEDs are light-emitting-diodes, and will produce light when electricity flows through them. As diodes they only allow current to flow in one direction so you have to make sure that you have wired the correct wires from your battery pack to the correct legs of the LED.
Theoretically LEDs should always be wired up in series with a current-limiting resistor, but experimentally the bright white LEDs we are using seem to do just fine with 2 AA batteries and no resistor.
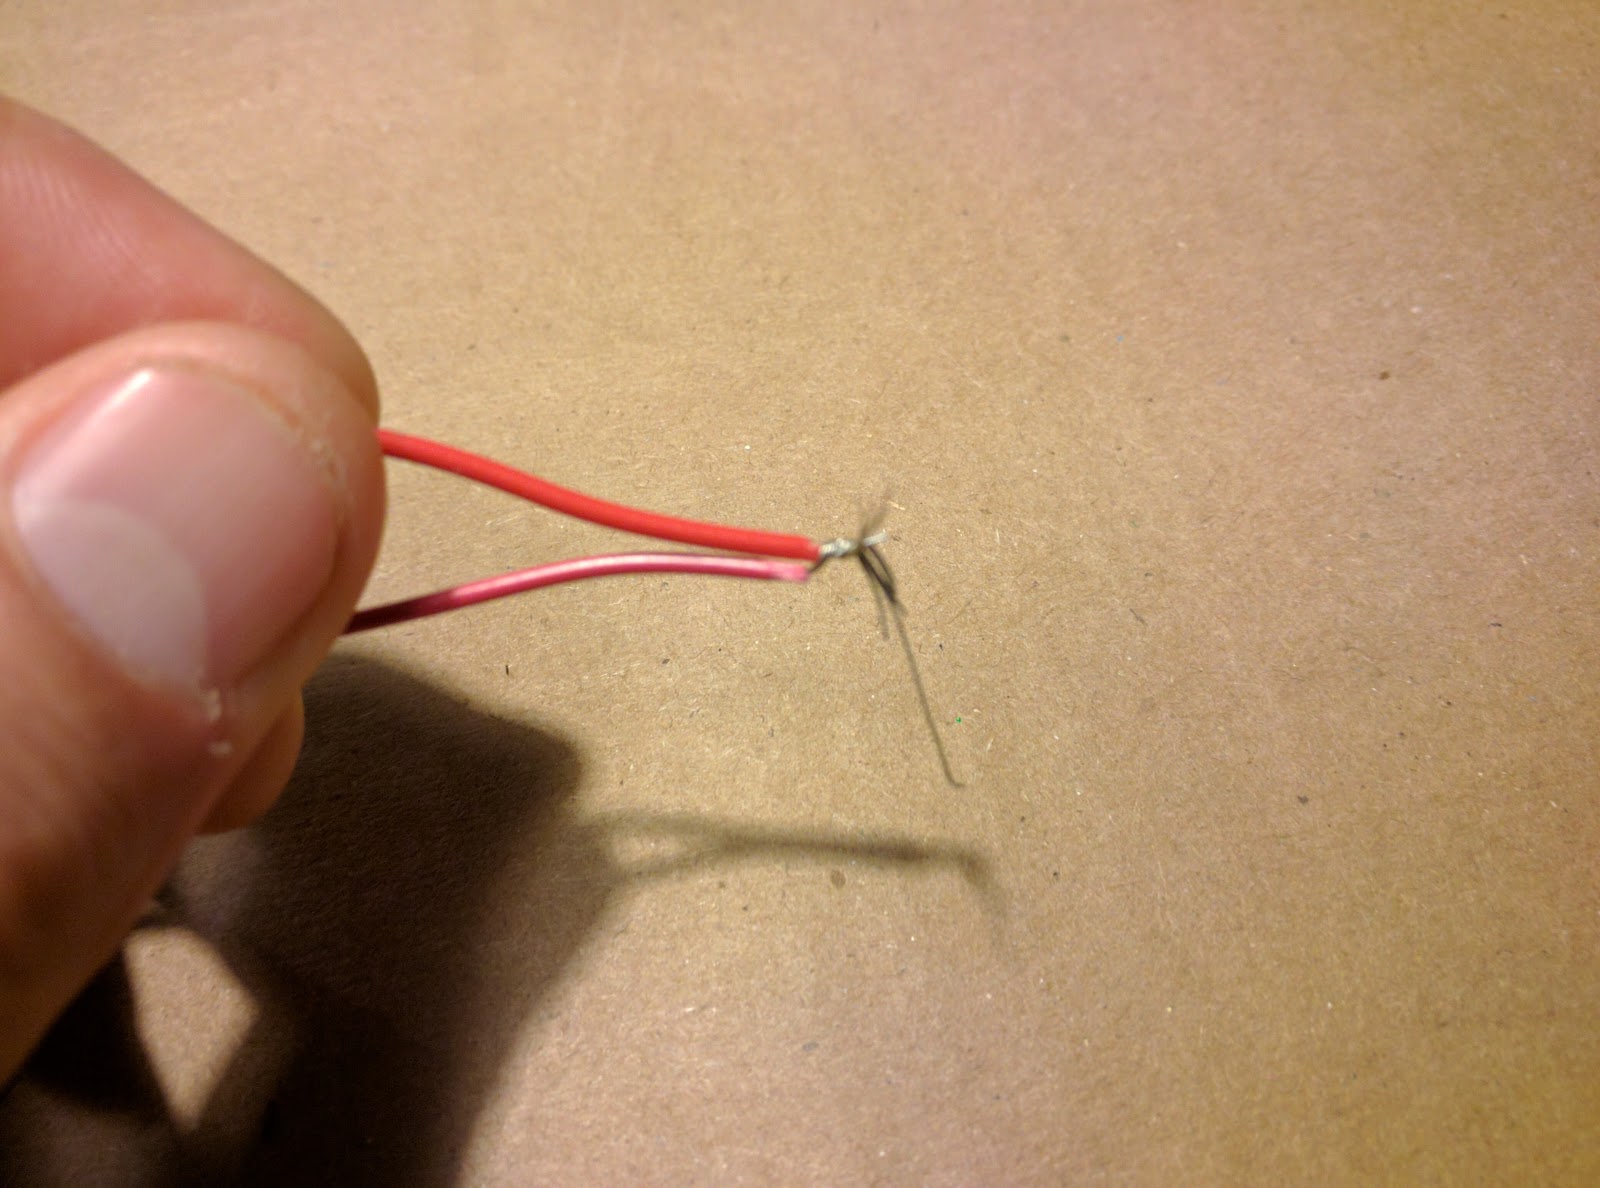
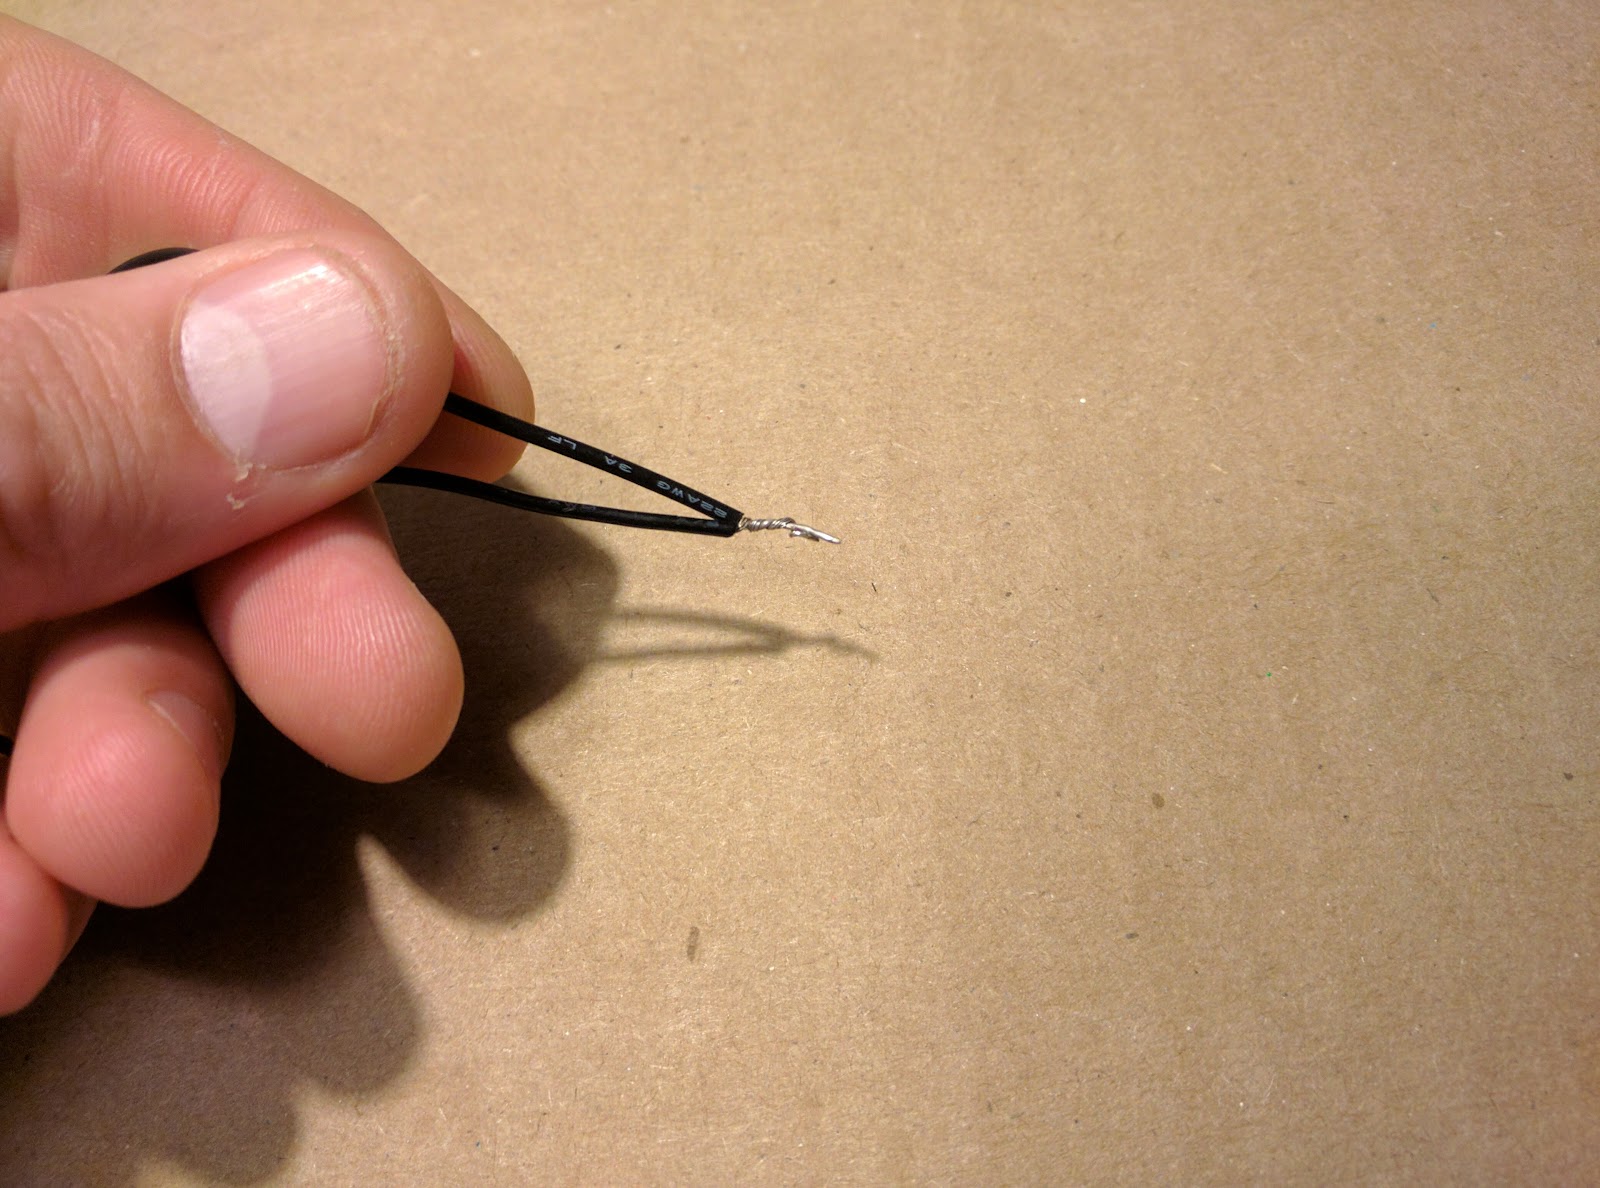
1. Attach longer wires to battery holder
The wires coming off of the battery pack are not quite as long as we would like them to be so we start by attaching extra lengths of wire. If you have a soldering iron you should solder these connections but if you don't you can get away with just twisting the wires together as snugly as you can. Do this for both the red and black wires.
**
**
2. Attach wires to LED
The red wire goes to the long leg of the LED. The black wire goes to the short leg. Again, if you have a soldering iron you should use it, otherwise you can just twist the wires together.
3. Wrap LED legs around structural wire
If your wire is insulated (coated in something non-conductive, such as paint) you can attach the LED to the end of the wire just by wrapping the LED legs around it. If not you'll need to attach it with some kind of adhesive taking care not to let the legs of the LED touch the bare metal structural wire.
4. Wrap electrical wires around structural wire and structural wire around battery pack
This is just to contain the wires and make sure they don't get too tangled or cause a short-circuit. Again, if the structural wire is not insulated you will need to make sure that they exposed metal parts of your electrical wiring don't touch the bare metal structural wire. You will also need to make sure that the bare metal electrical connections between the black wires don't touch the connections on the red wires.
5. Glue it snugly in place
Nothing fancy about this step. Just use a lot of hot glue.
6. Test it out!
You should be able to shine the light straight down into the microscope lens.
2 Comments
Folks are discussing good/cheap lighting options over on this question!
https://publiclab.org/questions/stevie/01-22-2018/what-is-the-best-light-source-to-use-for-the-basic-microscope
Reply to this comment...
Log in to comment
OK, we've finally gotten some good photos of the "basic kit" version of the Community Microscope (Kickstarter link) and how to assemble it. This is not the BEST lighting ever, but it allowed us to make the basic kit very cheap and simple, and it works /pretty well/ -- but of course, we are very much looking for ways to improve upon this, so chime in!
The advantages of this are that it uses everyday materials, is super inexpensive, and is relatively easy to reposition or replace. You can skip the tape and still make it work, but it's a bit harder to pin the clip over the clothes pin.
A true goose-neck lamp as Katie has shown above is better, but the cheaper ones we've found don't have a fully articulated goose-neck, and we're not super satisfied with them. Any help finding a better one for <$5 would be much appreciated!
Reply to this comment...
Log in to comment
Login to comment.