Co-authored by: Bongani Mthembu and Desmond D'Sa, South Durban Community Environmental Alliance, Rico Euripidou, groundWork, Friends of the Earth South Africa
Bongani Mthembu explains step by step how to take an air quality sample using a bucket monitor.
Taking a Bucket Sample
1. Choose a location
In order to find the right sampling location, you might have to sniff around. Literally. Try to find a location in your vicinity with the strongest odor, this will also most likely be where the chemicals are strongest allowing your bucket sample to be a more accurate reflection of the chemical levels the refineries are emitting.

| Odor | Source | Cause | Effects |
|---|---|---|---|
| ROTTEN EGGS | Hydrogen Sulphide | Refineries / Crude Oil vapor | Cough, Nausea, Headaches |
| BURNED MATCHES | Sulphur Dioxide | Processing / Burning Crude Oil | Asthma, High Sensitivity |
| CADAC GAS | LPG, Butane, Propylene, Propane | Gas Storage depots / Refineries | Drowsiness, Asphyxia |
| CAT URINE | Ammonia | Fertiliser, Cleaning Agents | Drying out, lightheadedness |
| BLEACH | Chlorine | Water treatment, bleaching agent | Skin irritation, headaches |
| PETROL | Petrol fumes | Storage depots / Petrol users | Cancer |
| SWEET ALMONDS | Benzene | Industrial solvent, part of petrol | Vomiting, sleepiness |
2. Attach the Tedlar bag securely
Insert the nose of the Tedlar bag into the bucket port that is opposite to the port used in attaching the air pump. If it falls out, tighten the nut and ferrule slightly with the adjustable wrenches. Then loosen the valve attached to the nose of the Tedlar bag by about three twists to allow air to flow into the bag.

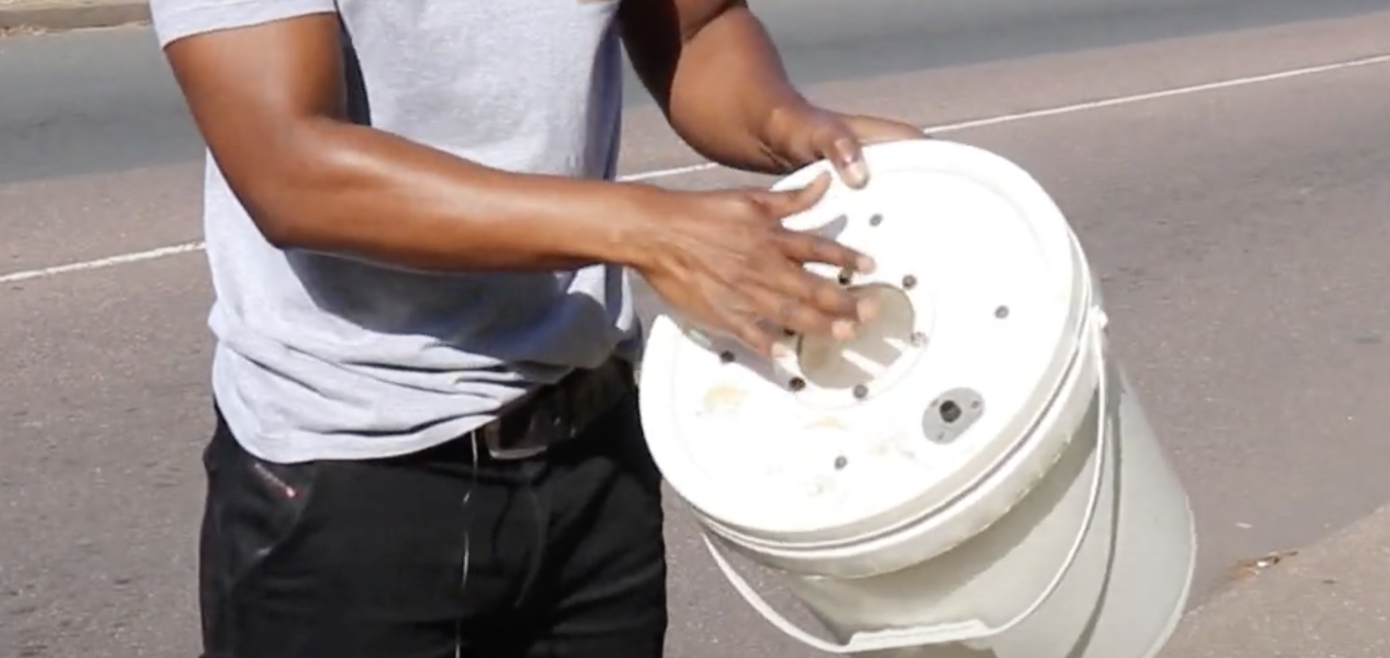
3. Close the bucket lid completely
In order for the bucket to work, a mini vacuum has to be created using the pump to draw air out of the bucket causing the Tedlar bag to inflate. If the lid is open, or the Tedlar bag is sticking out, air will continue to flow in leaving this system unable to work. If you have followed all of the steps above and the Tedlar bag is still not inflating, it may be due to a leak somewhere else in the bucket.

4. Attach the air pump to the bucket
Attach the air pump to the bucket by connecting it to the outtake port.

5. Start pumping, monitoring the bag as it inflates
It's important to monitor the bag as you are taking your sample. This is easy to do if you have a clear bucket. If you are using a bucket with a window, make sure to line up the bag so you can see it clearly as you pump. Do not over inflate or the bag will pop.
 This kit comes with a camping vacuum, but any vacuum pump will work.
6. Remove and secure the Tedlar bag
Once you have finished inflating the Tedlar bag remove the bucket lid and retighten the valve found on the nose of the Tedlar bag. If you notice the bag starting to deflate after you have taken the sample you might need to tighten the valve more. Gently remove the nose from the bucket lid port.

7. Store your bucket sample
While you are waiting to submit your sample to a lab, make sure to protect the inflated bag by placing it back into the bucket and closing the lid. If you need to store your bag overnight, place it in the fridge. You will need to postmark it as quickly as possible, as it needs to get to the lab within 72 hours.
What does a bucket monitor tell me?
Bucket monitors are **grab samples, **meaning that they tell you what's in the air at the moment you took the sample. Many other types of monitoring, including active and passive sampling, measure daily or weekly averages. The bucket can be used to test for up to 97 volatile organic compounds, as well as sulfur compounds.
\\\_Rico Euripidou explains the importance of bucket monitors as grab samples.\\\_
To learn more, see What kinds of chemicals can the bucket test for?
Filling out a chain of custody form
Your sample will need to be accompanied by a chain of custody form, logging the location, wind direction, date and time, and visibility of the area where you took the samples. Include anything you "see, smell, or feel: odors, any physical symptoms you are experiencing (nausea, etc). This information forms part of the "package" you will send to the lab.
\\\_Bongani Mthembu takes you through the process of filling out a chain of custody form in preparation for sending your bucket sample to a lab.\\\_
You can ask the lab to screen for VOCs only. Or you can ask them to test for a specific chemical, for instance, H2S (hydrogen sulfate) or sulfur compounds. Or you can ask them to do a "screen testing" i.e. an overall test for whatever pollutants are in the air. For more information on lab testing, visit Air Lab Sample Testing

####Safety gear
If you can smell it, that means you are breathing it! You can purchase a half-facepiece reusable respirator with cartridges specifically designed to protect you from volatile gases. Do not put yourself in harm's way! If you start to feel dizzy, lethargic, or nauseous, stop sampling immediately and go to a safe location.

Safety note: Do not put yourself in harm's way! If you start to feel dizzy, lethargic, or nauseous, stop sampling immediately and go to a safe location.
2 Comments
@A_SCH has marked @kgradow1 as a co-author.
Reply to this comment...
Log in to comment
@amocorro awards a barnstar to A_SCH for their awesome contribution!
Reply to this comment...
Log in to comment
Login to comment.