If you have built a microscope using a Raspberry Pi Camera you may have noticed that the images look somewhat like this:

You may be wondering "where the purple coming from?" The Sony camera chip that the Raspberry Pi Camera uses has tiny lenses and colour filters above each pixel (see b in the image below):

However as the lens in the Pi Camera is so close to the chip at the edge of the sensor light is coming in at a steep angle (a in the image above). To correct for this the lenses at the edge of the sensor are offset as they expect the light to be coming in at a shallow angle (d in the image above).
Once we remove this lens and build a microscope the light come at the sensor much straighter c in the image above). This means in the centre of the image the light still hits the correct pixels (b in the image above). However at the edge of the image the light is focussed between the pixels, and you start to mix the colours (e in the image above).
The solution
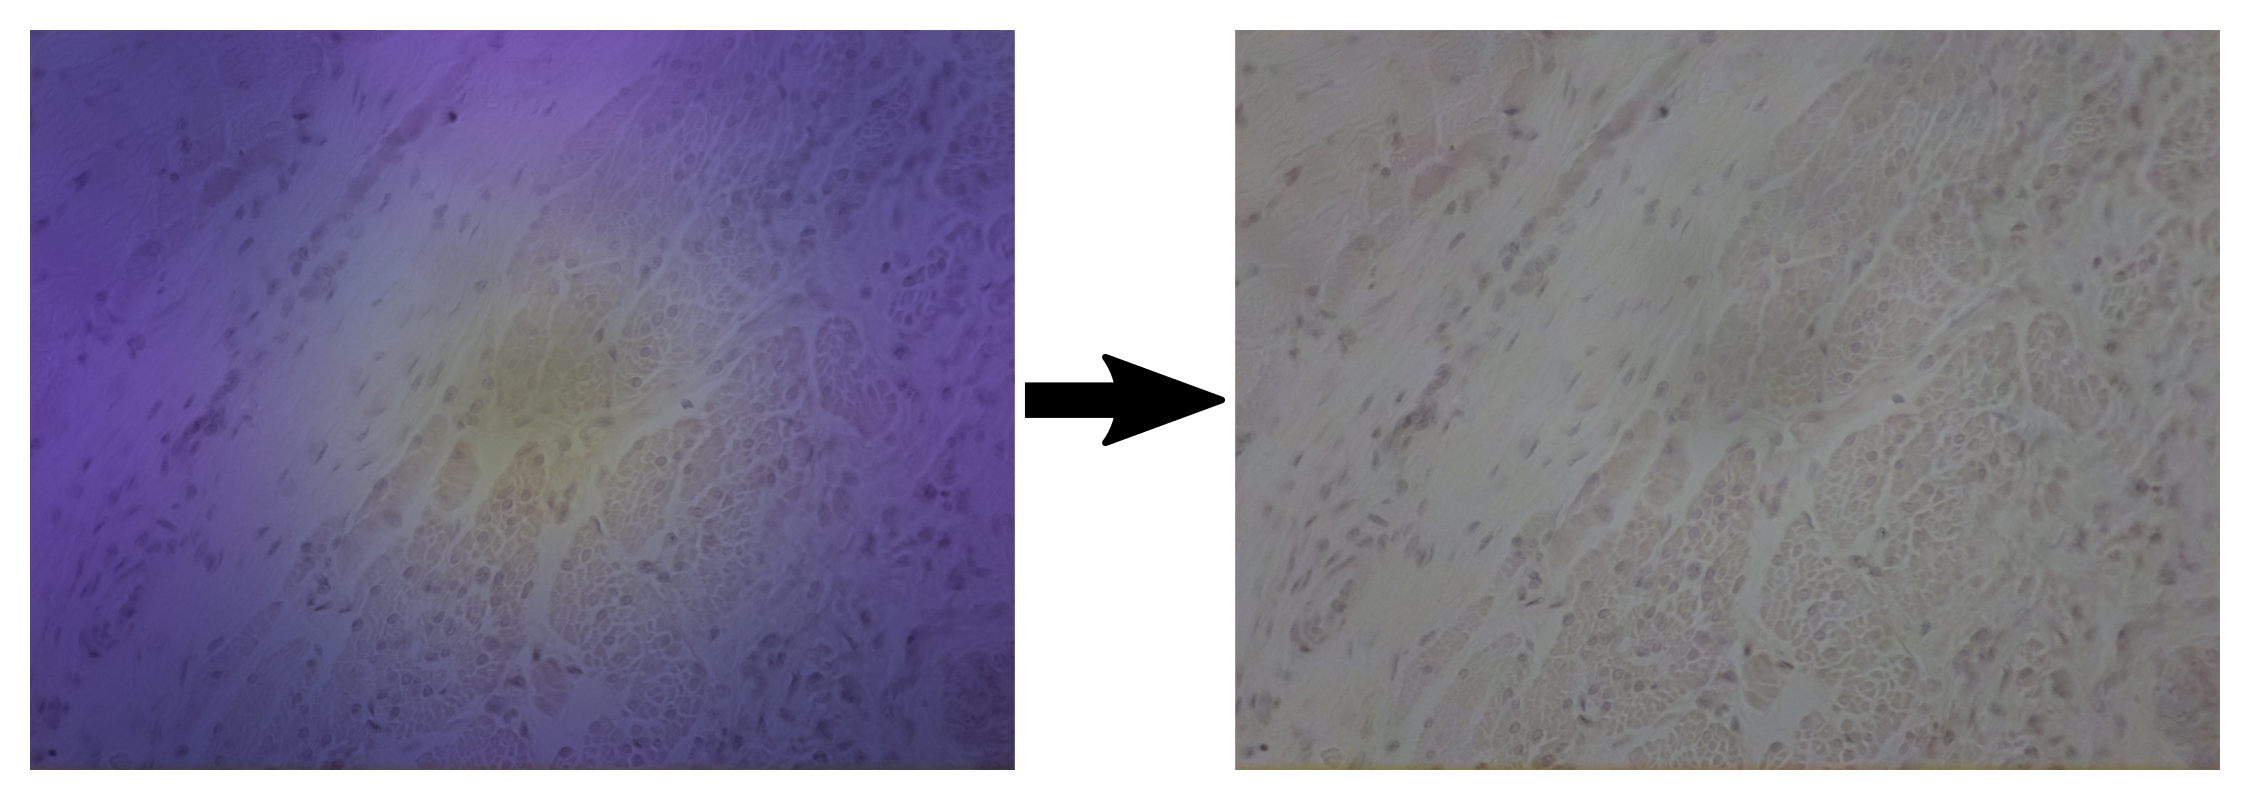
It is possible to solve this by either using a blank slide or no slide in your microscope and adjusting the colours until the image is white. This can actually be done live on the camera, not just in post processing, by adjusting the camera's "lens shading table". However, the standard python software for the picamera doesn't allow you to do this. But by using Richard's modified copy of the library you can adjust the lens shading table. With a corrected lens shading table the image will look like this:

The process for creating the lens shading correction is detailed in our Journal of Open Hardware paper. But probably the easiest way to get access to the correction is to use the OpenFlexure Raspberry Pi image, and use the OpenFlexure software to view your microscope as this has the calibration built-in.
Further correction
You may also see that the colour looks somewhat "washed out" at the edges of your image. This is because the lens-shading correction doesn't cannot "un-mix" the colours. This is possible to do in post processing, but you will need to build a calibrarion jig for your camera, and do some matrix calculations to correct the image. More details of this procedure are also in our paper. Luckily this is a small effect and it probably is not necessary.
1 Comments
Yay!!! Thank you for posting this, this is super helpful.
Reply to this comment...
Log in to comment
Login to comment.