I have been working to refine the workshop that will support the new Public Lab Oil Testing Kit. To test out the existing format, I spent two afternoons with Groundwork New Orleans' Green Team - a great group of enthusiastic high school students. We've been running the Beta program for the past couple months, and so alongside the workshop format, I ran a version of the beta program for the students to contribute to. In this post I will include some of our experiences building the kit, taking some samples and reflect on the workshop format.
Building the kit
I had two, two hour blocks of time to run the workshop, so we spent the first day on kit construction. The students worked in pairs on building the spectrometer 3.0 and accompanying oil testing add on pieces. The construction of the spectrometer went really smoothly. The students enjoyed working on it and were able to do it fairly quickly, faster than I saw groups do it when I ran a workshop at the maker space a few months back. Part of this could have been because the instructions are a little more refined online. One hiccup we ran into was people assembling the box wrong, so that the hole for the camera cord was not in the right place, but this was easily fixable.
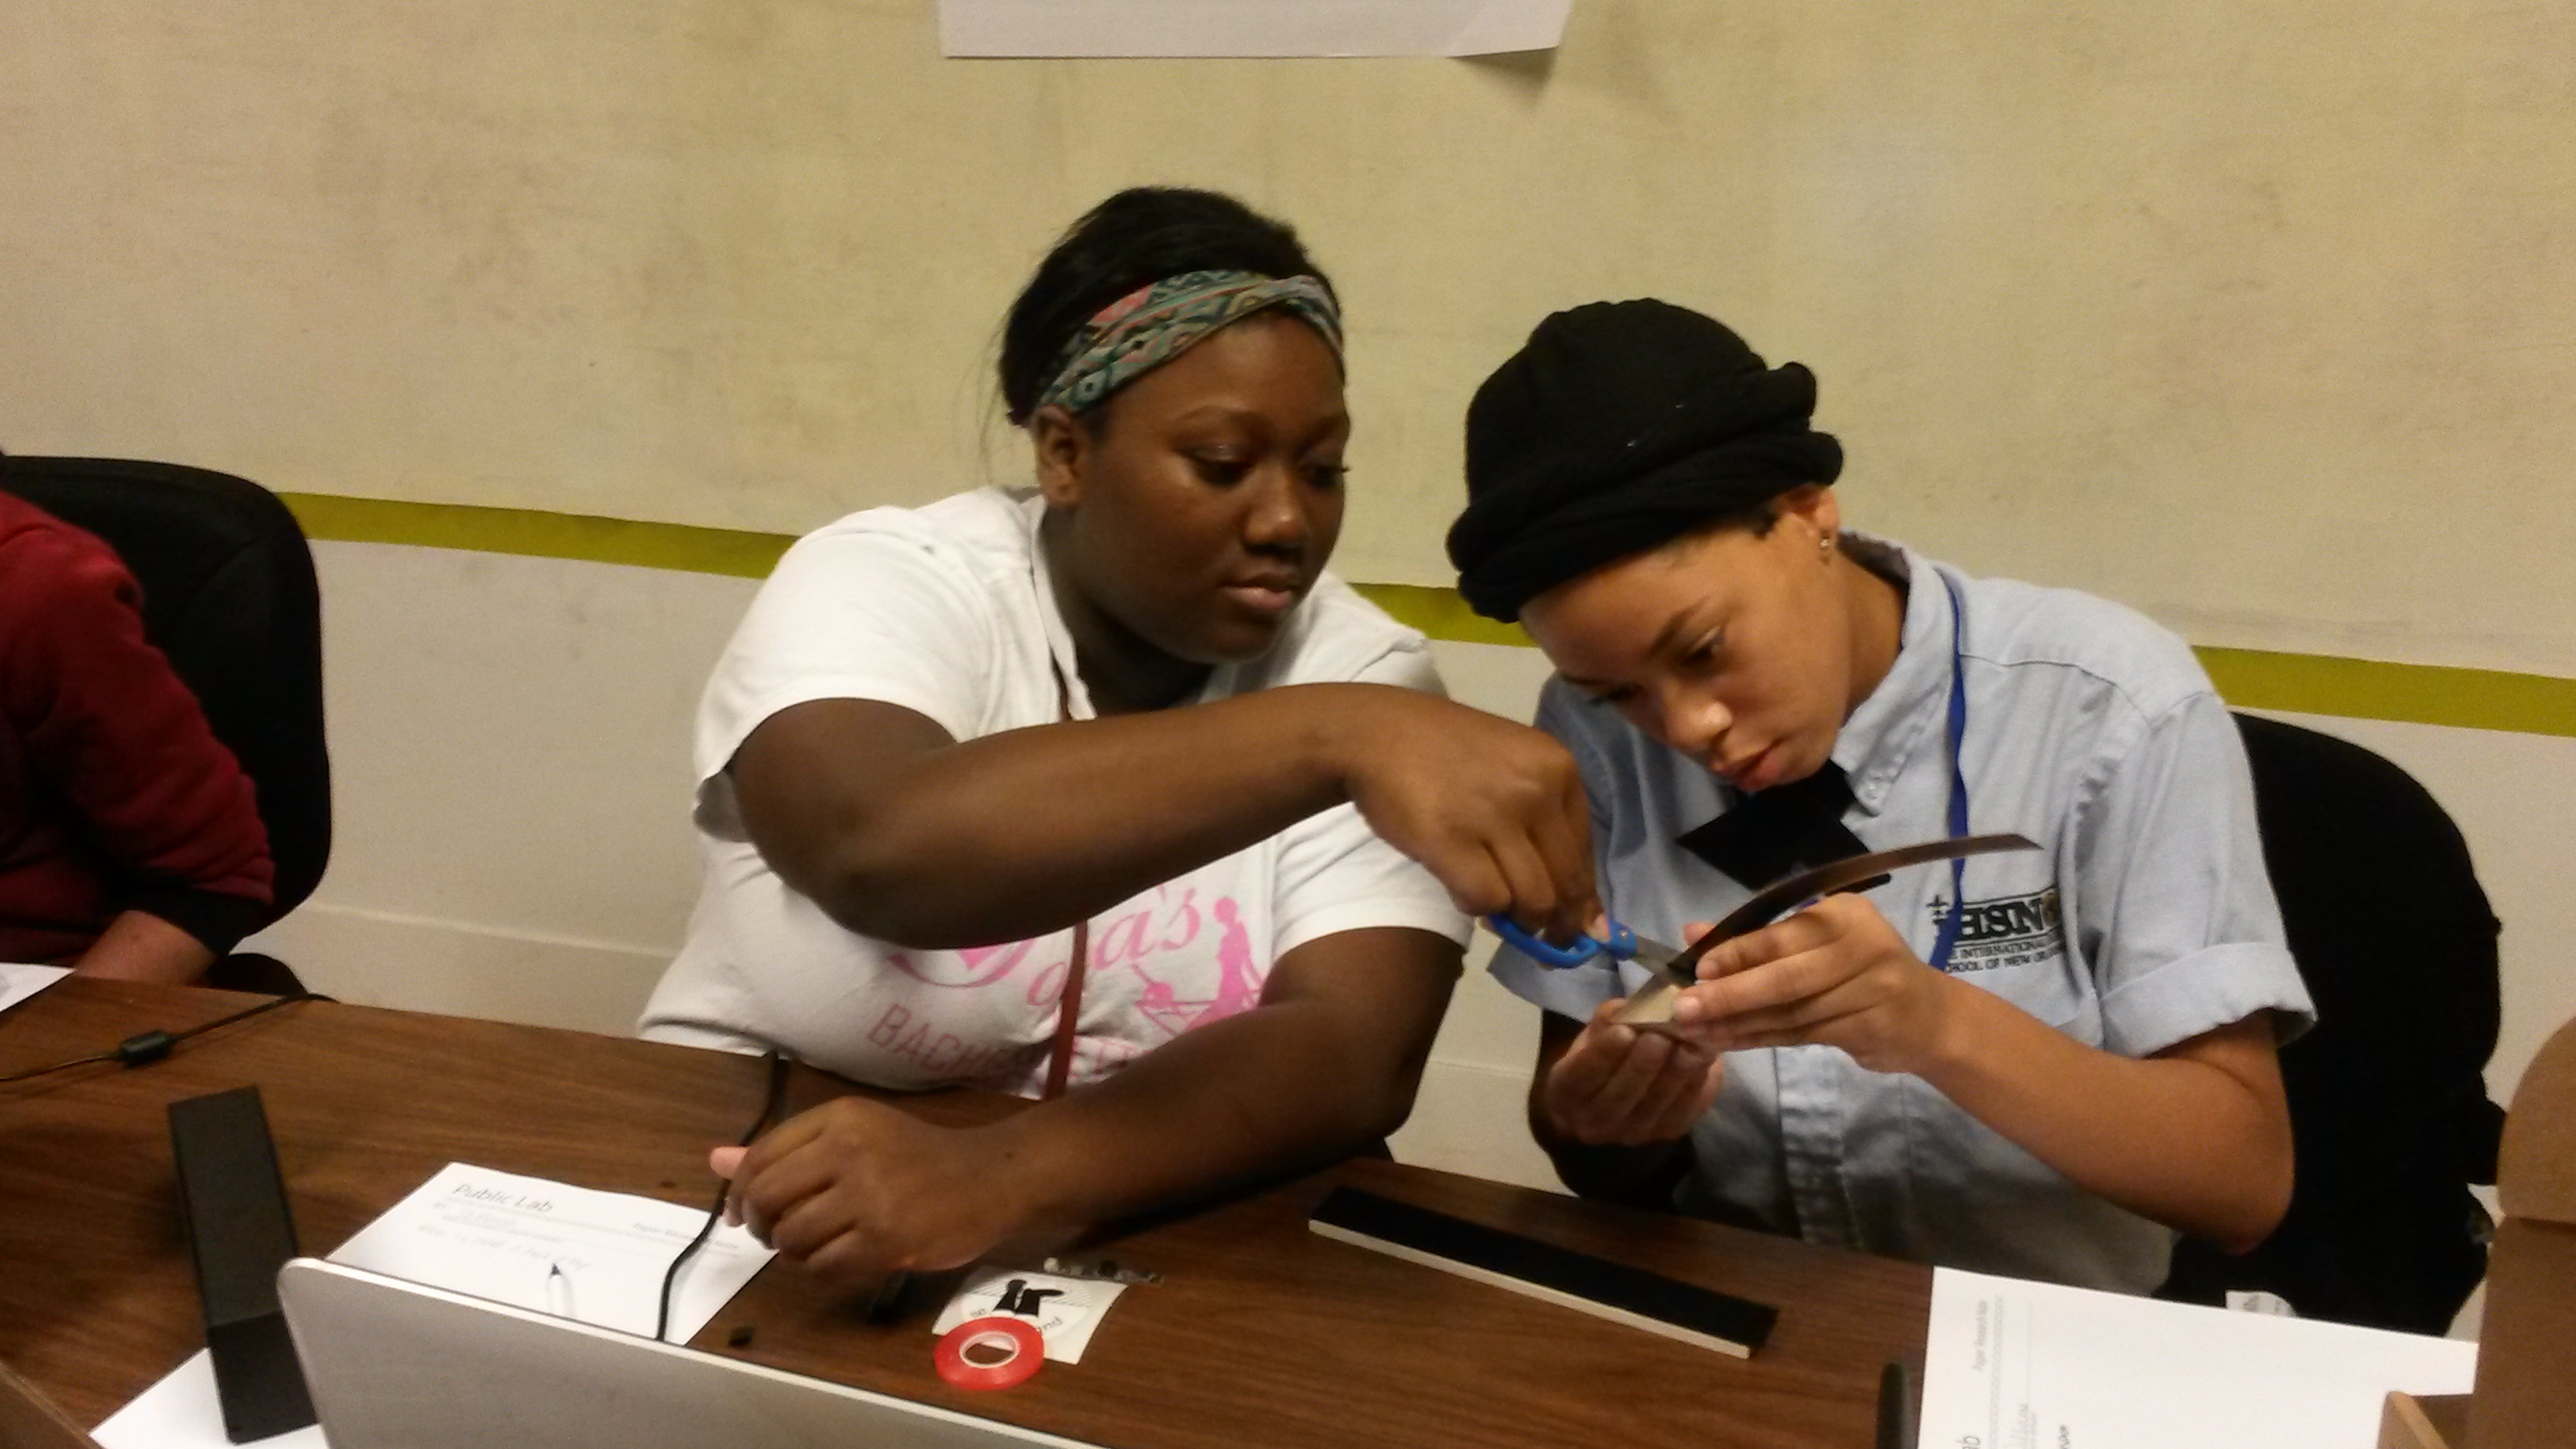
The students had more trouble assembling the oil testing kit than the spec. Everyone ended up using @mathew's research note for assembly, but did experience some difficulty:
- There was confusion on the long thin piece that turns into the M and holds the laser in place. The students were unsure if the sides of the M should sit inside our outside the box.
- The piece that I've since been referring to the "stingray" was difficult to figure out how to fold. None of the groups were able to figure it out on their own.
- The oil testing add-on required a good bit more finagling to assemble than the spec. We ended up needing to cut the V shaped laser holder to get things to fit properly.
- The slits on the box that holds the V piece down on either side were difficult to get the tabs into. We needed up crumpling several of the V pieces by accident.
- The group recommended that a video on folding these pieces would be really helpful.
- I recommend that we name the pieces so they are easier to refer to both on Public Lab and in a workshop setting.

Scanning samples
We devoted the second day of the workshop to scanning samples. We all found the Chrome browser worked the best for us in scanning. Here are some things we struggled with:
- We had trouble getting the laser light to match up with the sample. We ended up taking out the sample holder and having one person on each team hold the sample by hand in order to get the light at the right angel. (as a side note, in previous kit construction, I did not have this problem, I'm not sure why we did this time, but we had to take the sample holders out of all 3 kits).
- On spectral workbench, some of the students had a hard time telling when they were taking a sample and when they had saved it. A walk through from logging in to scanning a sample and adding it to a set would be really helpful, much like the one you can watch on mapknitter.org.
- It took a long time for us to get one or two good scans, we defiantly needed more time and a different sample holding system to refine this.
Here are some of the things that went well: - Working in pairs was a good idea both in construction and in taking the samples. In scanning the samples, one student ran the computer and one managed the sample and the laser. - All of the groups were able to scan the 80w90 and the North Dakota Crude. However, the varying laser light and ability to hold the sample still made it so only about 1/4th of the scans were useable.
Workshop reflections
I'll be editing the workshop page in the next day or two with more technical changes, but below are some general reflections.
- Make sure all the computers run spectral workbench, I had to instal different browsers to make this run more smoothly (Chrome worked best).
- Don't calibrate anything until both pieces of the kit are constructed, then calibrate the spec and put them together. Breaking up kit construction with calibration ruined the flow the group had on construction.
- While many of the students enjoyed putting the spec together, they all enjoyed running the samples.
- We needed one more 2 hour time slot to really scan all the samples and refine our scanning techniques.
Interested in catching up with students from the Green Team about this project? Look for them at the Barnraising!
1 Comments
I loved learning about this at the Barnraising and it's great to read the in-depth report-back too, thanks Stevie!
Reply to this comment...
Log in to comment
Login to comment.