Pi Builder
Tips and tricks for the Pi Builder software; see more at https://github.com/publiclab/pi-builder
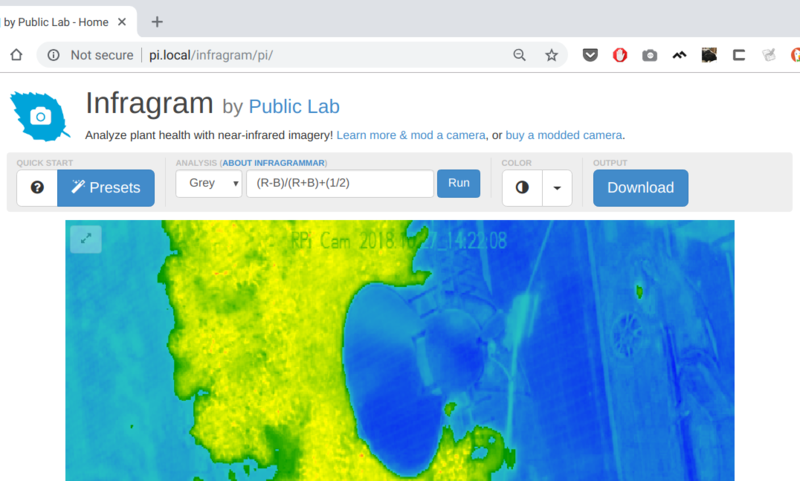
Using Pi Builder, you can download a premade SD card image to use your Pi as a WiFi streaming camera, a timelapse camera, an Infragram camera, and much more!
Read the introductory blog post here
Used in the following projects:
Connecting
Once you assemble and plug in your Pi with the provided SD card (or flash your own from one of the recipes here):
- wait 3-5 minutes for it to start up
- connect to the
00-PiCamerawifi network with passwordpubliclab - wait for the popup prompt, or use
Click to log in to this network, or if nothing happens, go to http://pi.local (NOThttps, sorry!) and you'll see the welcome page.
If this doesn't work, please post a question below!
Video quality
The streaming video you see in the web interfaces is not the highest quality available; to change it, click Camera settings at the http://pi.local/cam/ page, and change the Wi value to something higher like 1024. It can in theory go as high as 1980, but I think streaming at high framerates at this resolution is probably tough for your Pi.
New recipes
To create a new recipe on Pi Builder, see the GitHub repository (and readme file) here:
https://github.com/publiclab/pi-builder
There you can look at proposed recipes, open an issue, or start developing your own recipe by opening a pull request, which will begin auto-building your image each time you push a commit.
Questions
| Title | Author | Updated | Likes | Comments |
|---|---|---|---|---|
| Getting problem with Pi-builder image | @nipam_bhavsar | over 5 years ago | 0 | 3 |
| What are easy and fast ways to get files off a Raspberry Pi? | @warren | over 5 years ago | 1 | 3 |
| How can I download pi-builder SD card image with the WIFI network for camera access, Infragram and Image Sequencer? | @molangmuir10 | almost 6 years ago | 1 | 7 |
| ID and Password Request after Image Load | @joquendo | almost 6 years ago | 0 | 3 |
Activities
| Purpose | Category | Status | Author | Time | Difficulty | Replications |
|---|---|---|---|---|---|---|
| Nothing yet on the topic "pi-builder" -- be the first to post something! |
Activities should include a materials list, costs and a step-by-step guide to construction with photos. Learn what makes a good activity here.