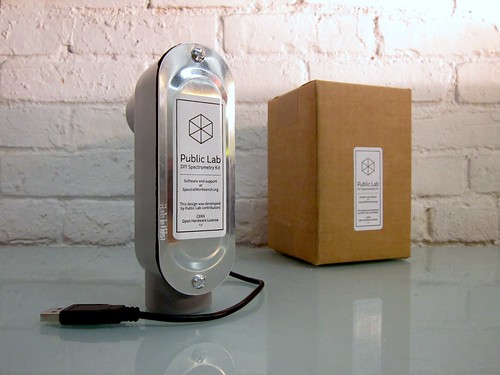
Desktop Spectrometry Kit
Welcome! This page includes full instructions to assembling the Public Lab Desktop Spectrometry Kit.
Preorder one from our store (shipping Feb 2013)
This page is being actively improved, so be sure to check back soon to see if more content has been added.
Getting Started
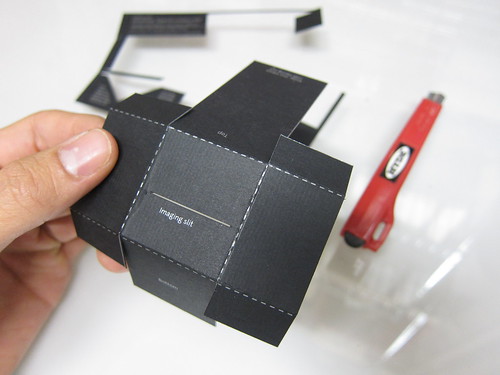
The 1-page instruction sheet which shipped with your spectrometer remains the best documentation to date on how to assemble it. Download a new copy here:
desktop-kit-instructions-0.2.pdf (100 kB)
Using your spectrometer
Once you've assembled your spectrometer and are ready to use it, plug it in and visit SpectralWorkbench.org to begin recording data with it. The web-based software works in the Chrome and Opera browsers with more coming soon.
(Peer) Support
Public Lab is not a corporation, we're an open community of DIY environmental science researchers which you have just joined! The best place to get help is the spectrometry mailing list; to join, register on this site and be sure to check the "plots-spectrometry" box.
The spectrometry mailing list is made up of people like you, who are building and improving open source spectrometry techniques. Ask questions, look for help, and consider helping others too!
Resources
- Common hardware issues
- more Assembly instructions
- Using the software
- Background about the project
- peer-contributed research on open source spectrometry
Assembly photos
Here are some photos of the build process to help you figure it out. It doesn't hit on every step but just the important parts.

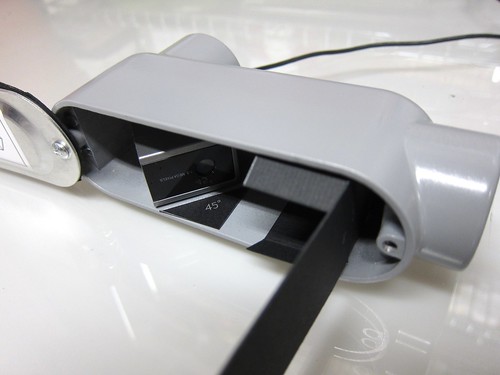
Snap off the useless half of the webcam
Some cameras may rest flat on the side of the box; our kit includes a nice, compact camera with flat sides (hard to find! too much ergonomics!) but to make it fit you have to snap it in half. Don't worry, the non-camera half is empty!
(If you're building this without a kit and can't find a flat-bottomed camera, you can use hot glue, epoxy, moldable plastic, or metal brackets to ensure that your camera stays level and rigidly in place.)
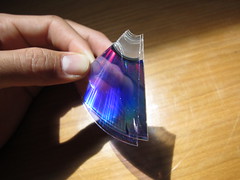
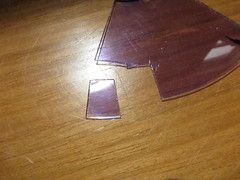
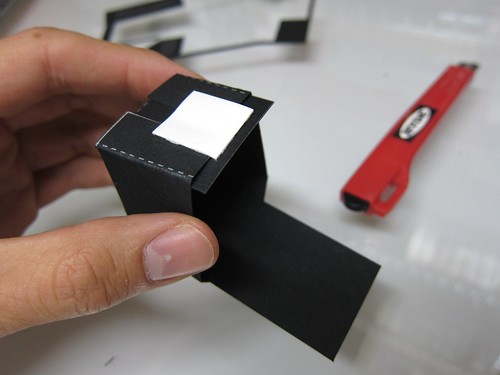
Split the DVD-R into layers and cut a small rectangle from the clear layer
You should be able to easily pry apart the DVD layers, and they're far easier to cut once they are separated. You'll need about a 1cm x 1cm square of the 'outside' edge of the disc.
Don't get fingerprints on the DVD, and cut your "grating" from the outside edge where the track lines are more parallel. You can cut this piece down more precisely later.
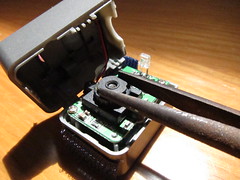
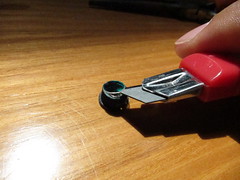
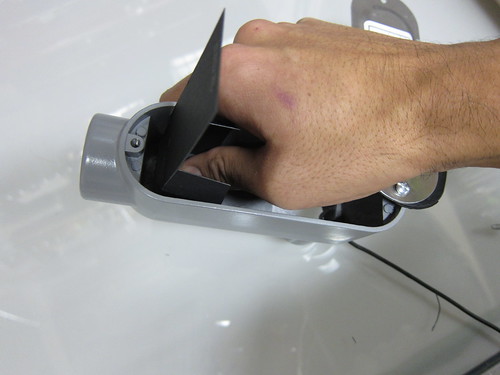
Unscrew the lens and remove the infrared filter
Heating the lens a bit with a hair dryer, or by leaving it close under halogen desk lamp can help loosen it. The filter will look iridescent -- pry it out with a knife or sharp screwdriver, and throw it away. Screw the lens back in close to how it was.
More tips on removing filters from other types of webcams can be found here: Webcam filter removal
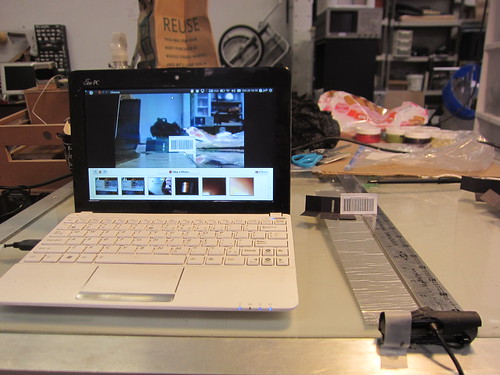
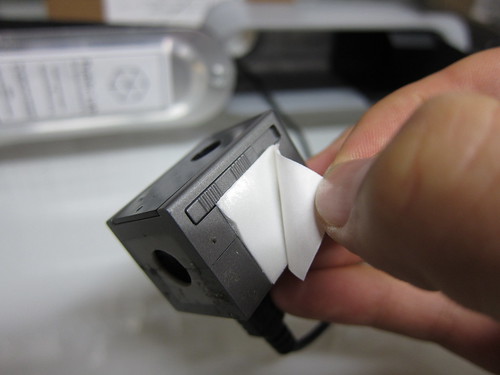
Look at a barcode through the webcam to refocus it to about 5 cm (3") away
Use a webcam program like Photo Booth or even https://spectralworkbench.org/capture (experimental). A barcode has fine details so it's a nice test of focus. (The above image is of an older kit)
Rotate the camera lens to adjust the focus. You may need to gently use a pair of needle-nosed pliers at first. Anything around 3 inches away from the lens should be in focus. This means your slit will be in focus when the box is closed. If you don't carefully refocus your camera, your spectra will be of very low resolution.
Now snap your webcam back together.