I was interested in testing out the new Public Lab Desktop Spectrometry Kit 3.0 and was excited to compare my experience working with it next to the 2.0. I've been excited about this new kit for a while, mostly because I've heard that the angles are adjusted to make capturing spectra easier, an the camera should capture brighter images. Plus it's made almost entirely out of paper which is awesome.
I worked with @micheal to put it together, which was neat because this was her first time to work with a Public Lab kit! The first thing we noticed opening the box was that there was a lot of paper! Putting it together, we both found the box assembly video really helpful, especially since the direction book is in black and white, and if you're not a diagram person, a little hard to follow. With aid of the video, we were able to put the box together with no problem. We later decided that a video for Every step would be great!

Some note we took while we were assembling the kit are below:
- This is the smallest double sided sticky tape we've ever seen! Took us a moment to realize we had to peel the orange backing off for the tape itself... we're a little embarrassed about that one, but it's true!
- It would be helpful to have all the diagrams in the booklet on one page instead of flipping back and forth.
The DVD Grating Mount/Angle:
- On the picture of all the kit pieces, one piece is referred to as the "DVD grating mount," and in the directions it is called "deffracton grating and angle." This was a little confusing.
- The DVD grating mount is not on the list of materials.
- Micheal also thought that if the diagram of the DVD grating mount was turned around, it might be easier to understand. On the diagram, it wasn't clear at first where the tape should go. Maybe including the words "place the tape at the top of the window" might make it more clear?
- The directions don't say anything about the velcro piece that is supposed to go on the bottom of the DVD grating mount. We just saw that a piece was supposed to be put there. We actually put the wrong side of the velcro (smooth) on the DVD grating mount and later had to switch it out.
- Another note on Velcro: Both Micheal and I knew the two pieces in the kit as velcro, and had not heard (nor registered when we read on the first page) the "hook and loop fastener" differentiation. We're not sure if this is common terminology we both had missed, or if this is new. On the section with the DVD grating mount, the phrase "hold them in place with the hook fastener" was a little baffling to us, maybe it could including "a small piece of velcro - the rough side," or something like that. Remember we are also using the word "hook" to describe how we connect the inner walls of the box together. Later the term "fuzzy side is used in talking about the bench, block and camera, that is Great!
- Finally, the tape and velcro images in the booklet are the same, this is two steps, two different diagrams would be helpful.

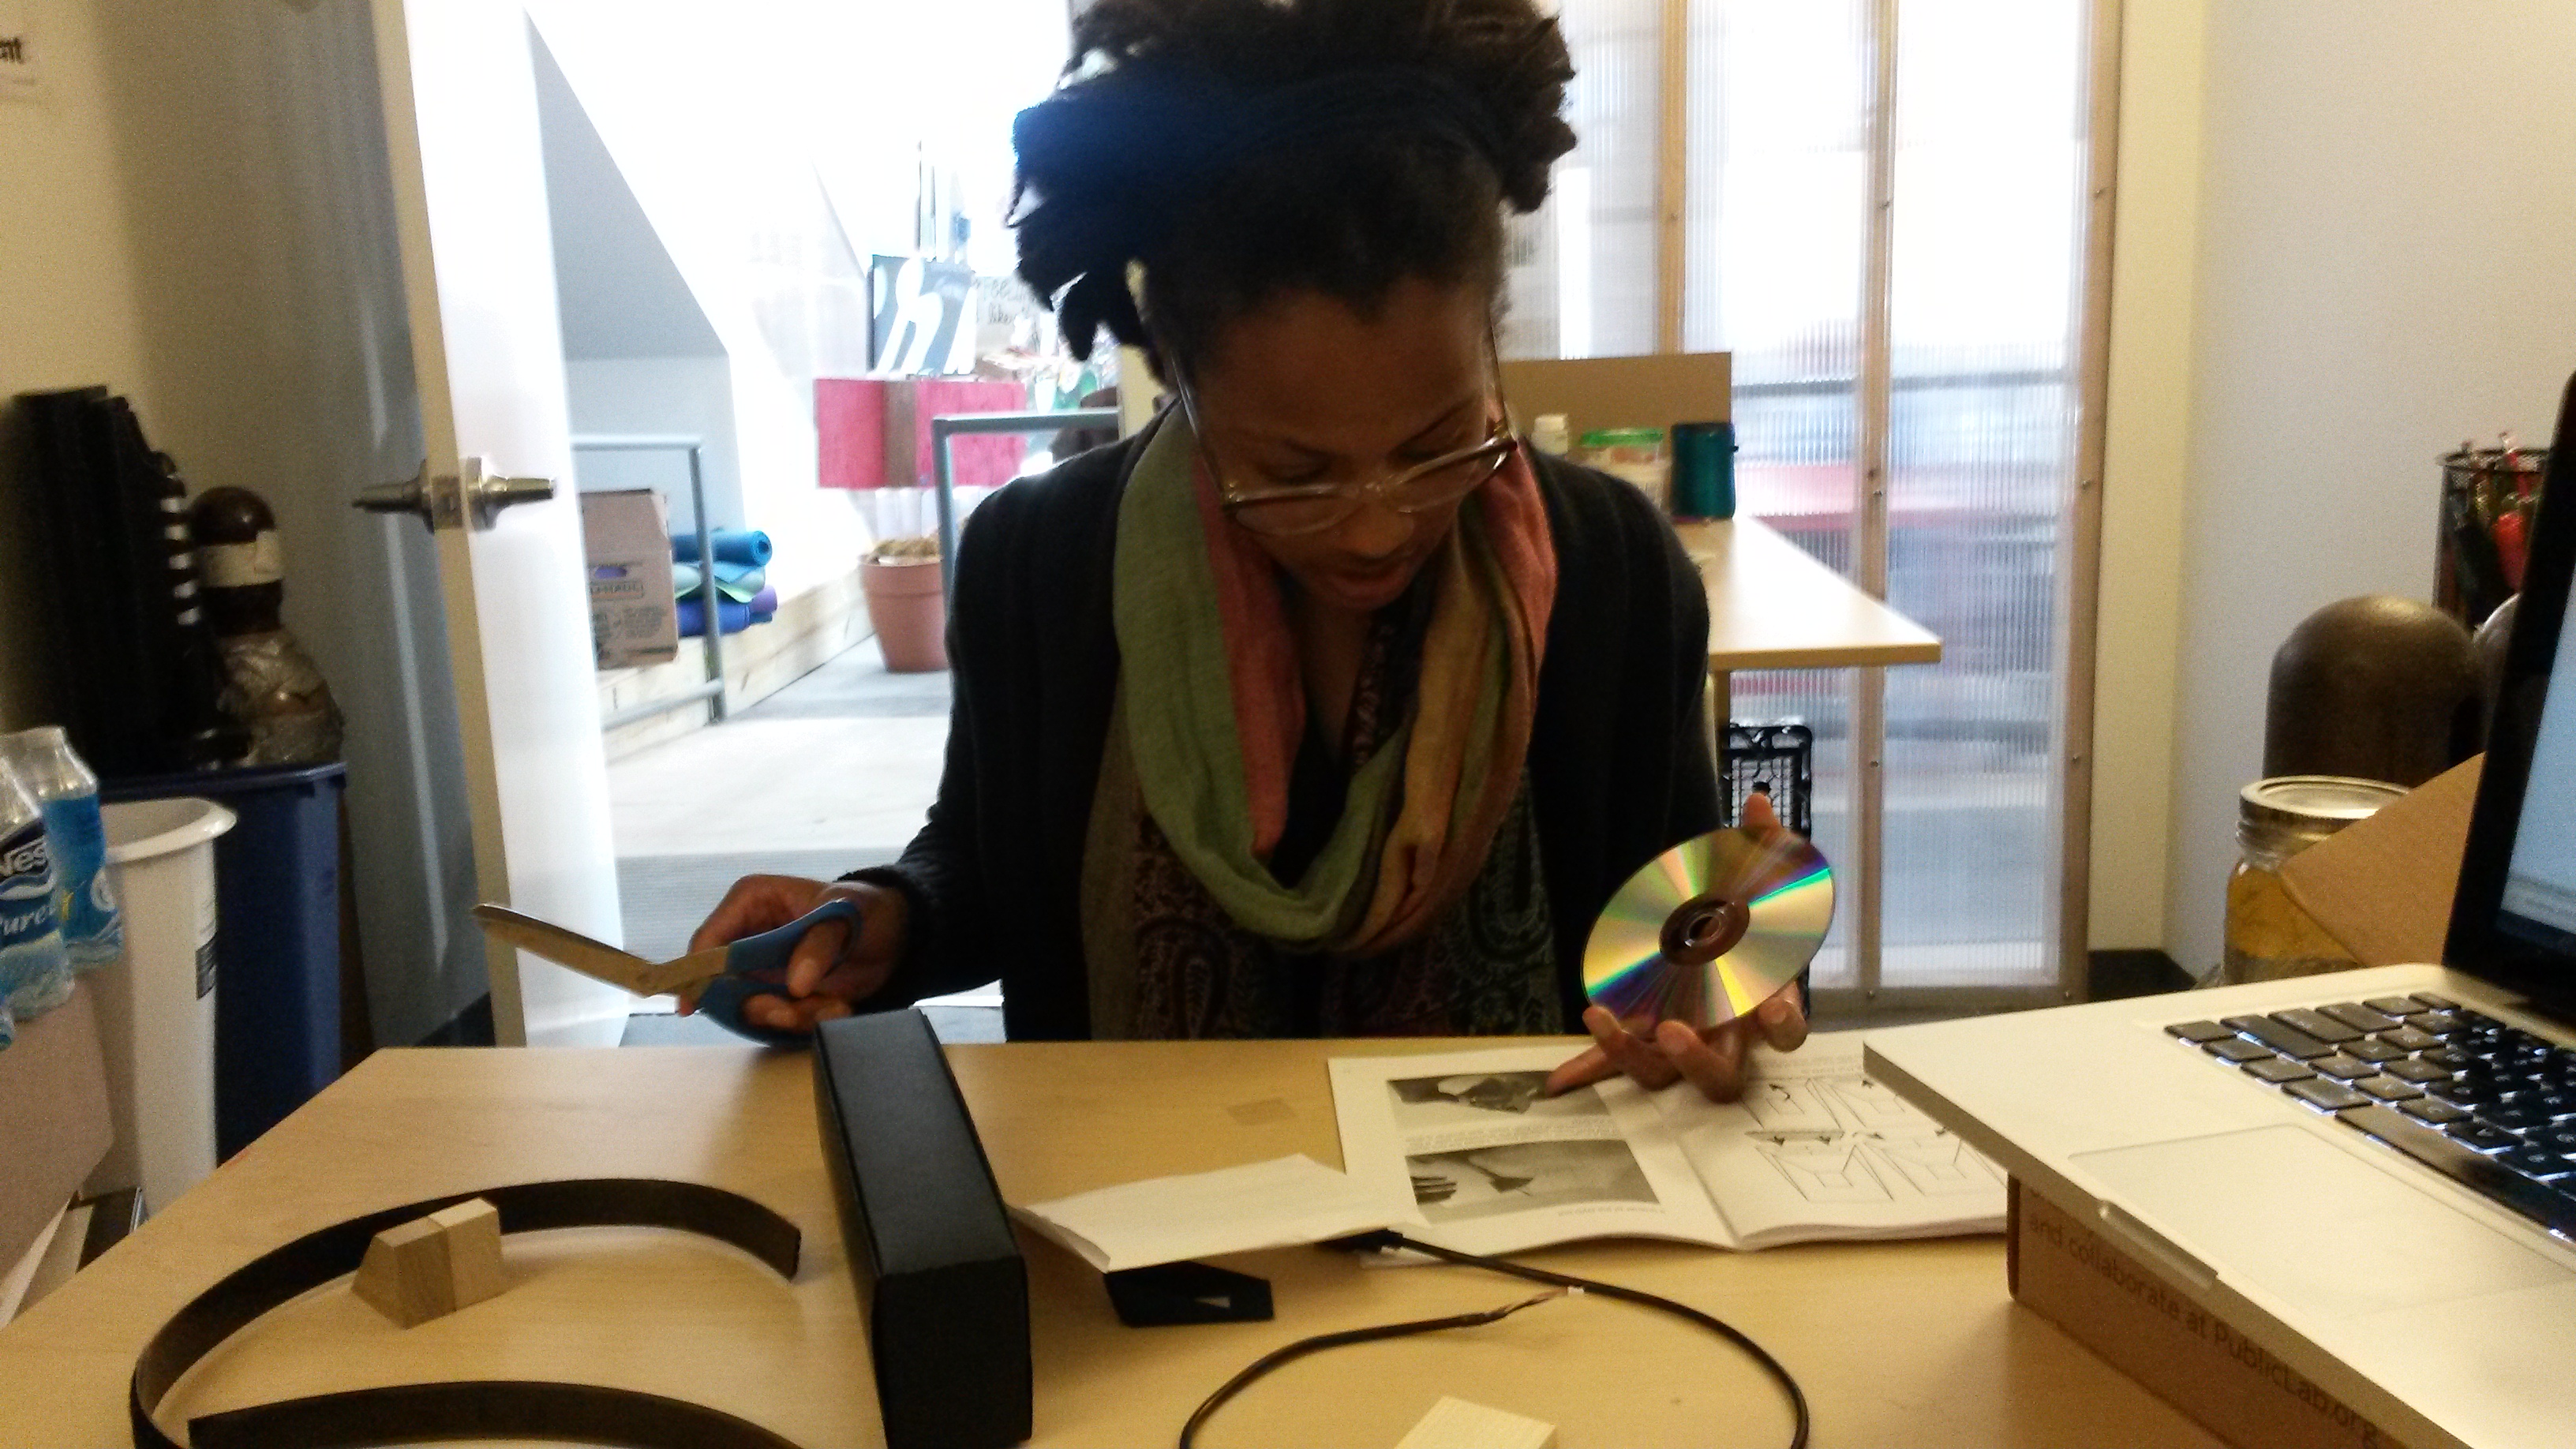
Splitting the DVD:
- I had done this before, so I let Micheal ponder through the directions on this. -- the directions on cutting the DVD were clear to her, but the image of the DVD being split was something she had a hard time figuring out. Maybe a note in the directions about how DVDs actually have 3 layers and that pulling them apart requires a small knife or fingernail etc, might be helpful.
Placing the slit card:
- The slit on the materials list is later referred to as the "collimation slit."
- The materials list doesn't include the slit cards.
- Micheal and I were confused why we had so many slit cards, and why they were different sizes. We eventually decided on the smaller slit that was cut to the size of the card, which is what i think we were supposed to do. Maybe the materials list should include where there should be extras when you're done. (extra slits, extra cards, extra piece of black paper.. did we miss something?)
- Micheal and I were wondering if there was a better way to line up the list on the slit card, maybe measurement lines? Our first attempt was pretty slanted.
- There are no illustrations on how the slit card should be put in the box. We didn't realize at first it was supposed to be in the pocket on the outside of the box. Also, are we supposed to take the back of the tape off when we place it? We didn't because the directions said to leave it on, but how do we know it will stay there?!
Assemble the bench, block and camera:
- I would switch this order. Start with camera on to the block, then add the (again specify) Rough side of the velcro to the block. Put the Smooth side of the velcro on the bench then place the block on the bench,the deffraction grating angle in front of the camera, then the bench in the box with the camera facing the slit :).
Questions on assembly:
- I have split a number of DVDs, but this time the foil side split between the two, If that happens, does it matter which side you use as long as it doesn't have foil?
- Does it matter which side of the DVD should be facing the camera after it has been split?
Test running a few spectra:
- I had trouble at first getting anything other than a fluorescent light to come through the spectrometer.
- I still can't line up the laser on the spectrometer for the oil testing kit on it (at all).
- I ended up using the light from my cell phone to illuminate my samples, which at least gave me some spectra, but I'm not sure that this is this source of light is appropriate for the samples I was running. Anyone have light suggestions?
- This is something I should know but, do I need to calibrate each image, or can I use my initial calibration to compare my samples to?
Equalized Height:

Equalized Area:

Reflections on the 3.0
- More videos!
- The lid of the box is breaking off from the bottom piece, and the piece that goes over the slit from the lit is fraying as well. This might not be a big problem, but a sturdier hinge piece might be useful on the next version.
- I can't help but think that the conduit box is a more sturdy housing, and has less of a "smush factor" should I wish to travel with it or try to take it in the field (I'm big on this second one).
- I like the longer chamber and I did end up getting a lot more color from my samples.
- Great job Kits Team and all who have contributed to this version!
5 Comments
The notes on the directions are super helpful! there are some real commonalities between your troubles with the directions and @stoft's, I'll get on those revisions.
I also need to run through an oil testing tutorial, but I've had pretty good results with oil fluorescence with this model, I'll email you about that trouble. We'll also make an add-on for holding the laser shortly.
I want to add a few design notes:
The lid ripping off is a problem with the laser-scored fold that shouldn't be an issue when we switch to a die cutting process becuase it will be a crushed fold spot, not a score. We may have to put a piece of re-enforcing tape on the hinge, but this definitely won't be an issue in the final.
The slit cards will have a printed line for lining up the collimation slit, there's just no printing on this version.
I will throw trademark caution into the wind and label all the off-brand hook and loop fasteners Velcro™.
the smush factor: I spent much of the last month roughly stuffing a prototype of this spectrometer in a duffle bag or backpack and it has done fine. It also fits snuggly inside the box it shipped in, along with other spectrometry supplies. I'd keep it in that box.
Reply to this comment...
Log in to comment
Nice "out of the box" on the Spec 3 Stevie. You might find my research note - http://publiclab.org/notes/MrBumper/01-11-2015/preparing-a-dvd-r-to-act-as-a-diffraction-grating - on preparing DVD-Rs useful.
Reply to this comment...
Log in to comment
I had a suggestion from my spec v3 build too -- could it be 0.5cm shorter, so as to fit in the PL shipping box a bit more easily? It's just very snug and I almost damaged the end when the flap closed down on it while lowering the box lid.
Is this a question? Click here to post it to the Questions page.
Reply to this comment...
Log in to comment
I think I actually did damage it... Are you tracking issues in the spec github tracker?
Is this a question? Click here to post it to the Questions page.
Reply to this comment...
Log in to comment
super helpful. but I had trouble at first getting anything other than a fluorescent light to come through the spectrometer . i am using it to calibrate my photo booth can't line up the laser on the spectrometer for the kit on it (at all). Thanks
Reply to this comment...
Log in to comment
Login to comment.