Passive Particle Monitor tests are going out in Wisconsin and Chicago. Here are the first-draft instructions for everyone collecting samples.
Passive Particle Deployment Instructions
Sample stubs should arrive at your place in a box, each one covered up by a different styrofoam cup with a place to write the date and time of deployment. Inside each cup pair is a sampler covered with Scotch Tape to prevent dust from entering the clean stub in transit. There is also an included roll of Scotch Tape to cover the the stubs back up.


We'll be deploying the samples for one week. Please pick a day and time to put samples out when you know you will be available on a weekly basis.
1) Remove sampler stub from box, leaving the sticky tab cover on. write down the date and time it was removed.
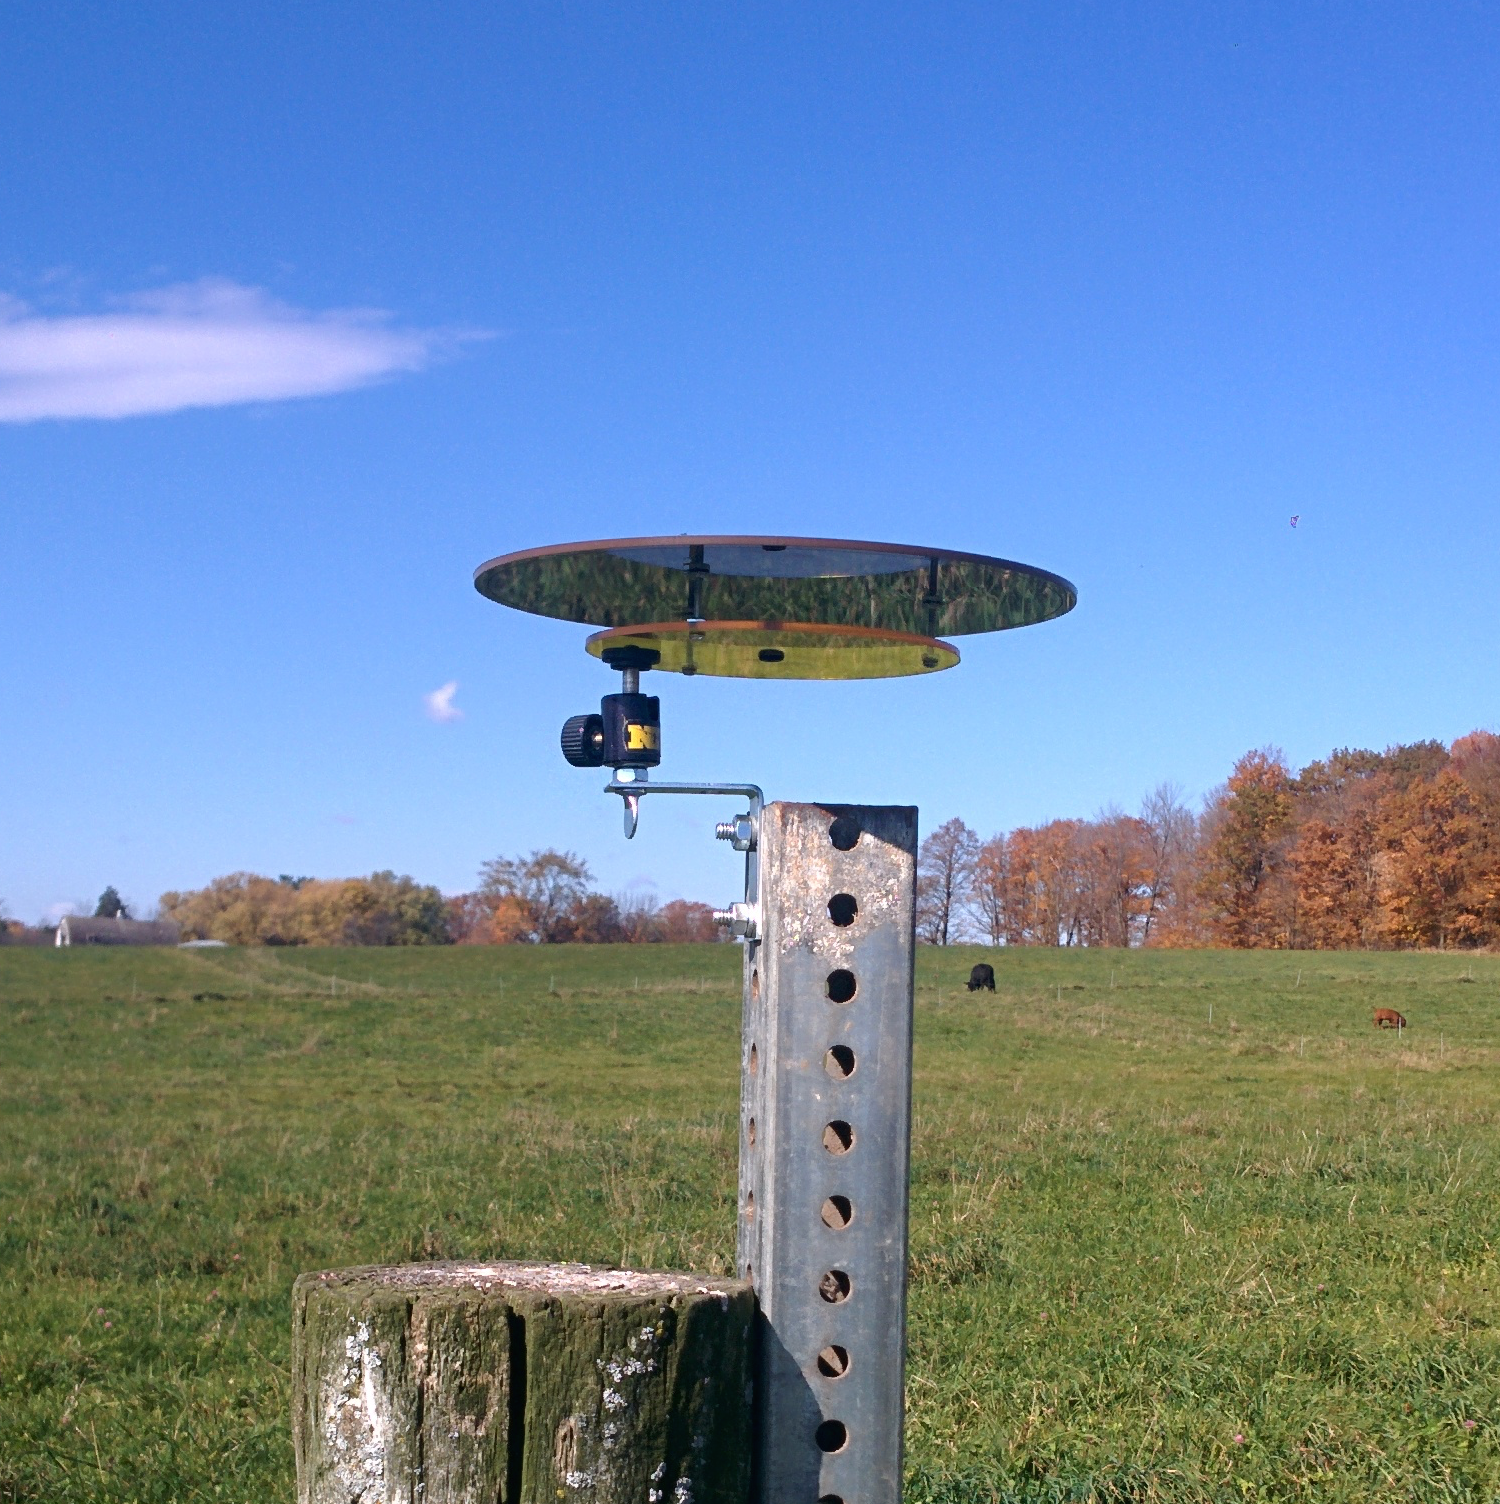
2) Go to the outdoor housing and check how level the housing is. Did it stay level through the week? we'd like to know. check with either type of bubble level provided:


3) unscrew the thumb screws holding the housing’s lid on. watch for the rubber washers underneath, they’re tiny and easy to lose (we provided some extras - you can use a dish as a catcher).

4) holding the sampler stub by its sides, press into the rubber grommet in the center of the housing. Try to avoid touching the top, as in the center of the top there is a 1/4” area of fragile mesh that is easy to deform.

5) remove the sticky tab and immediately screw the housing’s lid back on. The housing lid has a small groove on its underside that catches raindrops, make sure this groove is facing down.

6) use the included bubble level to check if the housing is level. Reset the level of the housing using the thumb screw on the ball head.

7) leave in place for seven days.
8) unscrew the housing lid and place a sticky tab over the sampler stub. Replace with a new sampler stub.
9) place the exposed sampler stub back in its box and write down the date and time it is returned on its cover cup.
10) after all the sample stubs are exposed, place the return mail label on the box and place in your mailbox for pickup. If there is an issue with your carrier picking up, please e-mail mathew@publiclab.org
5 Comments
8.5"x11" PDF of this page for printing:
_Deploying_Passive_Particle_Monitors-full.pdf
PDF made from the Wiki according to these instructions.
Reply to this comment...
Log in to comment
Hey @matthew! I am trying to build same PPM kit you guys have here. Where did you guys get the sampler stub? I understand that it is the electron microscope sampler, but from the photos it looks like there is some sort of mesh on the top to filter larger particles. Does the sampler stub comes with the mesh or attached it additionally? If yes, what's the "resolution" of the mesh? Warmest, Matej
Is this a question? Click here to post it to the Questions page.
Reply to this comment...
Log in to comment
Hi, @matej - check out this for ways to sort particles by size using an "impactor" - https://publiclab.org/wiki/filter-pm
SEM stub info: https://publiclab.org/notes/mathew/08-21-2014/low-cost-passive-aerosol-monitors
Also here for where we're trying to collect different particle collection methods:
https://publiclab.org/questions/warren/11-30-2017/what-are-some-ways-to-collect-dust-or-particulate-samples-for-analysis
Hope that helps!
Reply to this comment...
Log in to comment
@Matej the most up-to-date information and production files are in the Github repository: https://github.com/publiclab/passive-pm
The screen and monitor are here: https://github.com/publiclab/Passive-PM/tree/master/monitor
Reply to this comment...
Log in to comment
Amazing!! Thank you @warren and @matthew!! All very helpful! My bigest concern was where to get the mesh with correct hole diameter. The github is especially helpful!
Reply to this comment...
Log in to comment
Login to comment.