The Trawl
The Bridge Trawl is a DIY Trawl for Citizen Scientists to begin testing for plastic pollution in local waterways. The bridge trawl is designed to be dangled over bridges where the passing current will float plastics into the net. Pollution collected can be shared to the TestingOurWaters.net website to help identify the source of pollution and ideally prevent it from entering the water in the first place.
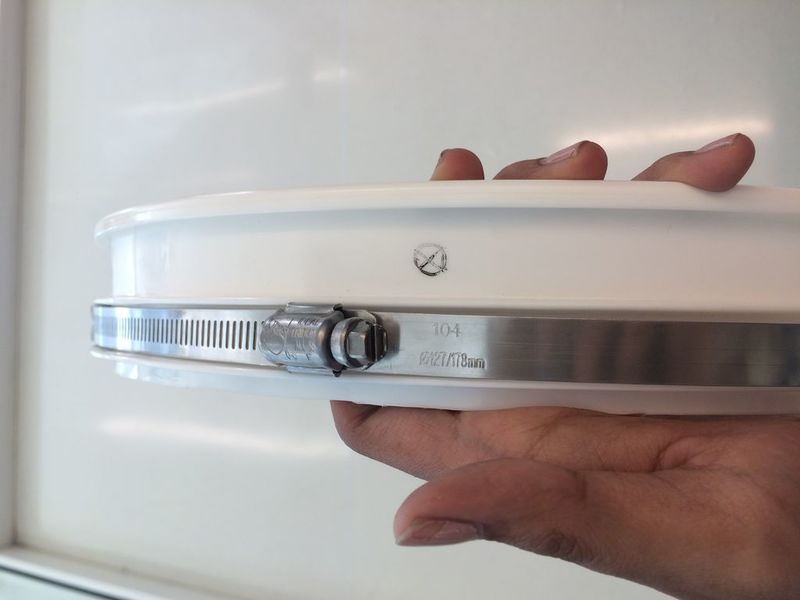
The bridge trawl is made from a paint bucket and worm gear clamps, which make the frame, an inexpensive filter used as a net, a used plastic water bottle with a thin neck, and a few other supplies to make the trawl complete.
Our trawl can be assembled inexpensively and with ease.
Assembly
Step 1: Assembly

- Rope
- 2 worm gear clamps
- Paint filters (1 pack)
- 5-liter paint bucket
- A used plastic water bottle with a thin neck
- Pebbles
Step 2: Create the frame


- Using a cutting implement, cut the top off of the bucket
- Combine two worm gear clamps to fit the diameter of the bucket
- Adjust and tighten the clamp on to one side of the ring
Step 3: Drill Holes

- Drill holes on the top and bottom of the ring
- Make sure the hole align with each other
Step 4: Attack the Net and the Bottle

- Tie the rope from the bottom hole (3-4 inches in length)
- Fill up half of the bottle with pebbles and the rest with water
- Tie the other end of the ropes to the neck of the bottle
- Attach the paint filter and tighten the clamp
- Tie the rope to the top hole of the ring (length depends on the height of the bridge)
Step 5: Start Trawling!

- Put trawl over the bridge and into the water
- Record your results:
- Process your findings
- Analyze the plastics
- Take lots of pictures and Document your results!

1 Comments
What type of net does this trawl use?
Is this a question? Click here to post it to the Questions page.
Reply to this comment...
Log in to comment
Login to comment.