Fuzzy Tail for Kites
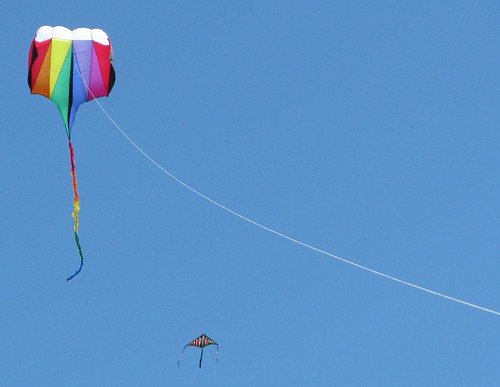
Kites use tails to help stabilize them in the air, to keep them from swaying too much from side to side. The increased drag as the wind passes over the tail holds the kite in place. Big kites need big tails, and one popular and easy tail to make is a fuzzy tail. The flaps create more drag than a smooth tail so you can use a shorter tail (and get tangled less). They are fairly easy to make and can be made out of a number of materials. Here's one way to make them.
What you'll need: 16 feet of thin Ribbon (or light weight webbing) Rip-stop Nylon Fabric (you could substitute other materials like thick plastic sheets or left-over fabric from other projects) Thread Straight Pins Scissors Sewing Machine (optional, but helpful)
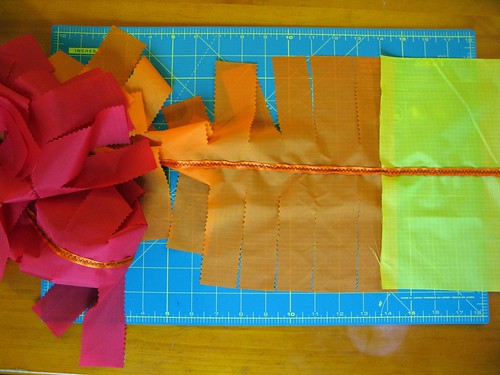
How to put it together: 1. Cut a strip of rip-stop fabric 10 inches wide by 15 feet long. You can also assemble smaller sections of fabric by overlapping the ends and pinning them together temporarily. 2. Lay the ribbon down the center of the strip of fabric, leaving 6 inches of ribbon at either end. 3. Pin the ribbon to the fabric. 4. Turn under the ends of the ribbon to form a loop and pin it in place. These loops will allow you to attach the tail to your kite or add on more fuzzy tails. 5. Sew the ribbon to the fabric, making sure to secure the ends of the ribbons to form the loops at either end. A zig-zag stitch works well to sew on the ribbon. 6. The final step is to cut the flaps. Make cuts on the fabric about 2 inches apart and 4 inches long perpendicular to the ribbon. You should leave about an inch of fabric on either side of the ribbon uncut and be especially careful not to cut the ribbon at all. Pinking shears make cuts that are less susceptible to fraying. Be sure to remove all the pins before flying.


