This activity shows how to install a custom filter and/or change the lens in the Infragram Point & Shoot camera, also known as the Mobius Action Cam. It should take about 15-25 minutes.
This activity was reposted and adapted from one by abdul on the Infragram Point & Shoot wiki page, including the above image.
- this forum thread on focusing by RC Groups: https://www.rcgroups.com/forums/showpost.php?p=25170910&postcount=4
- this great activity with more details on removing an infrared block filter by @cfastie
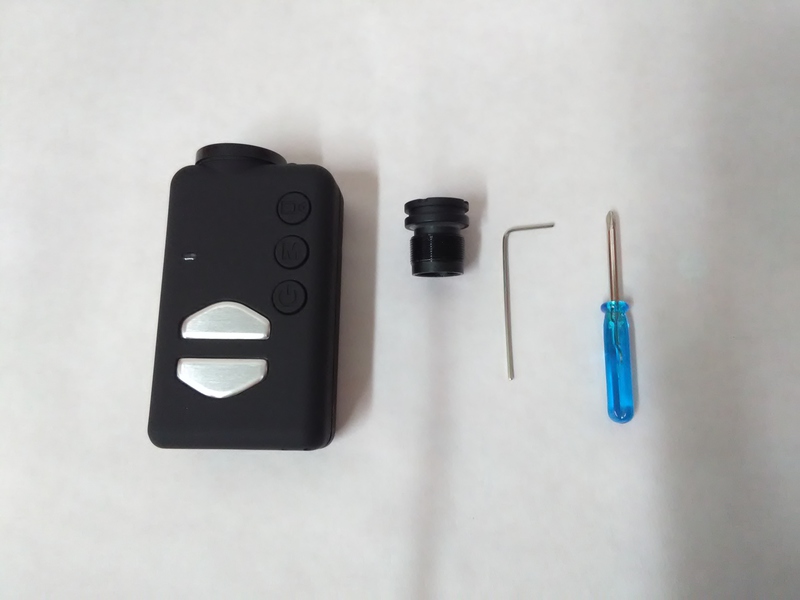
To install the IR lens (or any lens) into a Mobius camera, you will need the camera, your new lens, a size 0 Phillips screwdriver and a very small hex screwdriver (as shown above).
Filter changes -- this is also the process for removing or swapping the filter on this camera - a new filter can be added behind the lens or in front, but for most infrared camera conversion, you'll at least need to remove the (iridescent glass) infrared blocking filter that's installed behind the lens in most cameras.
In order to begin disassembling the camera, flip it over. You will see two screws at the corners of the camera on the side nearer to the lens.

Loosen the two screws thoroughly. They may not come out, and you don't really want them to come out because they are small and easy to lose. If you loosen them enough, you can remove the back casing from the camera without needing to take them all the way out.

At this point you can see the lens. The lens is only attached to the ribbon, so you can use finger strength to remove it and get access to the screws that hold it on. There are two screws holding the lens to the camera.

You can remove both of these screws with the screwdriver
BE CAREFUL
The screws are small and very easy to lose. Place them somewhere safe, clean, and away from your working area. You may want to use play doh to hold them, as jewelers do.


Once you have removed the screws and placed them safely, you will find the lens cannot yet be unscrewed. This is because there is a hex screw holding the lens in place, preventing you from removing it. Use the hex screwdriver to remove it.


BE CAREFUL
The hex screw is also extremely small and can easily be lost. Put it in a safe place!
Once you have removed the hex screw, you can use your fingers to unscrew the lens. It may be difficult to get started, but fingers are a good tool to use for this.

Remove the old lens and replace it with your new lens, then replace everything how it was sequentially. You may need to focus your lens. To do that, see this guide written by @cfastie.
Note: we do not recommend replacing the hex screw until you have focused the lens!
0 Comments
Login to comment.