This is the second part of a series of notes on camera calibration. The first part is at: http://publiclab.org/notes/nedhorning/10-21-2013/calibrating-diy-nir-cameras-part-1
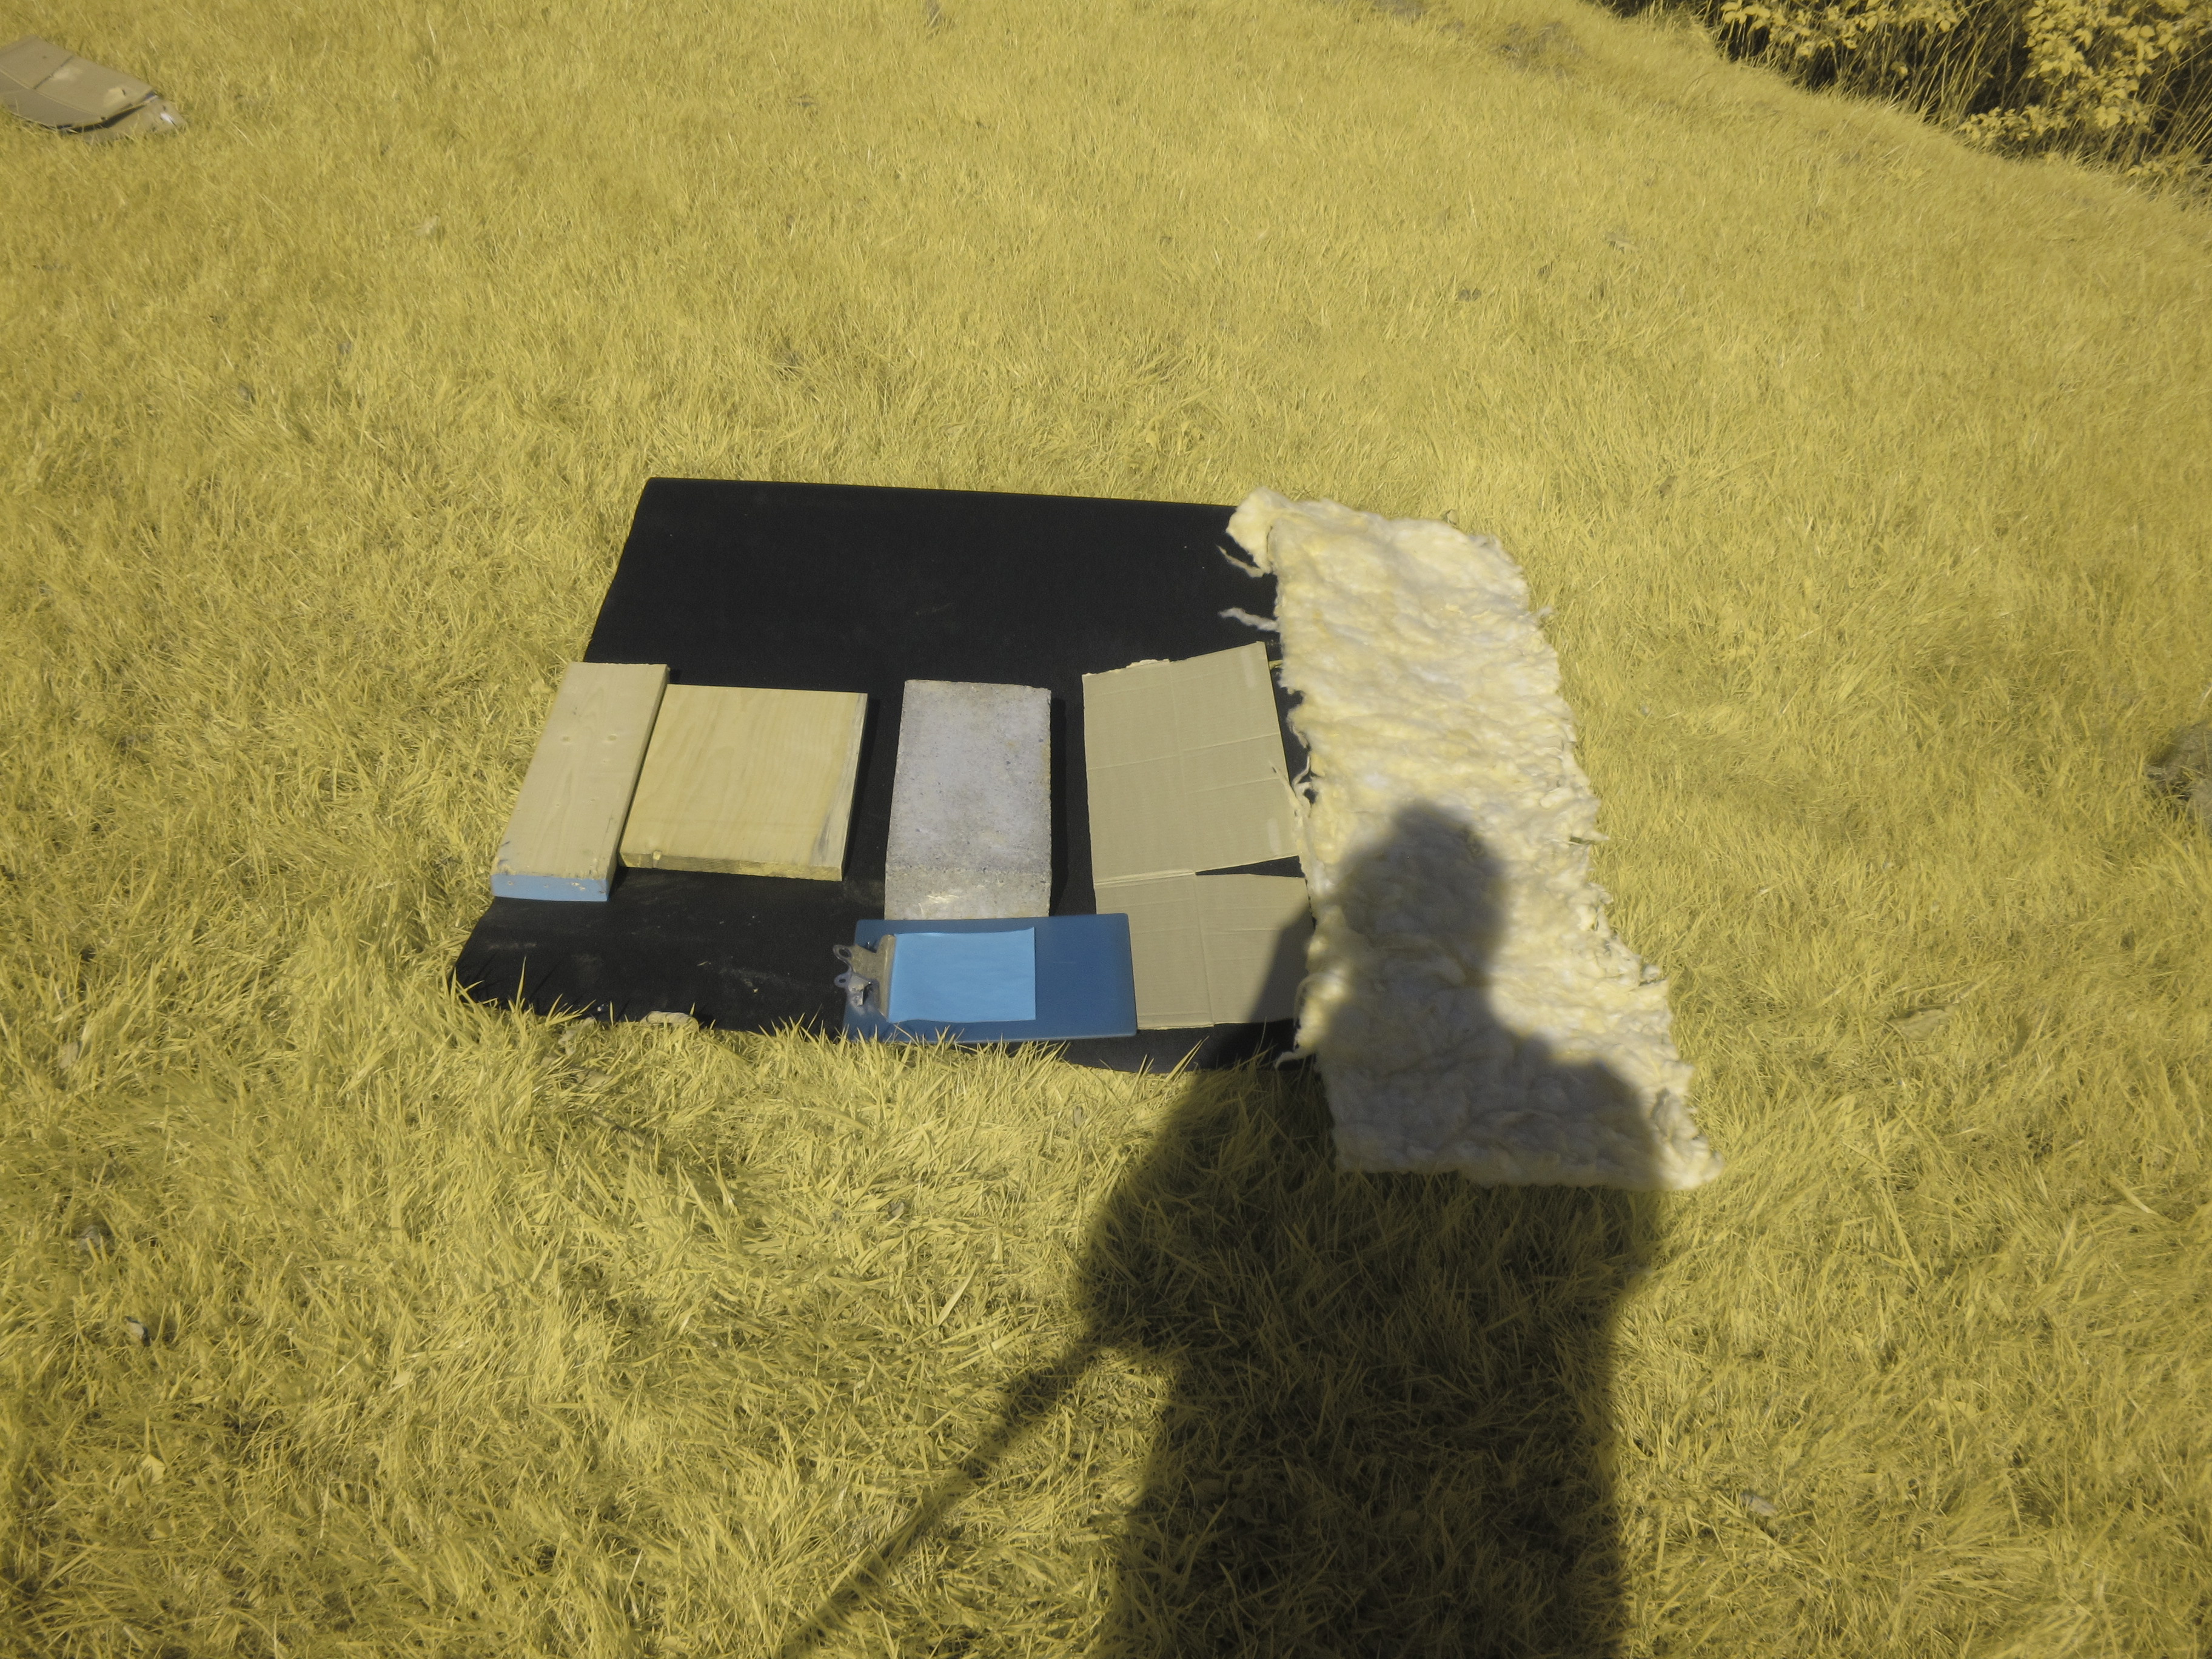
In this note I'll compare NDVI images created using calibrated photos acquired from two cameras using different white balance and exposure settings. The calibration routine is the same described in part 1. All but one of the NDVI images were calibrated using the simple (single) regression approach. The different materials used to set white balance were a cinder block, blue origami paper, and the sun setting often available on point-and-shoot cameras. For each NDVI image I include a histogram to give you another perspective of how the images compare.


Canon A810 with a Rosco 2008 filter, white balance = blue paper, no exposure compensation


Canon A810 with a Rosco 2008 filter, white balance = sun, no exposure compensation


Canon A810 with a Rosco 2008 filter, white balance = cinder block, no exposure compensation
The next two images are from a Canon A810 with a Rosco 2008 filter with using a cinder block to set white balance and two different exposure settings.


Canon A810 with a Rosco 2008 filter, white balance = cinder block, exposure compensation = -1/3


Canon A810 with a Rosco 2008 filter, white balance = cinder block, exposure compensation = -2/3
The next set is from a Canon G11 with a SuperBlue filter using a cinder block to set white balance with no exposure compensation using different materials to set the white balance.


G11 with a Life Pixel Super Blue filter, white balance = blue paper, no exposure compensation


G11 with a Life Pixel Super Blue filter, white balance = sun, no exposure compensation


G11 with a Life Pixel Super Blue filter, white balance = cinder block, no exposure compensation
In general all of these seem to produce similar results. There is more difference from using different white balance materials than there is from simply changing exposure. That's not too surprising. Even the difference between the two cameras and different blue filters is quite small.
The following two images were calibrated using the multiple regression approach described in part 1 which add data from the photo's green band when calibrating the red and blue band. The difference between them is that the one used a cinder block for white balance and the other use the “sun” 'setting in the camera.


Multi-regression Canon A810 with a Rosco 2008 filter, white balance = sun, no exposure compensation


Multi-regression Canon A810 with a Rosco 2008 filter, white balance = block, no exposure compensation
I'd need to dig into this a bit more to better understand why the multiple regression image is so different from the simple regression image. I'm not convinced that the results are any better. They show more variation which could be an improvement but it isn't highlighting features such as leaves in the grass that should have lower NDVI and the tar paper has much more texture than I would expect although since the reflectance levels are much lower for such a dark target one would expect a little more noise. It would be very surprising if the sun white balance produces a more accurate NDVI image since the white balance correction is based on the assumption that the sensor is recording the full visible spectrum from the sun but with the blue filter that assumption is no longer accurate.
The next note will compare calibrated NDVI from a camera with a blue filter with photos acquired from a dual visible / NIR setup. The results are quite different. I have processed all of the photos and placed them on my ftp site: ftp://ftp.amnh.org/pub/people/horning/CalibrationTestPhotos. The photo file names indicate the camera model, white balance material [cinder block, blue origami paper, sun setting common with many cameras), exposure compensation (0, -1/3, -2/3) and if NDVI was created using single (NDVI1) or multiple (NDVI2) regression.
2 Comments
Ned,
This is really good data. The primary result seems to be that the calibration procedure works incredibly well. Similar NDVI results are produced even when very different white balance settings are used to take the photos. Two very different cameras also produced similar NDVI results. It looks like you are on to something.
The simple regression results suggest a few patterns:
I am really curious to see what the original infrablue photos look like when their RGB values have been adjusted by the calibration regression. You don't have to produce those modified photos in your workflow, but it would be really interesting to see them.
Why do you think the general range of NDVI values produced is higher than it should be?
This is a very important advance.
Is this a question? Click here to post it to the Questions page.
Reply to this comment...
Log in to comment
Thanks for the comments Chris. I would be a little cautious drawing more than very broad conclusions at this point. The reflectance values for the targets are ball-park estimates and more importantly the sample data I selected, especially for the grass are probably not representative of reference reflectance values. I expect that's why there is a general over-estimation of NDVI for the grass. My guess is that the reference grass reflectance was derived from a lab spectrometer with "ideal" grass and my sample was an average from one part of the photo. The average value I calculated will almost certainly represent a lower NDVI than the reference. It probably would have been better to select a pixel value for grass at the high end of the sample rather than the average. This experiment is fairly sloppy but my intent is mostly to get a sense if this path is worth following and to understand some basic relationships. I want to get better reflectance standards so that's my next mission. I should be easy but need to find someone willing to cooperate. I'm going to try to get the next note out by the end of the day which will show results from the dual-camera and also calibrating directly to (Landsat-based) NDVI instead of calibrating to reflectance and then calculating NDVI. There are lots of ways to explore these data and hope I don't get too distracted.
Reply to this comment...
Log in to comment
Login to comment.