Who we are
The Harpswell Makerspace and MediaLab is a collaboration between Code for Maine (a Code for America Brigade in Maine) and the Harpswell Coastal Academy. Makerspace activities are incorporated into the interdisciplinary, project-centered curriculum but also have dedicated weekly afternoon workshops. Plans are underway to expand the program into a dedicated workshop space which will be open to the public during after-school hours.
What we want to do
Combine methods from two well-documented DIY projects-
DIY Aerial Mapping and
DIY Book/Document Scanning
to teach students to create a story based on an aerial timelapse of a specific place showing its changes throughout the decades.
The local historical society in Brunswick Maine has a large collection of historic aerial imagery encompassing most local townships. Lacking funds for digitization however, the images are in hard copy only. Utilizing a DIY technique for a portable, book/document scanner at www.code4maine.org/papermachine, students will search for images of a specific location and scan them using digital cameras flashed with CHDK and upload the historic imagery using Mapknitter.
Students will then learn techniques in balloon/kite aerial photography using the same software (CHDK) they used for the archival images.
The resulting imagery will be overlaid on Google Earth using Mapknitter and will be presented in a storytelling narrative format.
Attempts and results
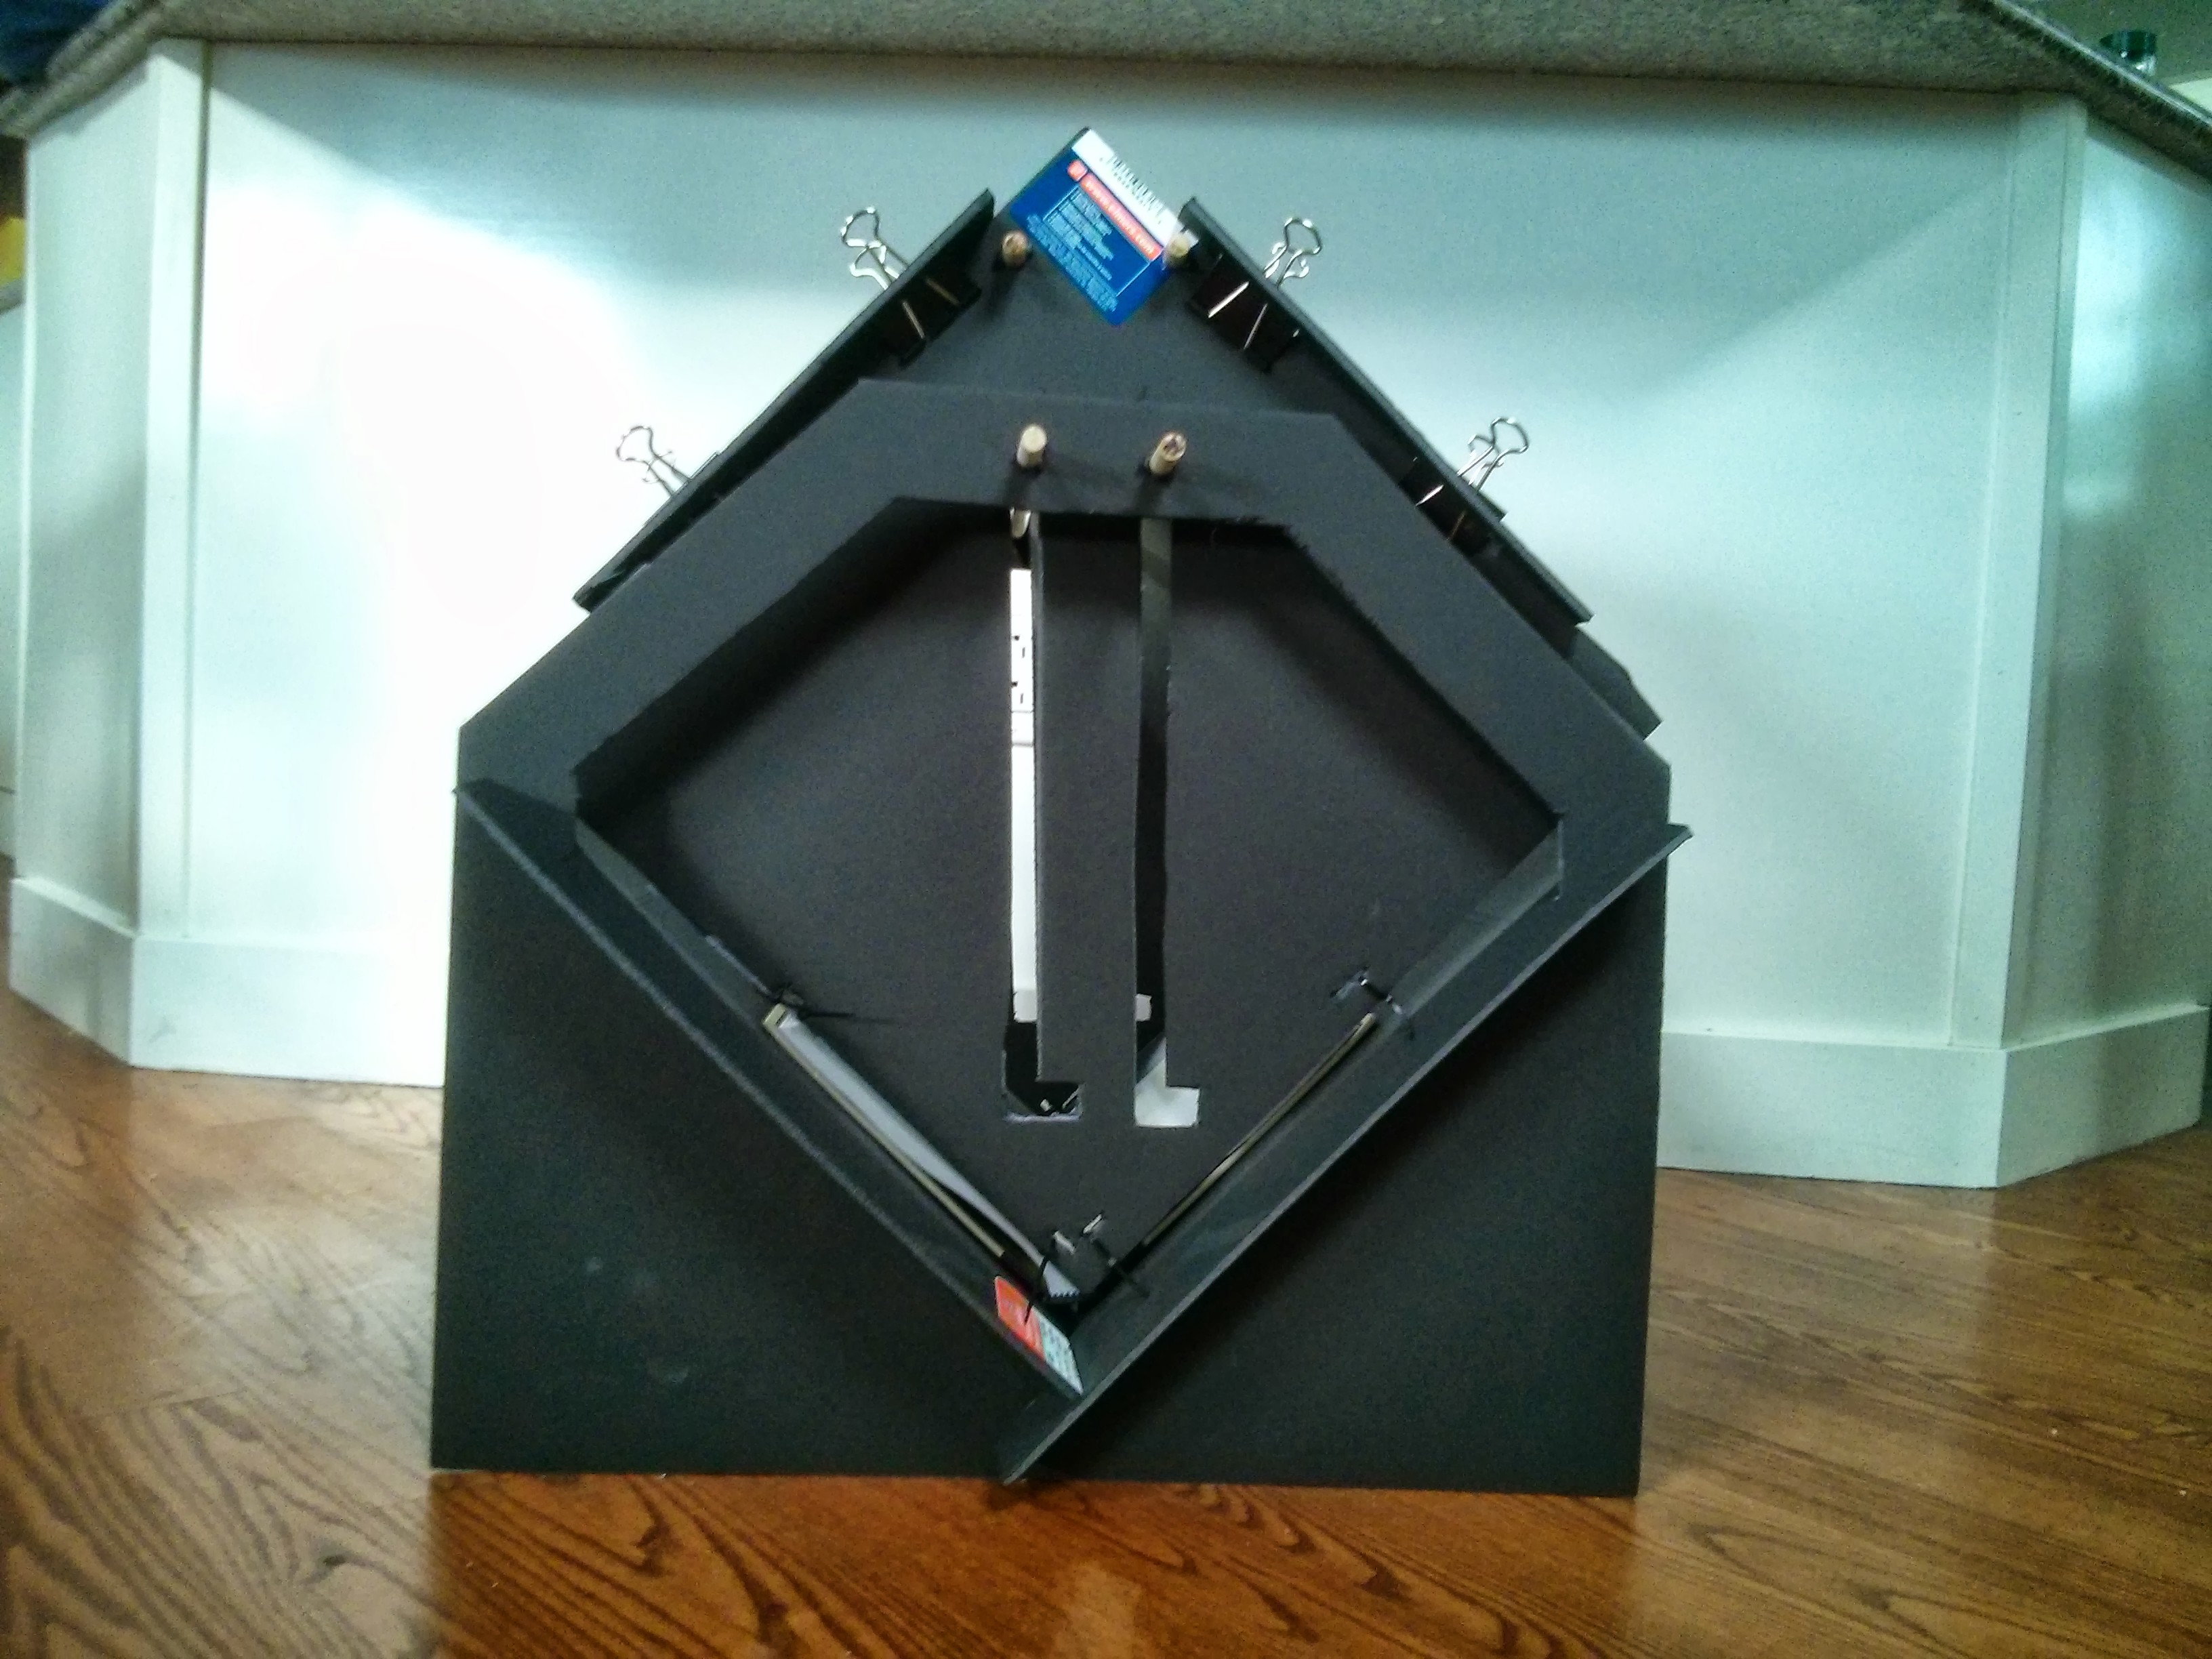
The scanner is based on one of the designs currently being promoted by Code for Maine through a campaign to encourage diybookscanners in small municipalities and libraries (www.code4maine.org/papermachine). The portable design is based on this tutorial- http://veesmee.com/fbbs/. All diybookscanner designs use Canon Powershot cameras flashed with CHDK. The Balloon and Kite mapping will primarily use information from PublicLab.org as our starting point. We have a 5 foot weather balloon, helium tank, delta kite and heavy duty kite string ready to deploy. A number of camera alternatives exist beyond using a Powershot with CHDK. Other options include a Raspberry Pi with CSI Camera Attachment, a keychain camera, a cheap Android phone, an iPod touch and a Kodak MiniHD video camera. A number of possibilities exist for incorporating wireless connectivity if the need arises as well. We have access to XBee Pro Series 1 modules, and 5 XBee Series 2 modules. We have a wide assortment of microcontrollers with bluetooth/wifi/3G capabilities as well, but that does not appear to be necessary at this time.
UPDATE 10/9/13 After a few days researching various methods for making a Picavet, we eventually made one using a transparent acrylic mounting plate used for attaching a Raspberry Pi to the back of a TV monitor- http://www.adafruit.com/products/1320. The plate forms a perfect cross, with mounting holes and a perfect cutaway section for a camera. The Keychain Camera appears to require a Windows program to open it, so we used a slightly heavier Kodak MiniHD Video Cam. We also brought a small delta kite to use in case of windy conditions.
RESULTS- Lacking the resources to rent a full helium tank, we thought we could get away with using a single disposable tank. This was a mistake as the balloon only partially filled and failed to get any lift whatsoever. Notwithstanding this disappointing outcome, the students executed every task perfectly and enthusiasticly. They took the initiative to set up the kite on their own and almost got it airborne despite the near total lack of wind. The zeal in which the students (primarily 6th graders) approached the kite was enough to shift focus towards KAP as our primary platform.
UPDATE 10/20/13- I ordered an HQ PowerSled 1.0 Kite in the hopes it would provide a more stable lift for our camera. I also ordered a retractable kite line. Initial tests without the camera rig were straight forward enough, but when I added the Picavet, a pendulum effect caused it to sway considerably.
Questions and next steps
Our next session will be in two weeks as I'll be traveling next Wednesday, but two of the students were sufficiently engaged to continue trying to get the camera in the air on the kite. The were even astute enough to suggest making a retracting kite reel out of a toy fishing rod!
As is often the case with hands-on learning, the most valuable outcome came out of an activity other than that which had been planned.
UPDATE 10/20/13-
I've added two long pieces of ribbon as a tail for added stability. I also realized the kite might not have been high enough when I attached the picavet to the line, so hopefully these modifications will result in more stability.
2 Comments
This is truly awesome. I have spent much of my life in libraries and archives, and am super excited to see someone bringing these prodigious resources into the digital realm.
Your steps to georeference and provide narrative context sound really great too. This such an excellent way to engage students in history and service to their region. I can't wait for the videos, and thanks for documenting your work here!
Reply to this comment...
Log in to comment
With out a doubt this is mind blowing
Reply to this comment...
Log in to comment
Login to comment.