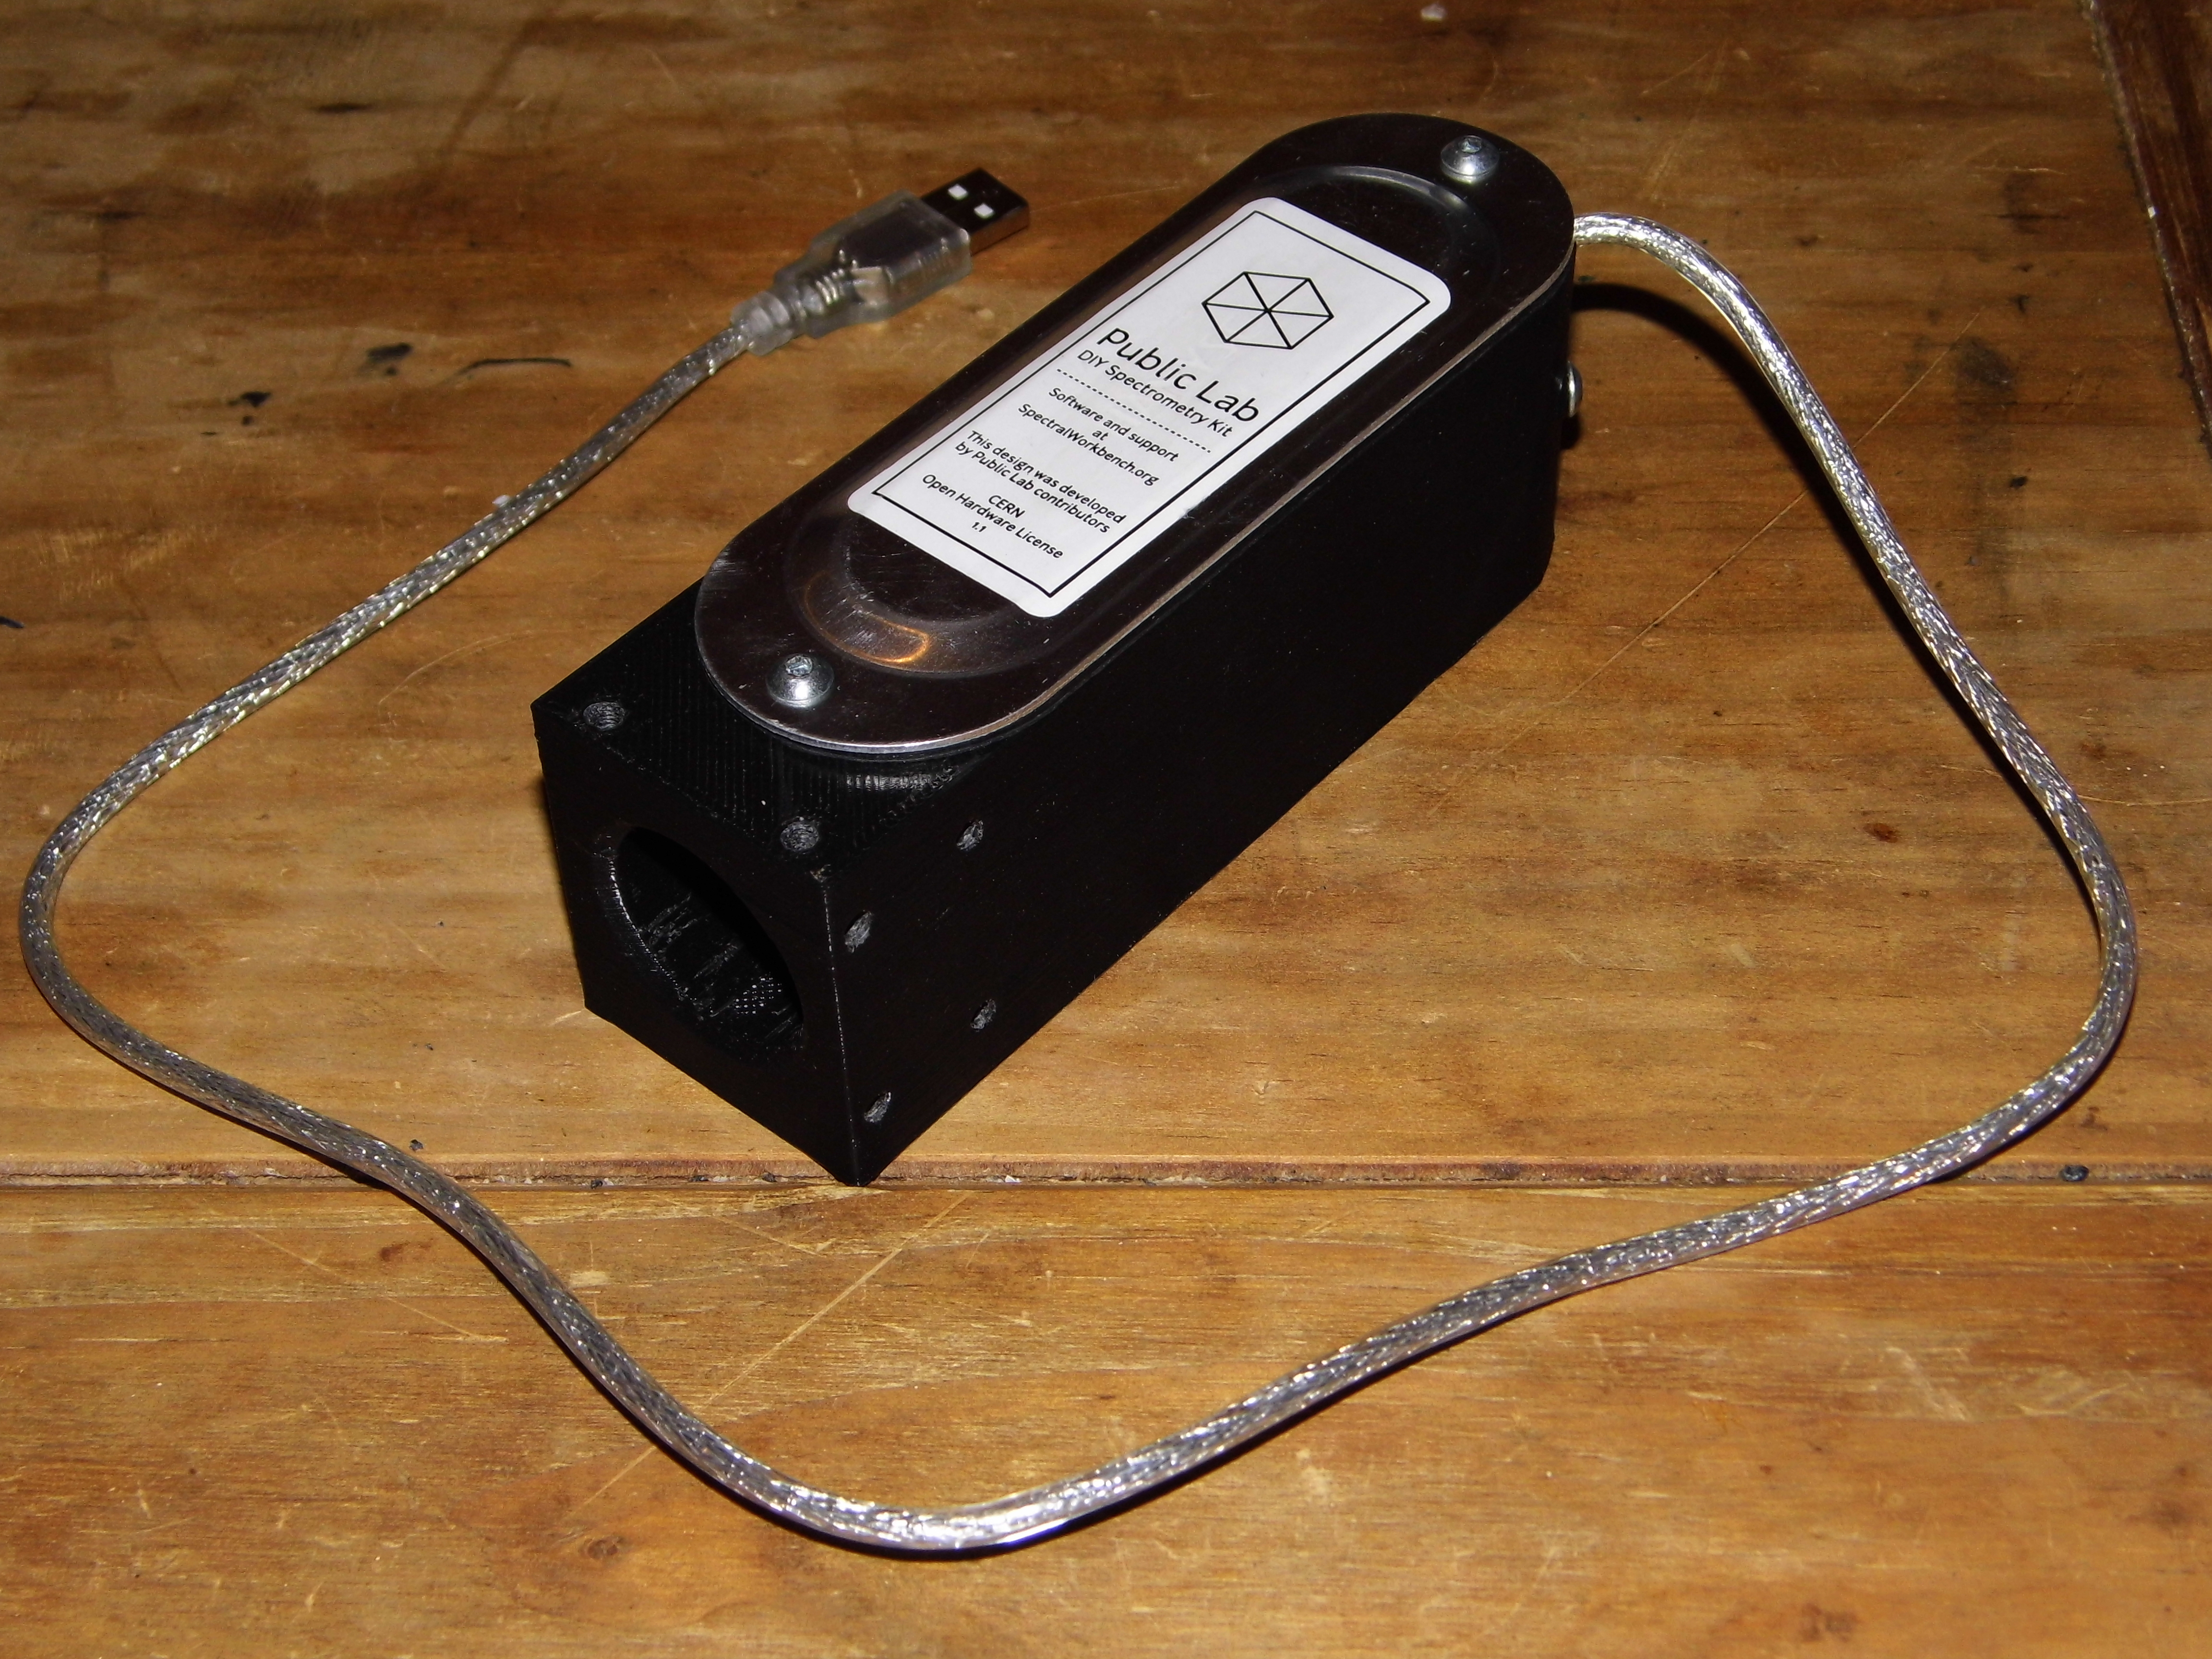
I received a DIY Spectrometry Kit as part of a price on the 'Build My Lab' contest on instructables. As I have a 3D printer, I decided to design a 3D printed main body. The new design allows the replacement of the conduit box and wooden block by a purpose designed part. The resulting spectrometer provides a better fit for the camera and the card insert. It is also a bit more robust due to the provision of an integrated clamp for the USB cable, making it more suitable for carrying around. I published a new Instructable to show how I did it.
In the future I would like to design a separate stand, for using the spectrometer to analyse samples in standard cuvettes (square 10x10x45mm). Please, leave any comments or suggestions as this will all help to improve the final article!

3 Comments
This is a nice design, well thought out. Here is an x3g file for printing it on a MakerBot Replicator 1 with these settings:
If you plan to tap those bolt holes, one shell might not be enough.
RTegelbeckersDSK.x3g
Reply to this comment...
Log in to comment
At least the bolt holes for securing the lid and the holes for the cable clamp need tapping, so more shells would be recommended. On my own printer, I managed to print without support material.
Reply to this comment...
Log in to comment
Good point. Here is a version with 4 shells and no support.
RTegelbeckersDSK4s.x3g
Reply to this comment...
Log in to comment
Login to comment.