Project/Goals
- I've been experimenting with ways that the existing Community Microscope parts could be used to add a cellphone microscope, have found a pretty straightforward way to add this feature to our existing kits.
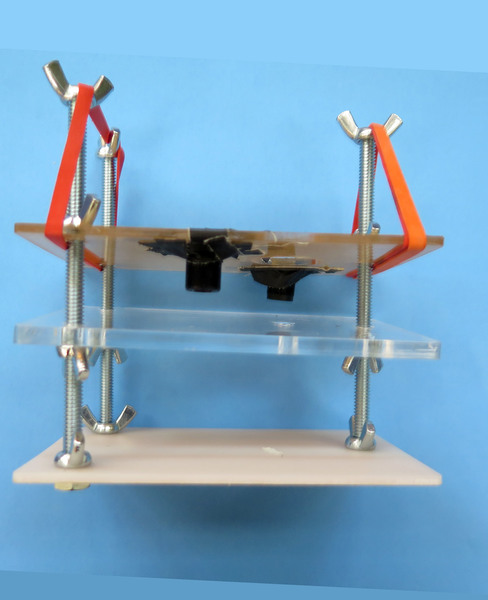
- My sense is that this kit will have to have slightly larger dimensions than our existing kits to stay stable and easy to focus with the addition of a cellphone to the top platform (and to accommodate cellphones with different lens placement). It does mean it won't be as easy to transport in a standard balloon mapping box without disassembling it. -I'm looking for a way to lay out a combo webcam/cellphone unit that finds a happy medium between size -We'll be adding prototyping materials to our online store shortly, and would love to have help improving this setup!
Materials
- Webcam lens-- you can purchase these separately from webcams. In this case, I used a fisheye lens, but compared it to some standard lenses and didn't find that there was a meaningful difference in quality/magnification.
- Three clear acrylic platform pieces (only the middle one needs to be made so that light will pass through-- this could happen by placing a hole between the light and the lens
- 3 long bolts, 12 wingnuts (this version focuses like the original Community Microscope, but I'm thinking about trying some other things here as well)
- 2 rubber band (I like a lot of tension, so usually double up to use 4)
- Gaff tape (this is only necessary because the holes don't have a great fit yet)
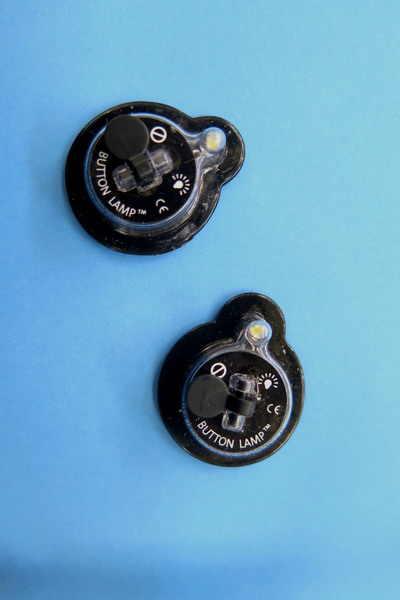
- LED button lights (you could make your own with a LED and coin battery!!

LED button lights sit on the bottom platform underneath the slide. These have a foam tape base that you can use to affix them to the platform, but I've found that experimenting with the position of the light helps in obtaining the right lighting for your sample. You could also make your own with an LED, some tape and a battery.

Camera lenses-- these (or similar) are made for lots of small cameras, such as dashboard cams and the mobius (which we've used for aerial mapping), USB webcams (like the ones that are currently sold with the existing Community Microscope Kits), camera modules that are sold for Raspberry Pi and Arduino projects, CCTV cameras, etc. It's possible to buy these separately from the rest of the camera.
Top and Side View


Next Steps
- The platforms need to be bigger to accommodate the positioning of the rear camera on different phones (this version is laid out for a camera that sits close to the top corner of the phone, but something with a centered lens wouldn't fit)
- I'm using a combo of 1/8" and 1/4" acrylic, but find myself wishing that the base was a bit heavier. I think sizing up will add some stability, but also thinking about other ways to weight the base (version two might involve wood).
- Hoping to resize the lens holes so that they can be pressure fit with a drop of glue or locktite (instead of the gaff tape solution here). Also thinking about using a gasket so that the lens might be taken out/replaced easily, but need to find a solution that keeps the surface of the platform relatively flush.
- The fisheye lens I'm using is nice because it has a slightly longer focal length than the regular lens (without much of a difference in magnification or distortion-- maybe because the camera's lens is only able to use such a small part of the surface of the mounted lens). It's still a little challenging to move the slide around between layers without shaking things. I'm going to add a little sliding platform for the slide so that users can adjust the slide position without bumping into the platforms.
- I like the LED button lights I found, but want to wrap some tissue or something over them to dim it just a little, but might recommend just making your own with an LED and battery, so there isn't as much waste when the battery dies.
- Thinking about an even larger/sturdier version of this that could be used as a demonstration model for events/education-- might not be as easy to break down into pieces.
This particular version came together after several rounds of not *quite* successful experiments with various loose lenses and deconstructed e-waste I have kicking around, but I'm planning to return to that as well. My hope is that we can produce a platform that can easily accommodate webcam, raspberry pi AND cellphone options without making it too bulky to transport in one of our Public Lab Balloon Mapping Kit boxes.
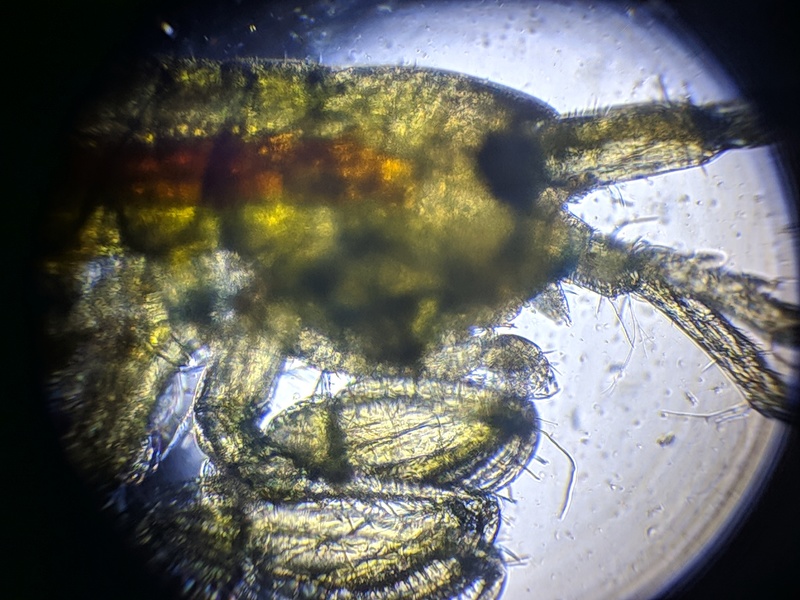
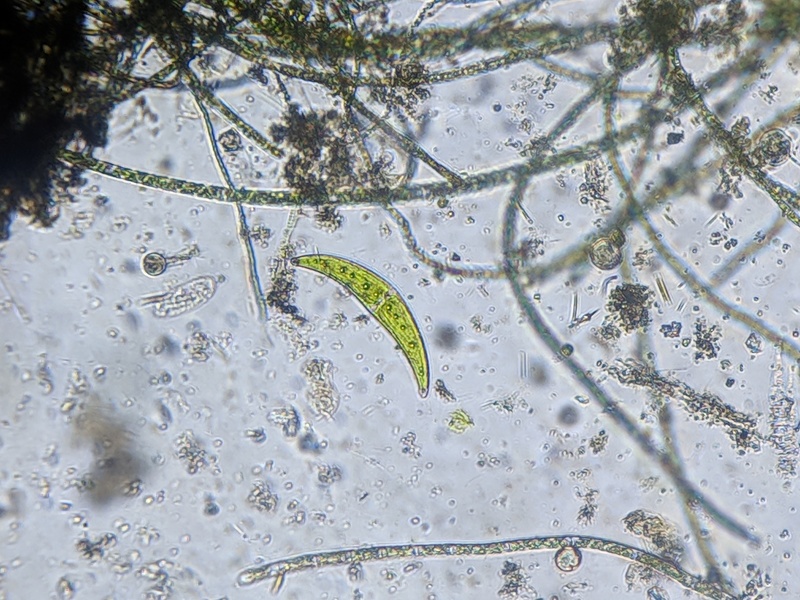
The images are similar to the ones we can get with the webcam versions of the microscope-- the magnification is about the same, but using the phone actually means that we can zoom into an image while it stays in focus, which is a pretty cool feature.
Images


0 Comments
Login to comment.