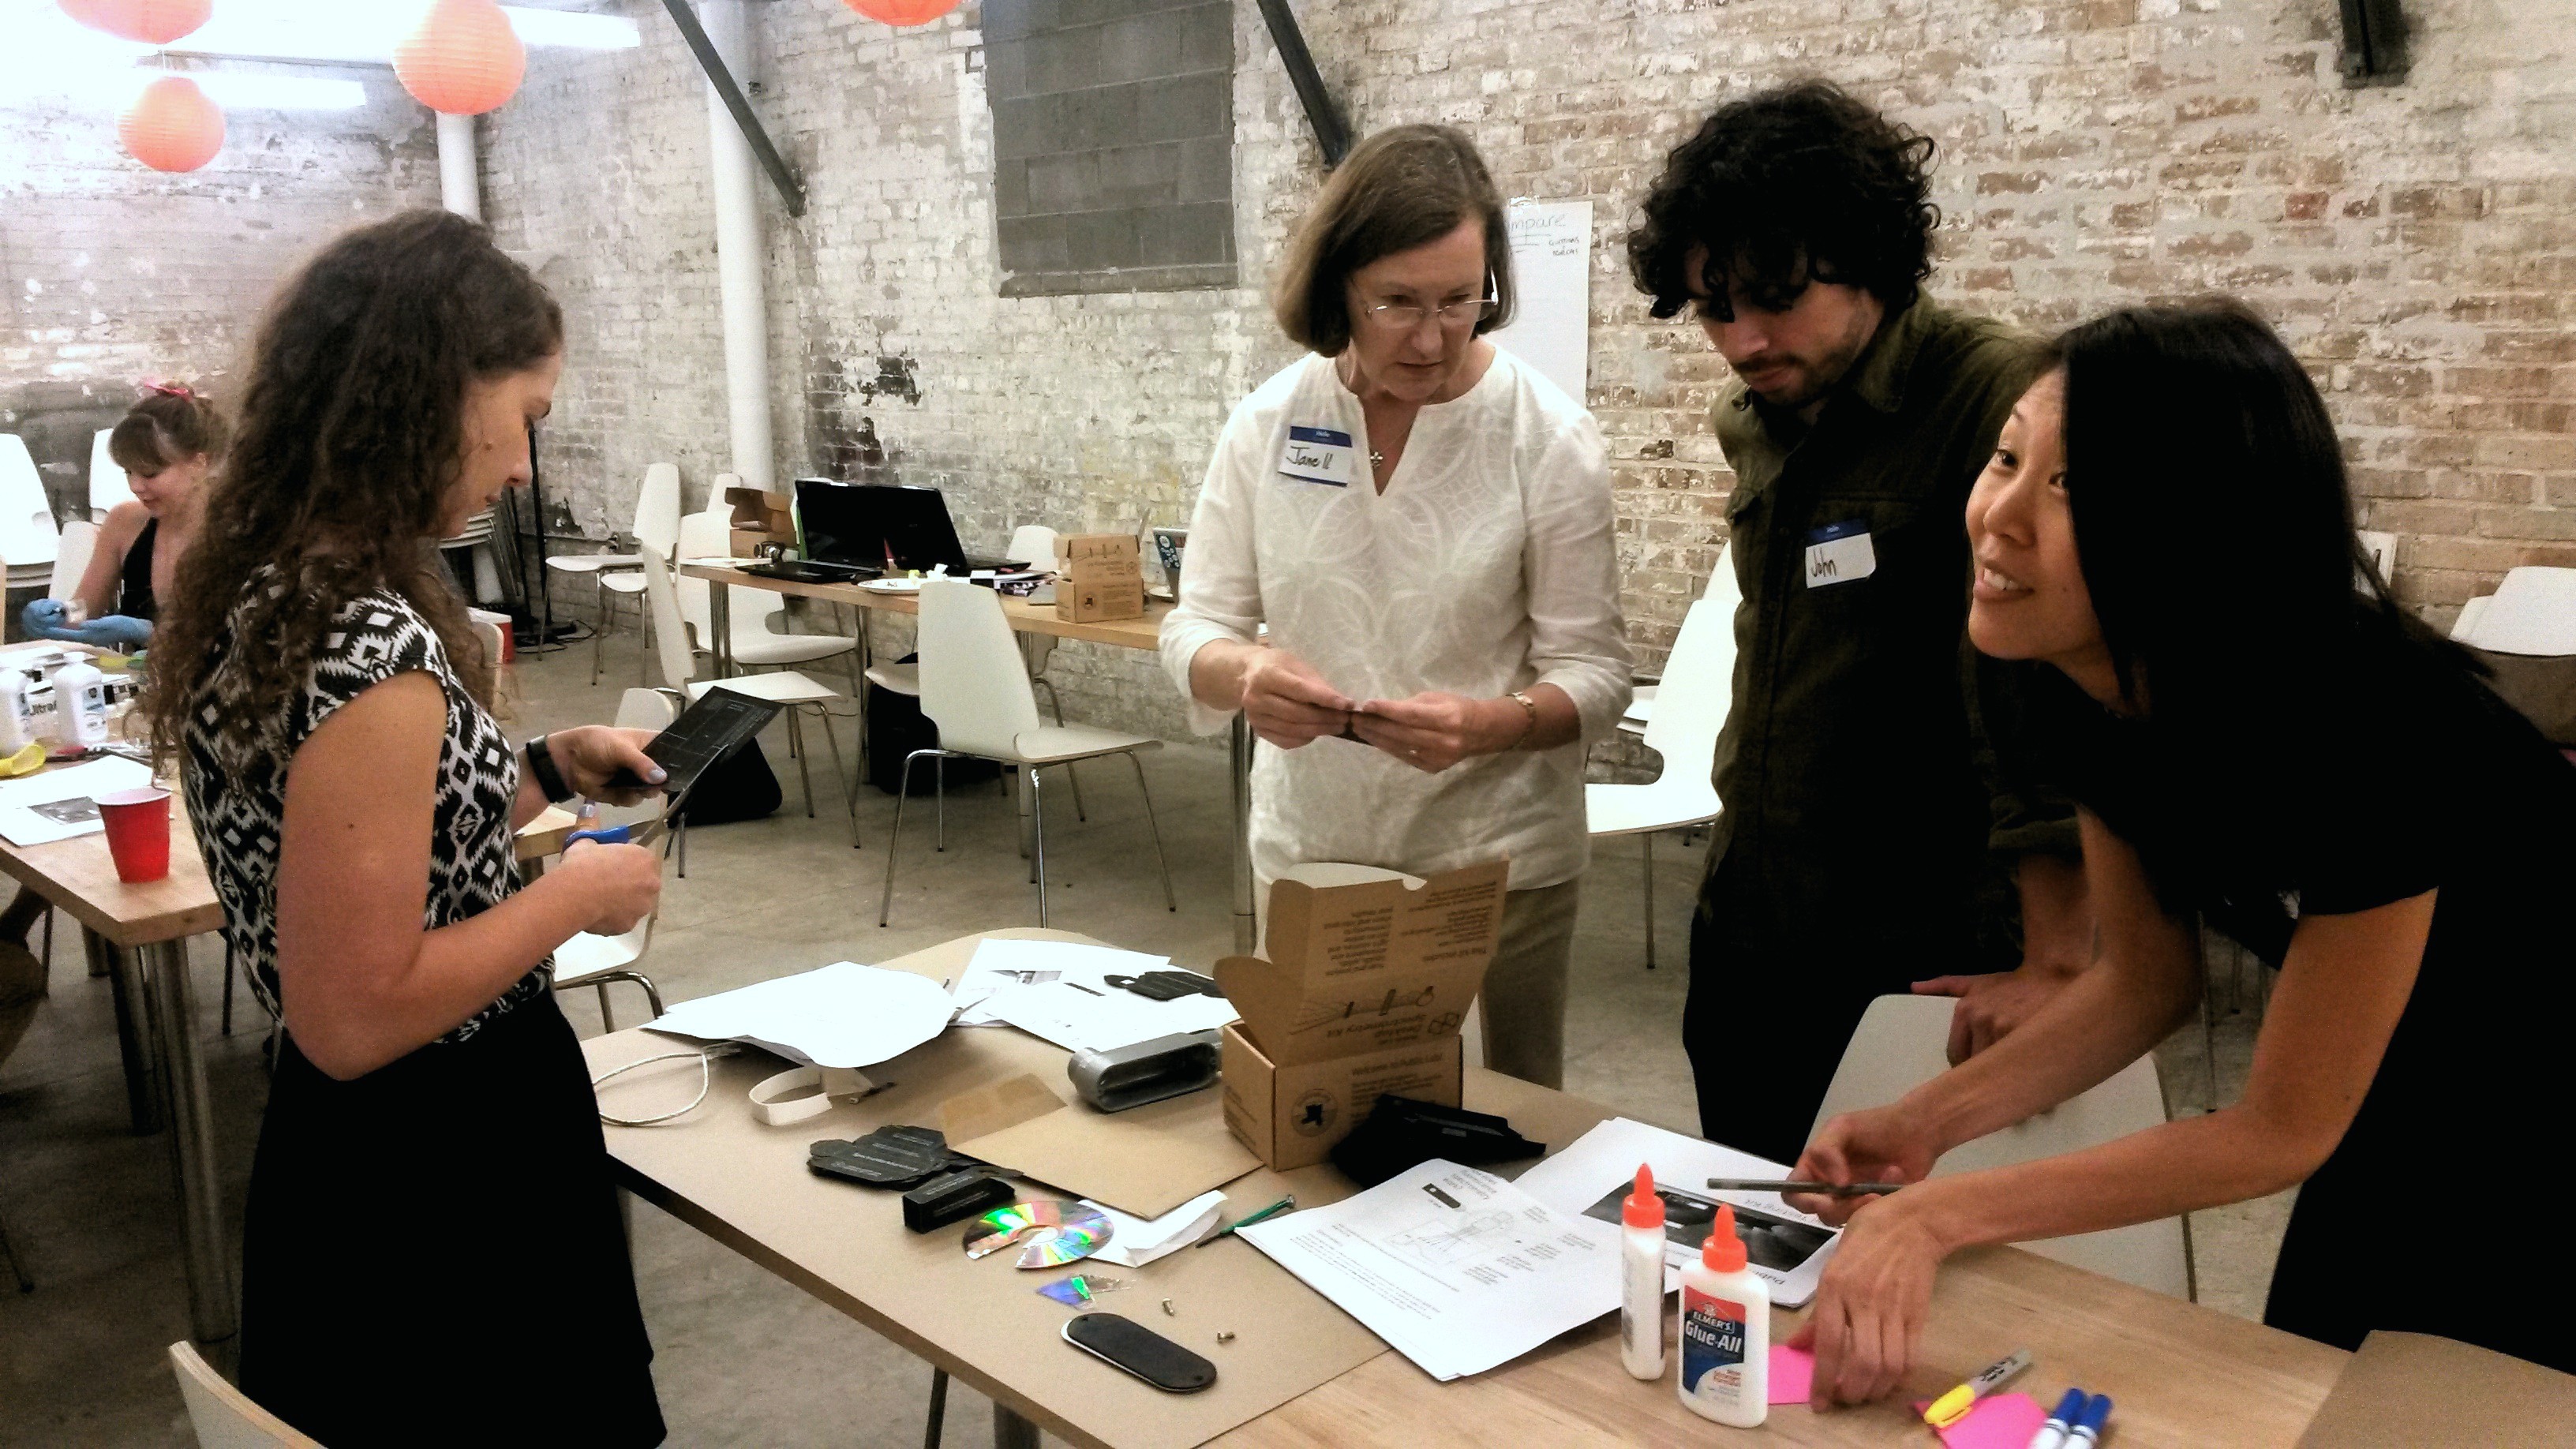
Last night we held a meetup (organized by Stevie) to work on the emerging Oil Testing Kit with folks from the New Orleans area. Our main goals were to start connecting with local contributors and collaborators, and to prototype and improve the Kit itself -- especially the sampling methods.

Mathew ( @mathew ), Jeff ( @warren ) and Stevie ( @stevie ) set up four different tables based around the Construct, Collect, Scan, & Compare stages of the testing procedure, which helped to situate the workshop activities in the overall oil testing process. People could build and improve spectrometers, prepare samples, scan them in pre-built spectrometers, and compare the results at the four corresponding tables.


We also posted sheets with these four labels, inviting people to contribute to the research process by asking questions, listing problems, and making suggestions -- which helped to situate the activities in the overall research arc in the Public Lab community. Participants took the invitation-- we recieved good feedback and did not prompt participants to take notes and modify the instructions and procedures we presented.

Takeaways:
Both the "4 steps" approach to activities and the suggestion posters were a big success -- the event was informal, but still structured, and people asked important questions like "does weathering affect the spectra of oil samples?" and "why is it important to calibrate the spectra on spectral workbench?"
We had an idea for how to do this even better -- to print out "paper research notes" with a line for people to write their name or PublicLab.org username (for credit) so that the workshop itself is kind of like a real-life version of contributing to PublicLab.org. (it could include a Creative Commons notice at the bottom, too!)
Jeff ( @warren ) did a quick sketch of what this "Paper Research Note" could look like:

The process-based table layout was also great, and laying it out as a kind of timeline for the testing process itself really helped people understand where each step fit into the larger process.
Research questions:
Brightness
We struggled a great deal with getting enough fluorescent light from the sample to register on the webcams, although they seemed bright to the naked eye. We tried moving the laser up and down, left and right, but only ever got low (~10%) brightness... not really enough to work with and below the hoped-for 25%: https://spectralworkbench.org/analyze/spectrum/31699
Finally, we used a smartphone spectrometer which was much more sensitive (https://spectralworkbench.org/analyze/spectrum/31708), but didn't have a live interface like the webcam-based versoin. Going back to the Desktop Spectrometer, we added reflective material around the sample bottle which helped amplify the brightness, but was still not very satisfactory. It seems like we need to think about sourcing a more sensitive camera for the kit, perhaps?

Testing bought oil samples
One goal was to test some of the crude oil samples we'd bought online, for comparison. We used the new sampling bottles with a built-in brush (see below). Surprisingly, only a fraction of a drop was enough to get strong fluorescence, easily visible to the eye. But the brightness issues discussed above stopped us from getting clear spectra of them except with the smartphone spectrometer. We'll try to calibrate those and share them soon.
Swabbing tarballs directly
We had tried to test an idea to simplify the sample preparation process (and some new empty nail polish bottles we'd found) by cutting out the "soaking" step and just directly swabbing suspected samples with a mineral oil-covered brush. But with the tarball sample we had, we had difficult getting enough of the sample in the bottle just by dissolving it and rubbing the brush on it. It seems like a "soaking in oil" step to make a kind of dark slurry may be neccessary with some samples, so we can't always ditch the extra step. Too bad -- the tests in Portland weeks ago had suggested otherwise.

New sample bottles
We had purchused several types of new sample bottles, one that was a nail polish bottle with a brush included, one that was smaller with a cap and the origional bottles which are no longer being sold. We found that, although the nail polish bottles make taking samples easier with the brush included, there was a question that arose of whether the brush itself was fluorescing. Also, the bottle walls were slightly curved and we wondered if that scattered the laser too much. Suprisingly, we also found that when these beveled bottles were angled towards their side, the spectra sometimes came through more clearly. Perhaps the laser light that escapes from the bottle edges is directed away from the camera?
Issues lists:
We collected a great deal of comments, ideas, suggestions and issues:
- adding a reflective liner (from a sun chips bag!)
- a variety of suggestions for clarifying the instructions on the Desktop and Foldable spectrometer kits -- we'll post them as a followup note!
- we've collected and will address various calibration issues on Spectral Workbench: https://github.com/publiclab/spectral-workbench/issues/6
- the brushes in the nail polish bottles are gummed, so they should be thoroughly rinsed before use
- we put drops of the purchased crude samples, and chunks of the tarballs, on note paper before swabbing them, in order not to put mineral oil back into the sample bottles. This created some gross waste material.
- we discussed using ethanol, methanol, or other solvents instead of mineral oil but did not test this out
- there was a question that some of the specs might have had slits that were too narrow
23 Comments
Love the paper research note so much! I made two takes-- with and without drawing bubble:
PaperResearchNote.pdf
PaperResearchNote_picturespace.pdf
Reply to this comment...
Log in to comment
Love it! Tried out our prototype:
Reply to this comment...
Log in to comment
cool
Reply to this comment...
Log in to comment
actually, could we get a scan of the handwritten one? (no offense, mat)
I m glad to see a new way to encourage the writing of research notes.
s
Is this a question? Click here to post it to the Questions page.
Reply to this comment...
Log in to comment
paper-research-note.pdf
Reply to this comment...
Log in to comment
Sounds like great meet up. Will be interesting to see how the scanned paper note idea evolves.
Reply to this comment...
Log in to comment
This is an incredible event design. So many great features to it--the four browsable tables that provide an overview of the process at a glance, the giant "Questions and Problems" posters accompanying each step, and finally the paper research notes for easily documenting new user's contributions is a grace note of genius.
Reply to this comment...
Log in to comment
Do you have a list of supplies needed for this workshop? And what, if anything, you asked participants to bring?
Is this a question? Click here to post it to the Questions page.
Reply to this comment...
Log in to comment
I think Stevie asked people to bring laptops
we had 3-4 working desktop spec, set up at tables 3 and 4 (one laptop wouldn't work) jeff's phone spec lots of bags of nail polish jars at "collect" table, extra mineral oil (we had wanted other solvents, like ethanol, but ran out of time) 3-4 uv lasers a couple of done up boxes for the aforementioned desktop specs tons of markers and labels and scrap paper post its at each table, markers at each table
1) a few kits and lots of paper specs at the 1st table, and scissors, cutting plastic and razor knives. i think there was also elmer's glue
2) many sample "cuvettes", post its, Qtips, other jars at 2nd table spare mineral oil from the store paper towels a uv laser here previously made samples of tar ball at different concentrations (grand isle coffee) brake fluid sample coal sample jeff's set of crude oil samples (very key) veg oil samples at different concentrations
3) two laptops and two desktop specs, one or two boxes to close around the specs and a couple of UV lasers sunchips bag was re-purposed for reflectance.
here, jeff compared the response to his phone spec to desktop spec
4) two laptops and two desktop specs, no boxes. we did a bunch of calibrating a messing with laptop cameras and software here, but didn't do a lot of comparing
I brought my own laptop and made a kit from the desktop spec (version 1, old camera) box. i made a new grand isle coffee sample (just one drop of the 1x grand isle coffee in the nailpolish cuvette) and it fluoresced just great but i couldn't get the light intense enough to capture it in SW. i then spent time with the razor knife and tried to make the slit wider on my desktop spec to capture more light.
so i was able to rotate around the stations and grab items as needed.
I think if we had done a bunch of comparing, a projector would have been useful to show people what was happening on spectral workbench.
Reply to this comment...
Log in to comment
when you write that: "We struggled a great deal with getting enough fluorescent light from the sample to register on the webcams..." were you using one of the setups described here: http://publiclab.org/wiki/oil-testing-kit, or were you taking measurements without enclosing the samples in a lightproof box? Why the variance in the result?
Is this a question? Click here to post it to the Questions page.
Reply to this comment...
Log in to comment
unsure what you are referring to in that link but it was like this one
but with the lid closed and with reflective material added.
Jeff's phone got good spectra without an enclosure, leading us to believe that it was a camera problem. or maybe a laser-camera alignment problem?
Is this a question? Click here to post it to the Questions page.
Reply to this comment...
Log in to comment
Follow up:
1) Does the reflective material go in the back of the bottle?
2) By laser-camera alignment, so you mean that the horizontal beam from the laser was too high/low or some such for the dimensions of the image that the camera captures?
3) Would you say this is was an unexpected problem given prior successes? I guess my question behind this question is, is the kit as currently designed ready for use? I'm planning on holding a workshop a similar workshop in October.
Is this a question? Click here to post it to the Questions page.
Reply to this comment...
Log in to comment
1) yes 2) there's not enough light, so perhaps angling the laser a certain way, or shining it through at the right level would help, so that the camera -- slit -- fluoresence lines up.
if this is the problem, perhaps it's a laser with low battery, or a slit that is too narrow. i can work on those to see if that fixes things.
perhaps it's a larger, camera problem, tho.
3) i have had this problem before. this is a question for jeff, because he got this all to work at parts and crafts. i'm not sure what is different.
Reply to this comment...
Log in to comment
Unexpected yes -- it was for some reason much harder to get light into the webcam! But very easy on a smartphone. We're working a bit on this problem now, and the options seem to be:
Is this a question? Click here to post it to the Questions page.
Reply to this comment...
Log in to comment
hey all, Great thread. Scott thanks for writing up the materials list. Also, I'll add we had sticky notes and markers on each table with a post-it poster board for people to write the questions and problems, but I think you saw that. Also, at the first table, I had a spec kit laid out in order of how you would put it together showing each stage of construction (with the folded part already folded etc.). That way we could walk through how it's done together so what a spec was, was clear, but people didn't need to construct a full one to see it. We also found that when we set up this way and invited people to "join in on any part of the project they were most interested in" that people naturally did! Some started with samples, some with analyzing (we had samples ready to go) and a few with construction. Once we had walked through each stage together it was ok for people to jump in in different places. This also allowed us to get through every aspect of the process in detail without spending so much time on the front end (construction).
I can write a research note on how to host one of these types of workshops if that is helpful (with materials lists and a walk through etc)! Love some feedback if other people try it as well!
Reply to this comment...
Log in to comment
I like the idea that if there are 4 tables, four different organizers can sort of "staff" the tables, focusing on the parts they know best.
Reply to this comment...
Log in to comment
@stevie, it would be very helpful. I think all and all this makes an excellent framework for any workshop, in particular the part where you have tables with different activities for people to join as the choose. That's sounds better than having to have the group move through the workshop in a completely linear fashion.
Reply to this comment...
Log in to comment
regarding the new bottles, in my search to find alternatives, it seems like even the squarest of bottles on the outside have some curvature on the inside. Do the original bottles that are no longer sold have curved insides, or were they entirely square? Also, are the bottles re-usable by washing them with soap, or are they for single use only?
Is this a question? Click here to post it to the Questions page.
Reply to this comment...
Log in to comment
The orig bottles were basically square, but not very precise -- sort of that wavy crude surface from molded glass. But I have a sense that there's "flat enough" -- that the laser still punches through straight and doesn't get refracted all over the place.
I think it's a good idea to treat bottles as one-use -- that's why we're looking for real cheap ones. In part for clean samples, and in part because some of the samples are toxic, and where do you put them once you've prepared them? In the bottle is actually a pretty safe place.
Is this a question? Click here to post it to the Questions page.
Reply to this comment...
Log in to comment
hmmm...well, this presents a dilemma in that Public Lab will be the only ones with the purchasing power to buy them inexpensively, but people will need lots of them. +1 for the store selling them in packages like the carabiners and swivel heads.
Reply to this comment...
Log in to comment
I agree! In this event, we were testing out a number of different bottle options, trying to source the best ones. (you can see some of the ones we tried on this page: http://publiclab.org/wiki/oil-testing-kit on the "Parts list"). We're still on the hunt a bit though! When is your event again?
Is this a question? Click here to post it to the Questions page.
Reply to this comment...
Log in to comment
Draft event guide posted: http://publiclab.org/notes/stevie/08-13-2014/working-oil-testing-event-guide
Reply to this comment...
Log in to comment
Another draft of the paper research note:
I also made a Post-It notepad of these on Zazzle.com:
http://www.zazzle.com/public_lab_paper_research_notes-256220097941388444
Public Lab Paper Research Notes by publiclaboratory
Browse Publiclab Post-it® Notes
Is this a question? Click here to post it to the Questions page.
Reply to this comment...
Log in to comment
Login to comment.